Making a Table with Transparent Strokes
When table formatting fails, sometimes you have to take matters into your own hands

M.A. wrote:
I’m working in InDesign and I have a background image. On top of this image I have placed a table. The table fill I want to be a 100% fill (orange). The table stroke I want to be 100% transparent, so that you can see the image behind.
Unfortunately, tables strokes don’t work that way in InDesign. It seems like you should be able to select the table cells and change their color to None in order to see “through” them. But instead, you “see through” to the table color (the color of each cell).
So instead of using a real table, you should probably fake one with frames on a grid. Any version of InDesign can make a grid of frames easily with Step and Repeat, but InDesign CS5 makes it super easy.
First, drag out a frame (in this case a text frame):
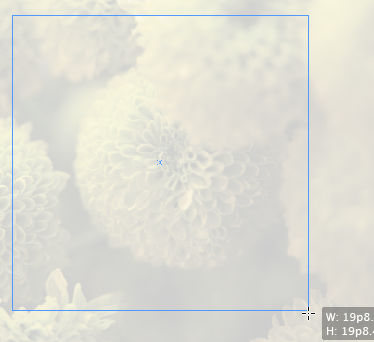
While you’re still holding down the mouse button, press the up and right arrows until you get the number of frames you want in the grid. (This is called the gridify feature.)

If you want a different amount of space between the frames, hold down Command/Ctrl and press the up/down or left/right arrows (again, this is while the mouse button is still held down).

When you let go of the mouse button, InDesign makes the grid for you. When you do this with text frames, InDesign also links the frames together. Here they are with Show Threads turned on:

Now you can format the frames and put text into them. Here, I made a sort of calendar by pressing Return/Enter between each number (to break each number into its own paragraph), then selecting all and applying a paragraph style. (The numbers at the end are just selected with the Type tool.)
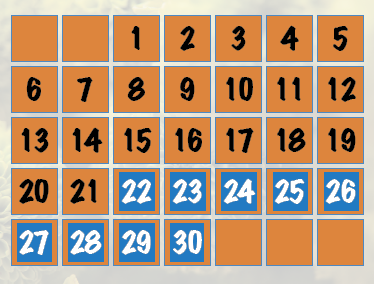
Okay, so this isn’t as flexible as a real table, but it creates the effect pretty well with not a lot of work.
This article was last modified on December 20, 2021
This article was first published on October 13, 2010
Commenting is easier and faster when you're logged in!
Recommended for you

New Folding Tricks in CS5
Learn how to use new CS5 features to create folding templates that work.

Taking Another Look at the Content Grabber
Not everyone is a fan of the content grabber, but it does have a hidden feature...

Can There Be Too Many Styles? (Yes, There Can)
This is a fictionalized version of my exploration of a recent client’s fil...


