
InDesign 101: Saving Your Work
Sandee Cohen covers all the the basics of creating and saving InDesign documents.
This article appears in Issue 56 of InDesign Magazine.
You might think you know everything about saving a document. You’ve done it thousands of times. Choose File > Save, name the file, click Save, and from then on just press Cmd/Ctrl+S each time you want to save. But there are actually some special techniques that you may not know that can help you work more efficiently.
Save or Save As?
When you save your work, you are designating three aspects of your file: Who, What, and Where. Remember those requirements as you work. The first thing that could save you a few microseconds of work is what you do the first time you save a document. I’ve seen many students move to the File menu and choose Save As for untitled documents. That’s what they’ve been told to do: Save As is the command that you use to name a document. Well, technically, that’s true. But if you’re looking at an Untitled document (Figure 1), it doesn’t matter which one you choose—Save or Save As. At this early, untitled stage of a document’s life, both bring up the Save As dialog box. So, if you’re like me, and routinely press Command+S to save a document, just continue to do it when you start a project. You’ll still get the Save As dialog box (Figure 2). This is where you can enter a name—the Who—for the file as well as choose the location.
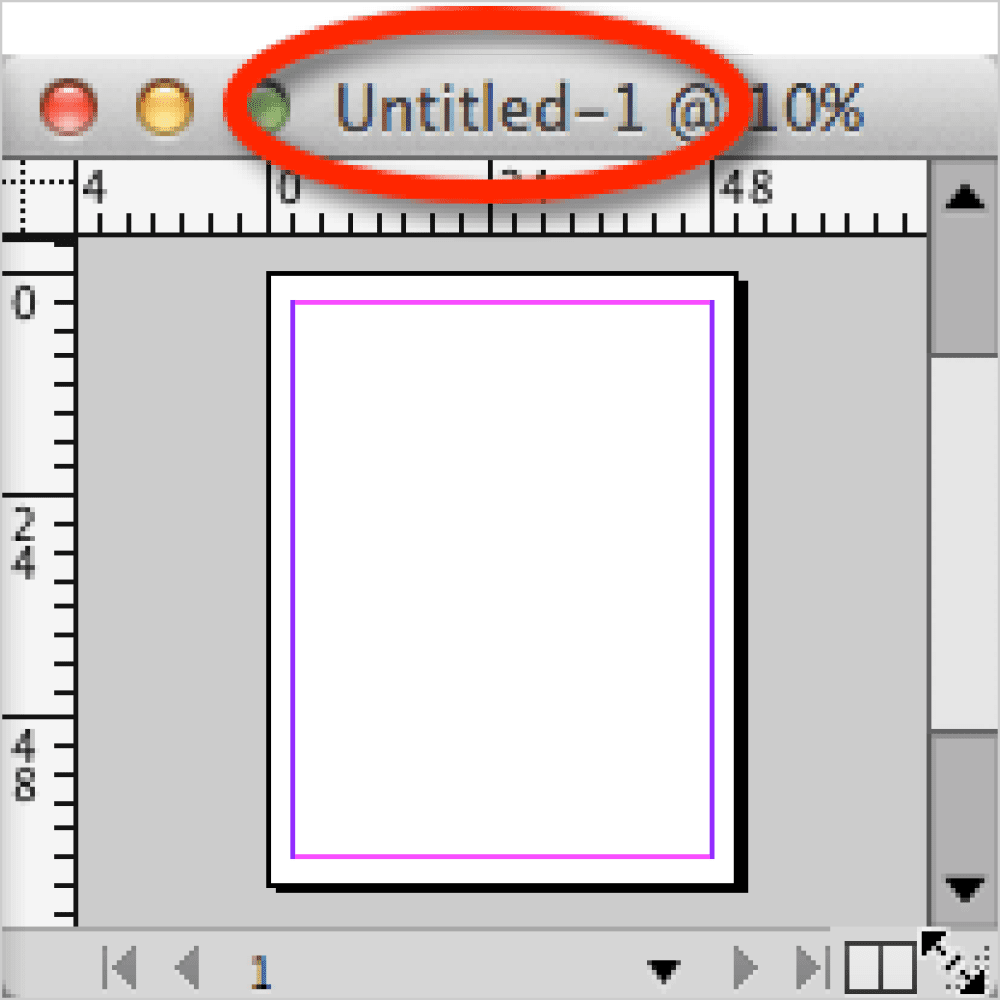
Figure 1. The File > New command creates an untitled document that needs to be saved.
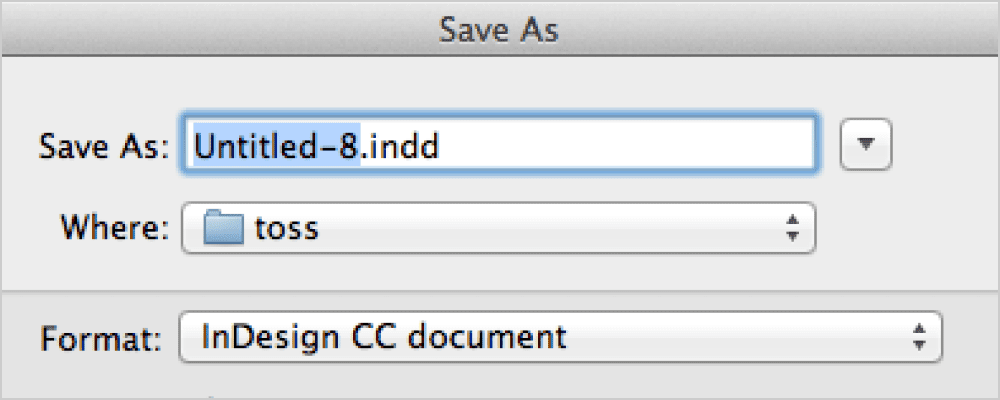
Figure 2. The Save As dialog box lets you create a name for a file as well as choose where the file should reside.
up there with a file’s name—both in the Save As dialog box and in overall “file importance”—is the location for the file—that’s the Where. I can’t tell you how many times I’ve seen students name the file and then hit the Save button almost reflexively. Later on, when they need to reopen the file, they have no idea where they saved it. Don’t forget to look at where the file has been saved, or navigate to put it where it belongs.
How Often Should You Save?
Once you’ve named the file and put it in its proper place, Command/Ctrl+S is all you need to do to keep your work safe and secure. The question is, how often should you save? I follow these rules:
- Save if you have ten or more minutes of unsaved work.
- Save when you finish doing something really difficult.
- Save when you’re moving to another page.
- Save when you’re moving to another document window.
- Save before running a script or plug-in action.
- Save before you switch over to another program.
- Save when you’re answering the phone.
- Save when you’re getting up from the computer.
- Save when the cat jumps up on the desk.
Save As or Save a Copy?
You may have noticed there is yet another “Save” command under the File menu. This is the command to Save a Copy of the document. So what’s the difference, and which one should you choose? When you choose Save As, you always see the dialog box where you can rename the file. This is helpful if you’ve opened the October version of your newsletter and now want to change it to the November issue. You save the file under a new name, strip all the October information out, and right away you’re working on the new November document. (There’s actually a better way to do this, but we’ll cover that later.) Save a Copy is different, and extremely handy if you’re about to start something tricky in the document. The Save a Copy feature starts out with the same options as Save As (Figure 3). However, when it closes, you’re left working on the original file.
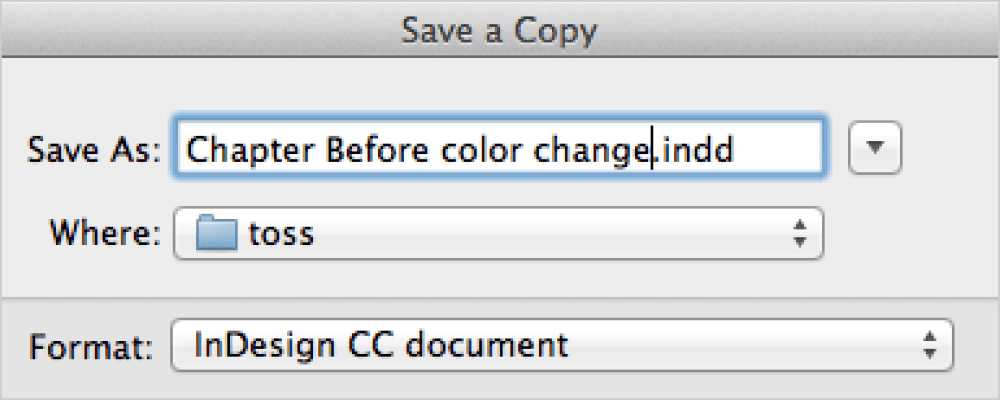
Figure 3. The Save a Copy dialog box lets you create a backup version of your document without closing the original file.
Documents or Templates?
The last aspect of saving the file—the What—is choosing the file format (Figure 4). There are three choices: InDesign [version] document, InDesign [version] template, or InDesign CS4 or later (IDML). The extensions for these three formats are .indd for a document, .indt for a template, and .idml for an IDML file.

Figure 4. The Save As dialog box allows you to choose the format for the saved file.
Saving Backward
One of the most frequent questions I hear is how to save an InDesign document so it can be opened with an earlier version of the program (sometimes called “downsaving” a document). This is an issue because if you’re working with a file in InDesign CC, someone with a previous version of InDesign can’t open that file. InDesign CS6 can’t open InDesign CC files; CS5 can’t open CS6; CS4 can’t open CS5. It’s not a conspiracy from Adobe to get you to upgrade to the latest version—it’s a result of the way new features in each version are saved in the file. That’s where the IDML file type comes in. Instead of sending your version of the InDesign file to someone who can’t open it, send them an IDML file. It’s a kind of a go-between file. They can open the document and work on it. They can save the file using their version of InDesign. When they send it back to you, your more recent version can always open previous file types. When you save your document as an IDML file, anyone with CS4 or later can open the file. However, it is not a best practice to use IDML files to send files back and forth repeatedly between versions. When you save the file backwards, some features may be lost. For instance, one of the features in InDesign CS6 gave users the ability to create PDF forms. But when those CS6 files are saved as IDML files and then opened in CS5, any form objects are converted to ordinary frames. (It has to work that way, because CS5 doesn’t offer that feature.) That’s just one example. There are many more for each upgrade of the program. If you need to do a lot of work with someone who has a previous version, you have to make a choice: Don’t use any of the new features in the version you’re using, have the other person upgrade to the latest version, or install the previous version yourself. This is also true if you work with a print shop that won’t upgrade to the latest version of InDesign and wants you to save in IDML format. Don’t do it! You run the risk of something changing and screwing up your layout. Instead, send them a PDF or insist that if they want your business they should have the latest version of the program.
Open Normal, Original, or Copy
Earlier on I said that when you open a template file, it opens as Untitled—but that’s not entirely, always true. It depends on how you open it. Let’s take a quick look at how InDesign lets you open files. When you choose File > Open, you have three controls that affect how the file opens (Figure 5).
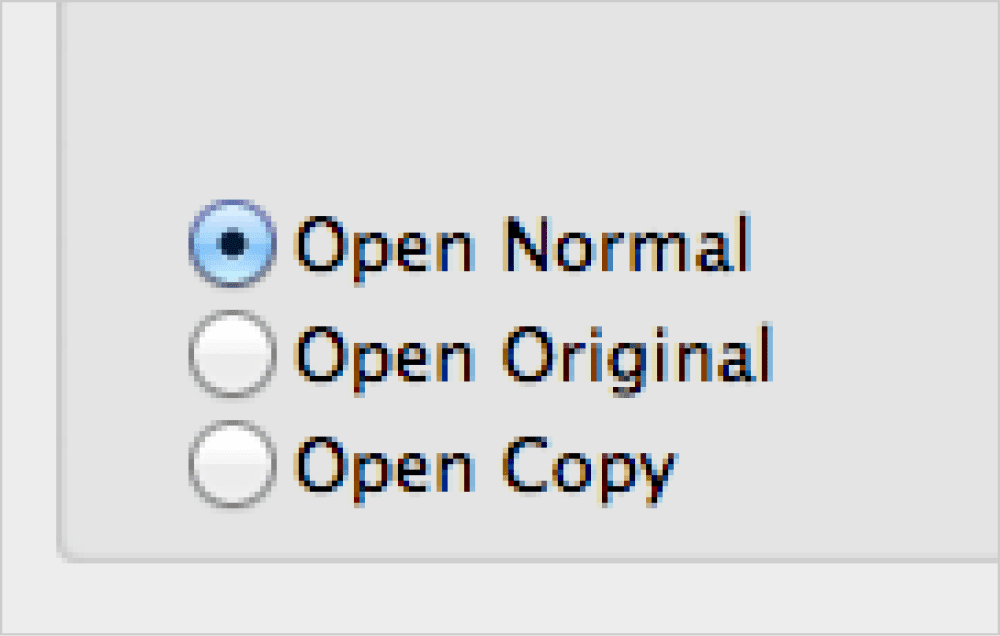
Figure 5. The three choices for how a file is opened

Table 1. Open normal, original, and copy
Saving a Preview
I want to say one more thing about saving documents. You have an option in the Save As dialog box to Always Save Preview Images with Documents (Figure 6). This feature adds an image that can be previewed before the file is opened. However, this preview doesn’t show up in the Mac OS Finder or Windows Explorer. It does show up in Adobe Bridge.

Figure 6. You can control if a preview image is saved with the file.
Better Save than Sorry
Whatever methods you use to save files, make sure you save early and save often. Also make sure you have a backup server—optimally offsite—where you back up all your files on a regular basis. Understanding the different methods for saving and opening files just might save your business one day.
Commenting is easier and faster when you're logged in!

Recommended for you

Can’t Save or Save As or Save a Copy or Undo… Help!
Oh yesterday was such fun… after working on a document for a while, pressing Cmd...
InDesign Template: 2023 Calendars
Includes the template in INDD and IDML formats in letter size, plus instructions...
InDesign Eye Candy, part 1: In Gravity’s Shadow
Why should all the Photoshop and Illustrator kids have all the fun, when you can...