
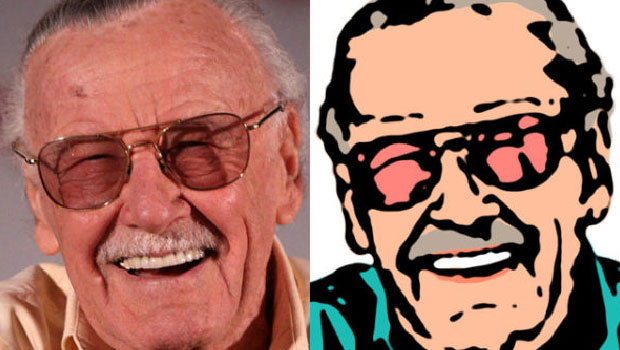
It’s not difficult to turn a photograph into a seemingly hand-drawn cartoon and with this technique you can modify the appearance as you go along.
To create this effect, we’re going to use a photograph of the late, great cartoonist Stan Lee, courtesy of Gage Skidmore on Wikimedia Commons, which you can download here.
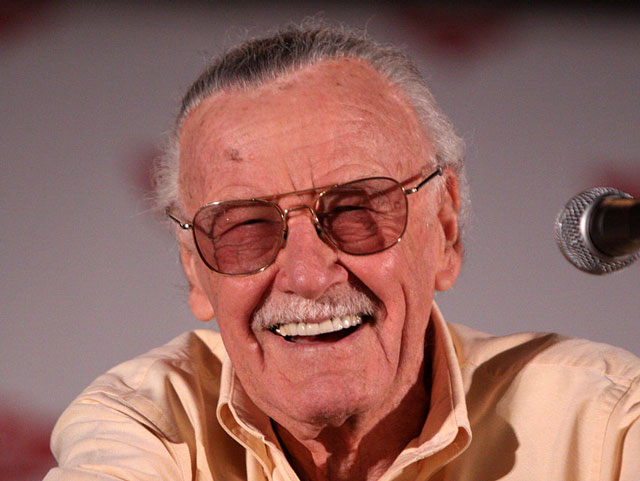
Step 1: The Starting Image
You can use just about any photograph for this technique as long as it’s clear and well-defined. This shot of Stan Lee fits the bill perfectly.
Step 2: Cut Out the Photograph
If you have Photoshop CC, the Select > Subject command will do a good job of automating the process of cutting out the photograph. If you have an earlier version, then start with the Quick Selection Tool and modify the cutout using Select and Mask/Refine Edge (depending on your version of Photoshop). Then, use Command/Ctrl+J to make a new layer from the selection, and add a white background behind it on a separate layer.

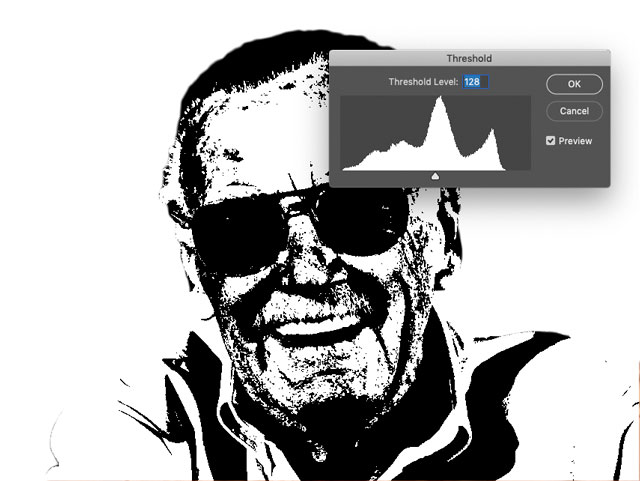
Step 3: The Wrong Way
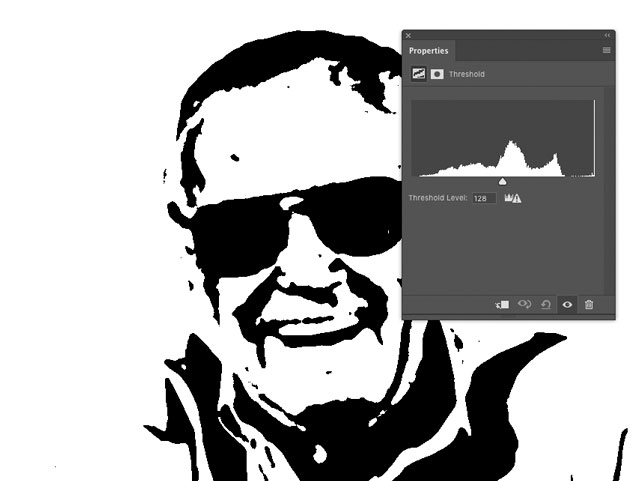
To turn the image to pure black and white, the Threshold filter (Image > Adjustments > Threshold) might seem to be the best option. But as you can see here, this often produces a very rough, bitty result.
Step 4: Soften the Image
Instead of going straight for
the Threshold filter, first use Filter > Noise > Median to soften the portrait. I used a radius of 4 pixels. Unlike Gaussian Blur, this softens while keeping crisp edges.

Step 5: Add a Threshold Adjustment Layer
Use Layer > New Adjustment Layer > Threshold to add the Threshold adjustment. Now that the Median filter has been applied, the effect is much smoother. Then, take all the color out of the cutout layer using Image > Adjustments > Desaturate.
Step 6: Dodge and Burn
Because we’re looking through the Threshold adjustment to the layer beneath, we can modify the base layer while seeing the final effect in the Threshold layer. Use the Burn Tool set to Highlights to darken around the edges of the shirt to give it definition; hold Option/Alt to get the Dodge Tool temporarily and use it to brighten the over-dark areas, such as inside the glasses. Take your time over this step, referring to the original image so you can get the shape of the nose and other features correct.

Step 7: Add a Color Layer
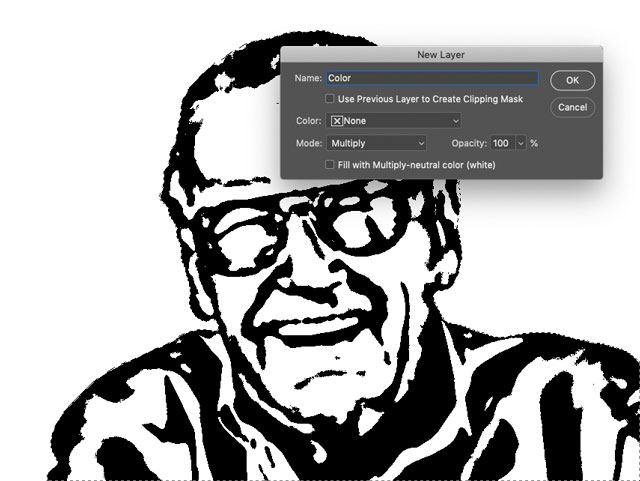
Select the base layer by holding Command/Ctrl and clicking on its thumbnail in the Layers Panel. Then make a new layer, setting its mode to Multiply.
Step 8: Flood With Color
Choose a skin color and use Option/Alt+Delete/Backspace to fill the selection with that color. Then deselect and use the / key to lock the transparency of this layer, so you can’t inadvertently paint over the edges.

Step 9: Paint the Rest of the Color
Paint on the color layer using appropriate colors for the mustache and hair, glasses and shirt. Paint over the teeth area in pure white. This looks okay so far, but the Threshold filter produces ragged edges. We’ll fix that next.

Step 10: Softening the Edges
Hide the color layer, and use Command+Shift+Option+E/Ctrl+Shift+Alt+E to make a Merged Copy of the whole image. You can reveal the color layer now if you like, but be sure to work on the merged layer you just made. Use Filter > Blur > Gaussian Blur to soften the image. I used a radius of 3 pixels.

Step 11: Sharpening Up
Softening the edges does, predictably, produce a fuzzy result. To fix this, open Image > Adjustments > Levels and, in the Input Levels section, drag the black and white triangles towards the center. This tightens up the blurring, producing smooth shapes. Don’t drag them all the way to the center, or you’ll get ragged edges once again.

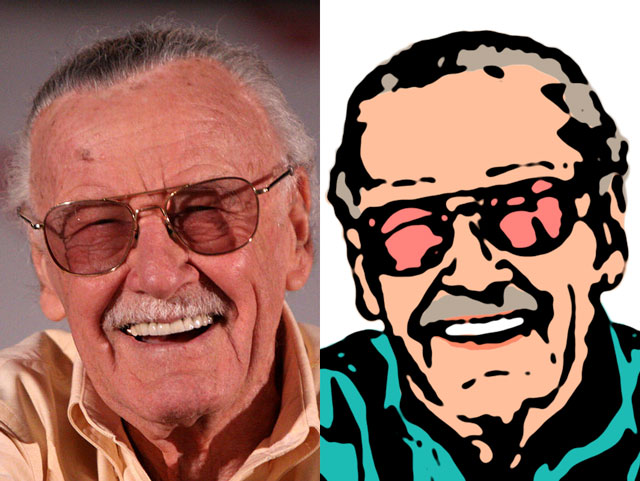
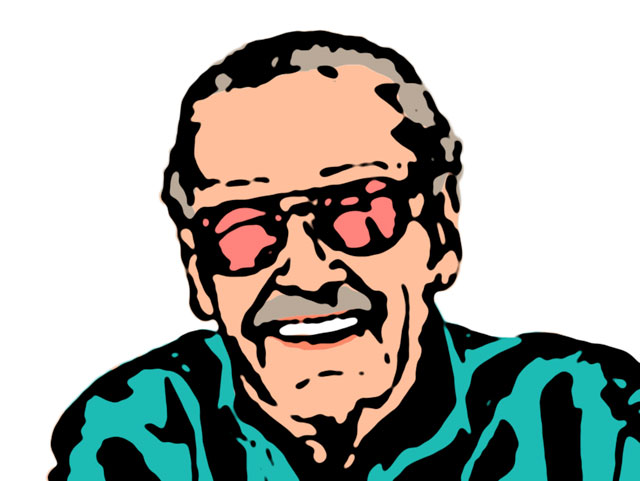
Step 12: The Finished Image
Here’s the image of Stan Lee turned into a cartoon. It may not be up to Spider-Man quality, but that’s what made Stan Lee such an exceptional artist.
Commenting is easier and faster when you're logged in!

Recommended for you

How to Shoot Raw Photos on Your iPhone (and Why You’d Want To)
You don’t need a DLSR camera to reap the benefits of the raw image format.

Make a Realistic Wood Texture in Photoshop
Step 1 Create a new document. The dimensions don’t really matter, but I st...
Heavy Metal Madness: Men Live In a Vacuum… Tube
My last column, which addressed the gender gap in housework duties, drew a numbe...