How to Turn an Image Into Stained Glass in Photoshop
Learn how to create a much more convincing effect than you can get with Photoshop's built-in Stained Glass filter.
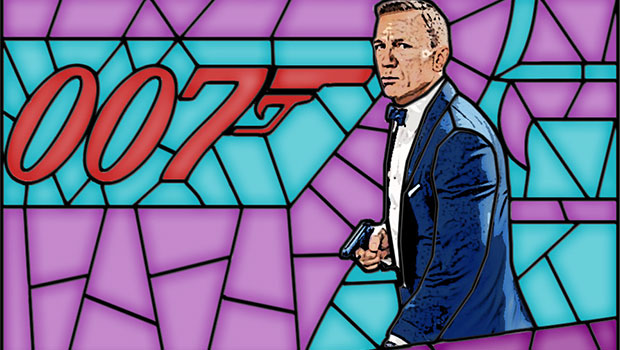
Photoshop has a built-in Stained Glass filter, located in the Texture section of the Filter Gallery. It’s very much a one-trick pony, though, producing a thoroughly unconvincing mosaic effect that’s nothing like real stained glass. Here’s how do do it properly.
Step 1: The Starting Image
You can use just about any image as the basis for your stained glass – even mixing photographs with graphics. Here, I’ve used a poster for the new James Bond film, No Time to Die.

Step 2: The Built-in Filter
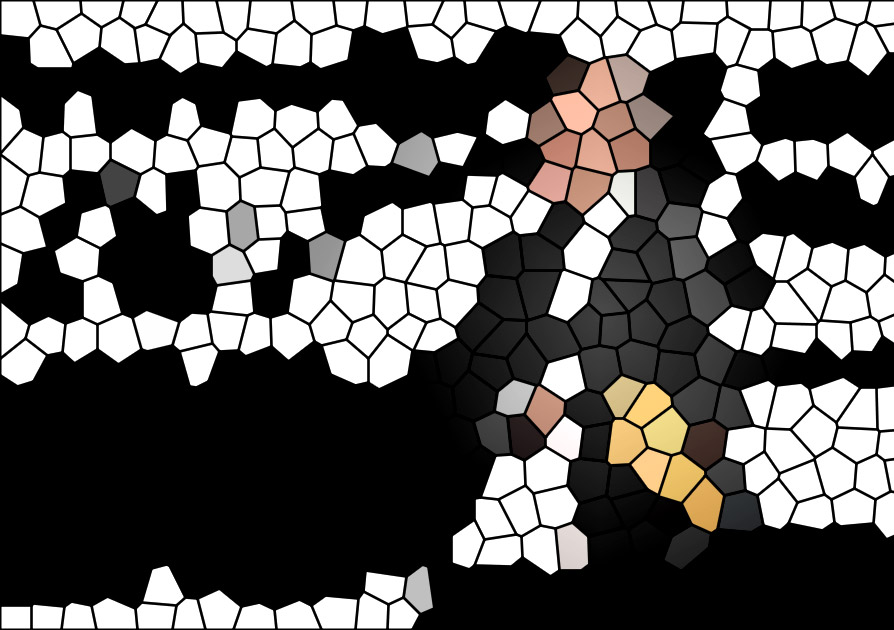
This is how the Photoshop filter creates stained glass: it divides the image up into random, irregular polygons, and averages the color within each one to create a posterized effect. We can do better.
Step 3: Separate the Objects
There’s a clear distinction here between the photograph of Daniel Craig and the graphic background. I used the Select Subject tool to isolate Craig, and copied him to a new layer. I also removed the text over the body, and added a blue tint that will make more convincing stained glass.

Step 4: Treat the Image
Stained glass windows are painted, not photographic. The easiest way to make this image of Daniel Craig look more painterly is to use the Poster Edges filter, found in the Filter Gallery. He’s still recognizable, but looks more hand-painted.

Step 5: Delete the White
I used the Background Eraser Tool to take all the white out of the graphic background of this image. This makes it much easier to select the individual elements. I also recolored the background. The easiest way to do this is to open the Hue/Saturation dialog, check the Colorize button, and increase the Lightness as you play with the Hue and Saturation settings.

Step 6: Create the Leading
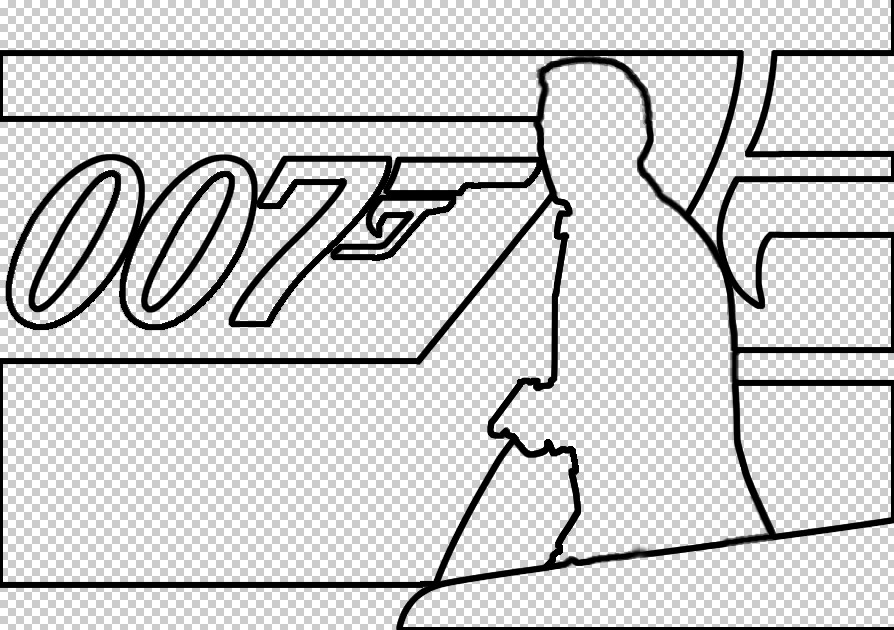
Strips of lead hold the glass in place in a stained glass window, so we’ll create those next. Hold Command (Mac) or Ctrl (Windows) and click on the thumbnail of the Background layer in the Layers Panel to load it as a selection. You now need to remove the image of Craig from that selection, and you can do this by holding Command Option (Mac) or Ctrl Alt (Windows) as you click his thumbnail. Now make a new layer, and choose Edit > Stroke to draw black lines along the selection border. I chose a thickness of 6 pixels.
Step 7: Complete the Leading
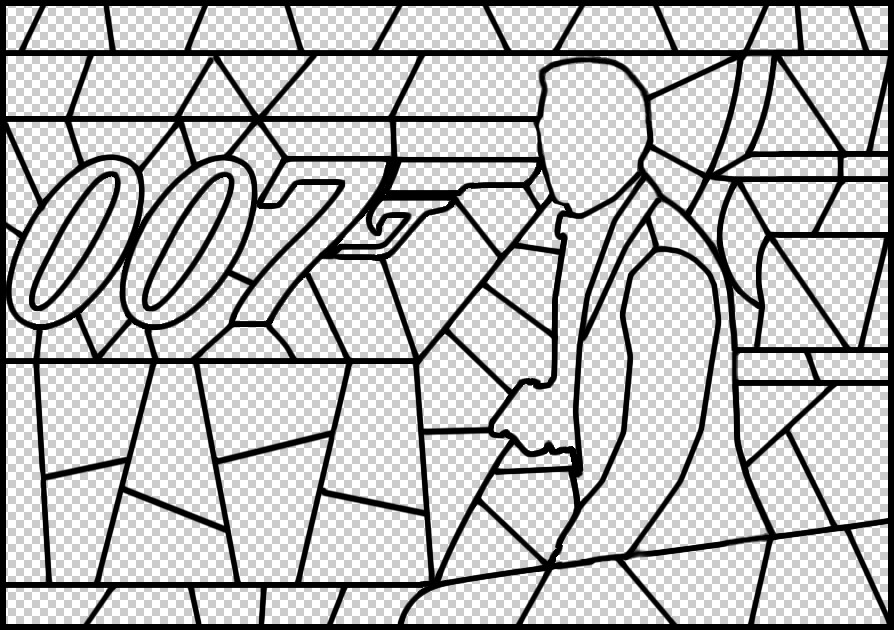
In real stained glass windows, the glass area is broken up into small, manageable chunks. You can replicate this effect by drawing on the leading layer with a hard-edged brush of the same size as the stroke – 6 pixels, in this case. The easiest way to draw straight lines is to click the starting point, then hold Shift as you click the end point.
Step 8: The Leading in Place
Here’s how the image looks so far with the leading on top of the background. I’ve also recolored the background to make the different elements stand out.
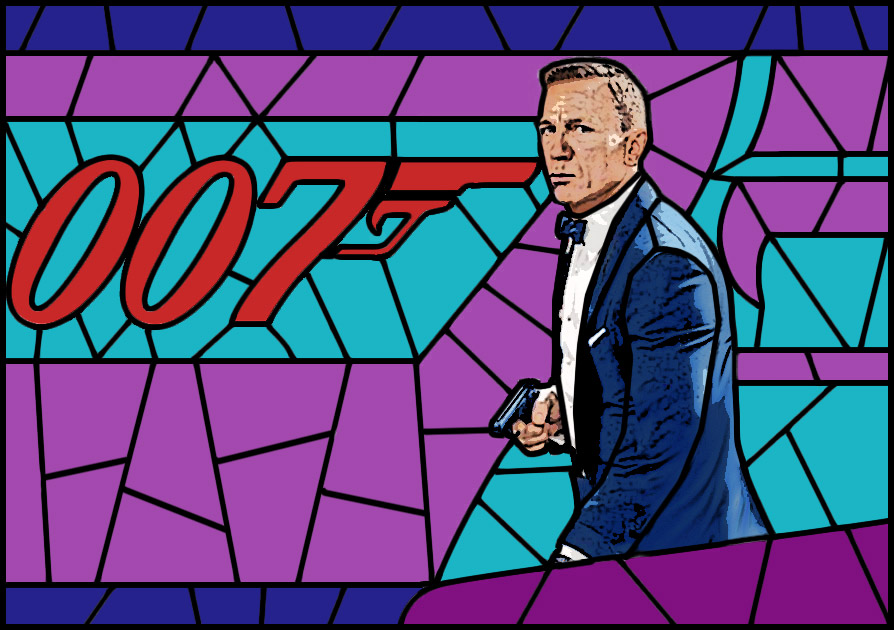
Step 9: Divide the Background
In order to make the glow work (which we’ll apply in Step 11), we need to delete the leading from the background. Hold Command (Mac) or Ctrl (Windows) and click on the thumbnail of the Leading layer in the Layers Panel. Then switch to the Background layer. Deleting this area is likely to produce unsightly white edges, so first use Select > Modify >Contract to reduce the selection by just one pixel. Then delete from the background layer.

Step 10: Add a Bevel
Switch to the Leading layer, and use the Layer Styles dialog to add an Inner Bevel to the leading. This adds a slight three-dimensional effect, which gives the leading more substance.
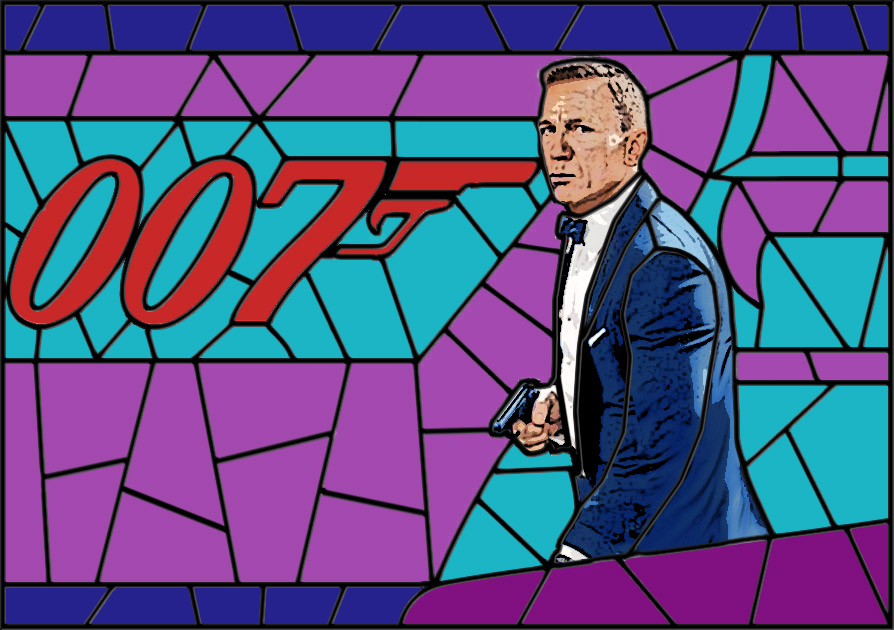
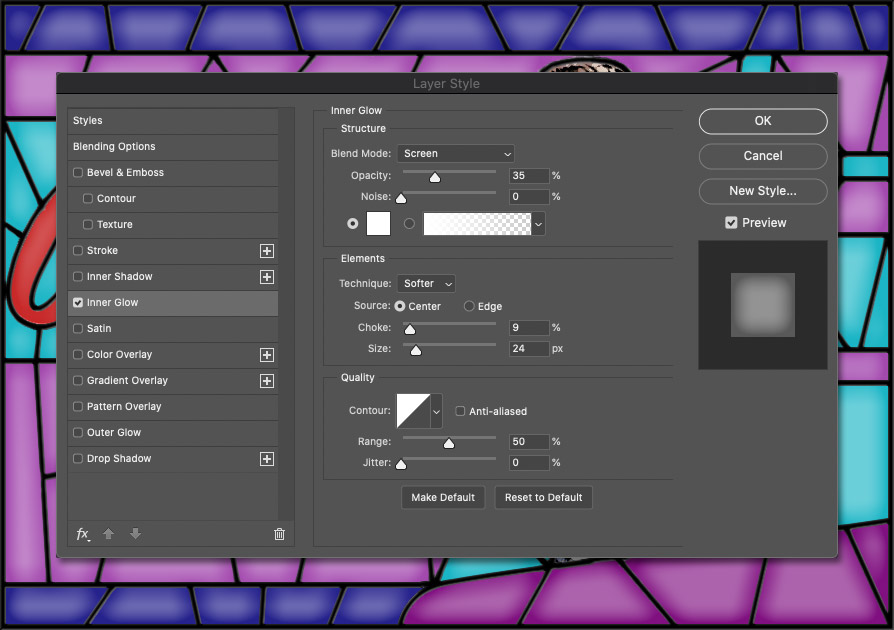
Step 11: Add an Inner Glow
Go back to the Background layer, and open the Layer Style dialog again. This time, choose Inner Glow. I’ve added 9% Choke to distance the glow from the leading, but you’ll need to play around with the Opacity, Choke and Size settings to get the result you want.
Step 12: The Finished Result
Here’s the image after the Inner Glow has been aded to the background. It gives a lift to those flat glass segments, making them appear more lit up. Note that removing the leading from the background in step 9 was essential to make this work, as the glow depends on each pane being distinct from the rest.

This article was last modified on October 18, 2021
This article was first published on October 18, 2021
Commenting is easier and faster when you're logged in!
Recommended for you

Copy Just Part of a Chapter Title to a Header
Here’s a fun challenge: I have a chapter title here that has some extra text in...

iPhone 13 Pro: The Best iPhone Camera Yet
Apple's newest iPhone offers a host of new features that leverage sophisticated...

This Week in InDesign Articles, Number 125
I know it’s trite that “there’s always more to learn,” but it is so true. I’ve b...


