
Cinemagraphs are images in which just a portion is animated on an endless loop. Because the animated section tends to be very short, the resulting files are generally small enough to be easily distributed on websites without too much of a bandwidth hit. Here’s how it’s done.
Step 1: Film and import
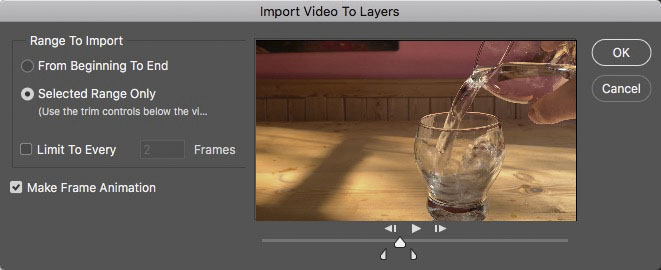
Make your film with your camera (or phone) on a tripod. This is important, as you need to be sure there’s no shake in the resulting movie. Then, in Photoshop, choose File > Import > Video Frames to Layers. You’ll see a dialog like this one. Make sure the box marked Make Frame Animation is checked.

Step 2: Choose your frames
I filmed about two seconds of footage on my phone, but that’s too long for a compact cinemagraph. You can use the sliders beneath the film to select just the portion you want. You don’t have to get it exact at this stage – you can always remove frames later.
Step 3: The Photoshop conversion
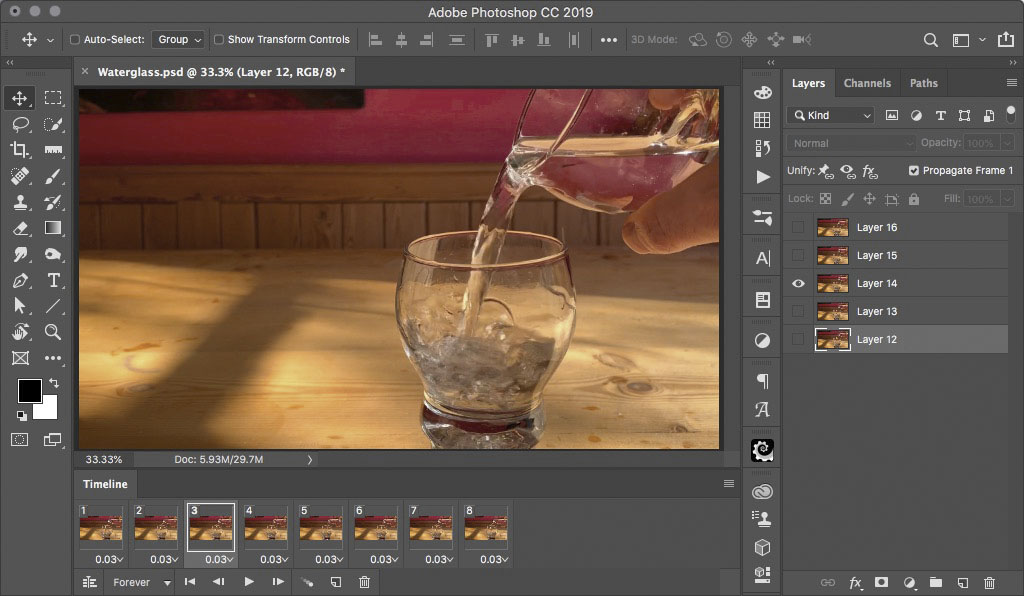
When you import a movie into Photoshop in this way, it will create a frame animation with each frame set to 0.03 seconds (so that 30 frames make up about one second). Here, I’ve imported 16 frames, which together last just over half a second.

Step 4: Export a GIF
Choose File > Export > Save for Web (Legacy), and set the file type to GIF. To make a smooth result, set the Dither amount to a maximum 100%, and set the GIF to loop forever. You’ll probably also want to reduce the dimensions – I set this to 600px for a manageable file. Here’s the result.

Step 5: Edit the frames
The GIF file I produced was too long and too jerky – that big splash at the end was too much of a landmark event. The solution here was to delete some of the frames the beginning and end in the timeline, reducing the animation to just five frames.

Step 6: Loop the frames
To avoid a jump where the film repeats, you need to loop it back and forth. To do this with five frames, select frame 4 and hold Option/Alt as you drag it to the end (the right of frame 5) to make a copy of that frame. Do the same with frames 3 and 2, and you’ll end up with eight frames altogether.
Step 7: The new GIF
Here’s the GIF with eight frames, which loop back and forth. The problem now is that the top glass wobbles as it pours, which is distracting – and that extra motion will add greatly to the file size.

Step 8: Duplicate and mask
Duplicate the bottom layer, and drag it to the top of the layer stack (although actually, you could duplicate any of the layers). Use Layer > Layer Mask > Reveal All to make an empty mask, then paint over the pouring water and the lower glass in black on this mask to hide the layer. Now, when you play the animation, you’ll see that the top glass remain still as the water pours into the lower one.

Step 9: Any other business
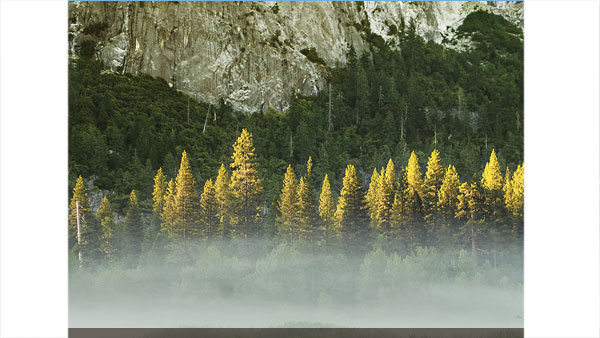
This is Photoshop, which means you can add anything you want to the image. I’ve added a girl looking intently at the water. Note that if you want to move extra elements around, select all the frames in the Timeline first or that layer will only move on the current one.

Step 10: Export the final GIF
Looking at the test GIFs I exported earlier, the water seemed to pour much too fast – it looked frantic. To slow it down, select all the frames and changing the timing from 0.03 seconds to a slower speed – I used 0.1 seconds, which gives a much more pleasing result.

This article was last modified on April 13, 2019
This article was first published on April 13, 2019
Commenting is easier and faster when you're logged in!

Recommended for you

Let’s Get Messy: Grungy Textures, Brushes, and Vectors
All this well-organized, time-managed, Pinterest-inspired talk of de-cluttering...

Creating a Pop Out Effect with Photoshop and InDesign
At the 2016 InDesign Conference in Washington, D.C., Nigel French reminded me of...
Adobe Releases Lightroom 6 and Lightroom CC
This week (April 21, 2015) Adobe Released Lightroom 6 and Lightroom CC 2015, pro...