
You can make a brush from any shape or image in Photoshop, which you can then save to use in all your projects. Here’s how to make a custom brush.
The Starting Image
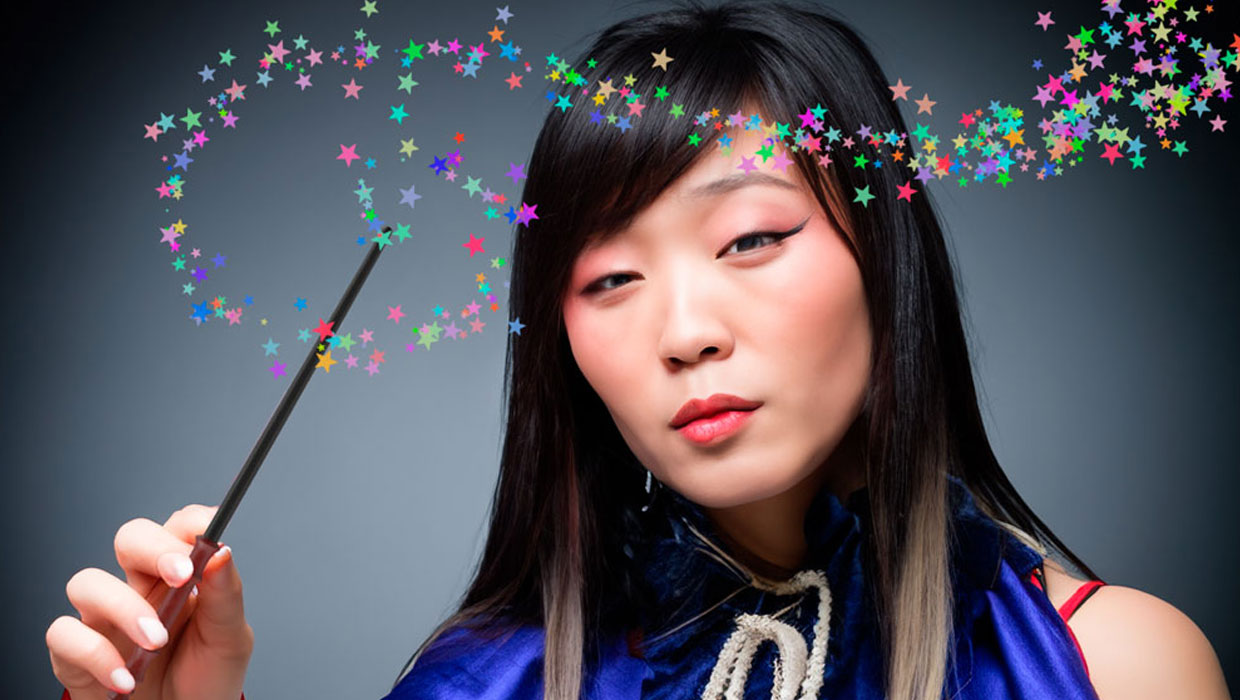
A wizard holding a magic wand – but that wand needs some sparkle. Let’s make a brush to add some magic.

Make Your Base
You can turn any image into a brush: I’ve chosen to draw a star. When you create a brush, black gives 100% opacity, and anything less than that produces a lower opacity. I’ve opted for a mid gray, which will produce a translucent brush.
To make the brush, draw a selection box around it and choose Edit >Define Brush Preset. Give the brush a name, and click OK.

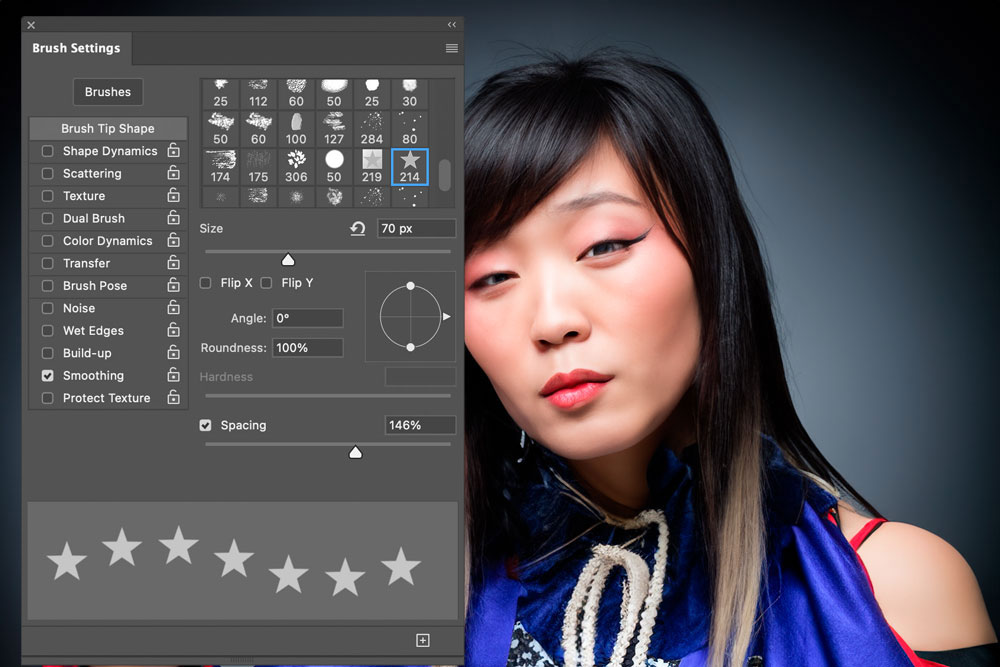
Open the Brush Settings panel
You’ll find this panel under the Window menu, if it isn’t already open. The first step here will be to increase the Spacing value, so that the stars aren’t all bunched together. You can do this by dragging the slider until it looks right – there are no absolute values here.
Add Some Jitter
Switch to the Shape Dynamics section of this panel, and drag the Size Jitter slider to 100%. This allows the brush to change size as you drag it. So that the stars aren’t all aligned the same way, drag the Angle Jitter slider to 100% as well.

Add Some Scatter
Now switch to the Scattering section of the panel. This determines how far the brush is allowed to deviate from your painted path. Drag the Scatter slider until you get the result you want. I’ve also increased the Count value, which allows the brush to draw more stars with each stroke.

Try It Out
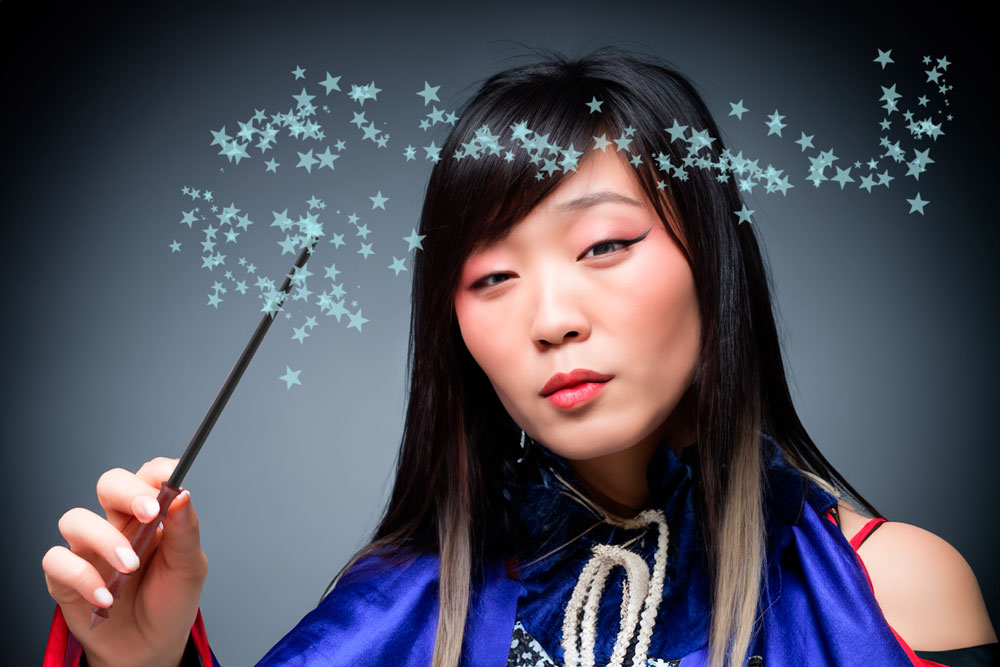
Make a new layer, choose your color and drag with the brush. It will probably come out too big, so make the brush smaller and try again. Here’s the effect: the translucent brush produces see-through stars that blend in well with the image.
Play with the Settings
There are lots more options in the Brush Settings panel. Here, for instance, I’ve checked the Color Dynamics section to allow the brush to vary its color between the foreground and background colors.

Save the Brush
Once you’ve got the settings as you want them, save the brush again. You can choose to include the foreground and background colors, as well as the current size, if you wish.

This article was last modified on September 6, 2024
This article was first published on September 6, 2024
Commenting is easier and faster when you're logged in!

Recommended for you

This is not photography: the story of Jerry Uelsmann & Maggie Taylor
Sure, you know lynda.com offers a tremendous variety of instructional videos on...
Alias to Launch The Art of Maya – 3rd Edition
Alias today announced that on June 17 it will officially launch the 3rd edition...

Why Can’t I Get Dot Leaders to Line Up?
Sometimes there's a big space before a dot leader, and sometimes it's tiny. Why...