


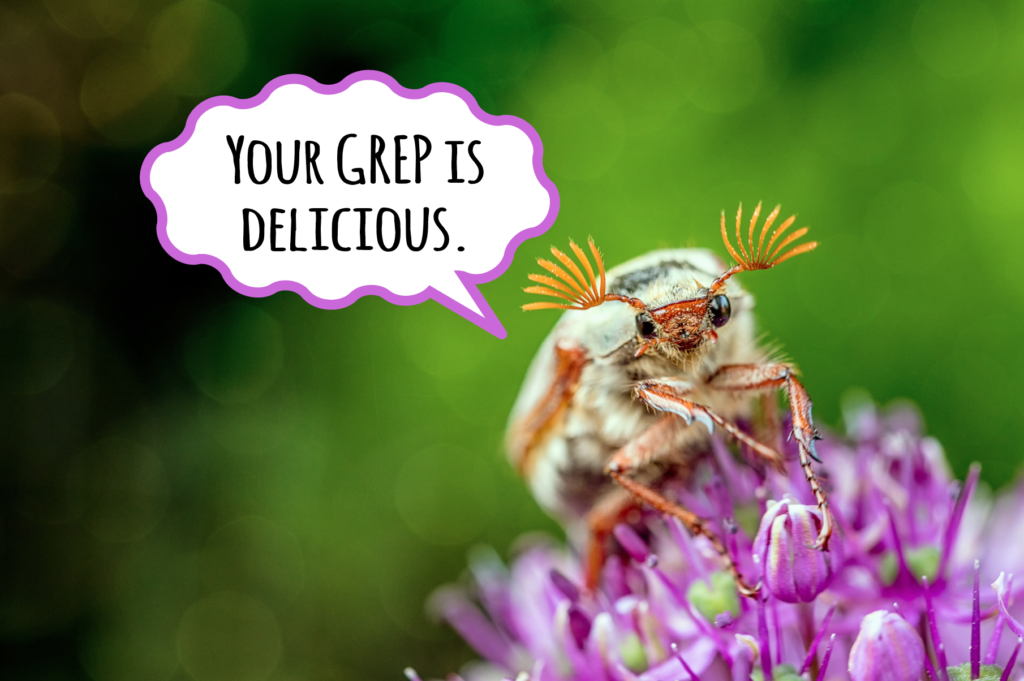
In my post on the fix for the GREP bug in CC 2019, I needed an image to spice things up. Not that news about an InDesign GREP bug fix isn’t riveting to a certain group of geeks (myself included), but y’know, to keep the attention of the layman for a few seconds.
So I grabbed a stock image of an impressive insect and gave him something to say with a speech bubble. To make it “sound” more like an insect voice I used a wavy stroke on the speech bubble.
But there was a problem with that since all the “fancy” stroke styles don’t adhere to shape of the path you apply them to. So if you apply a fill color, it won’t fit with the stroke, regardless of whether you align the stroke to the inside, outside, or center of the path.

Wavy stroke aligned to the inside

Wavy stroke aligned to the outside

Wavy stroke aligned to the center
There’s no way (that I know of) to fix this in InDesign, but a quick roundtrip to Illustrator and back basically expands the appearance of the stroke to make it a real vector object.

Actually, when you paste something like this from InDesign into Illustrator, you get three objects, one for the ellipse, one for the stroke, and a clipping mask around them.
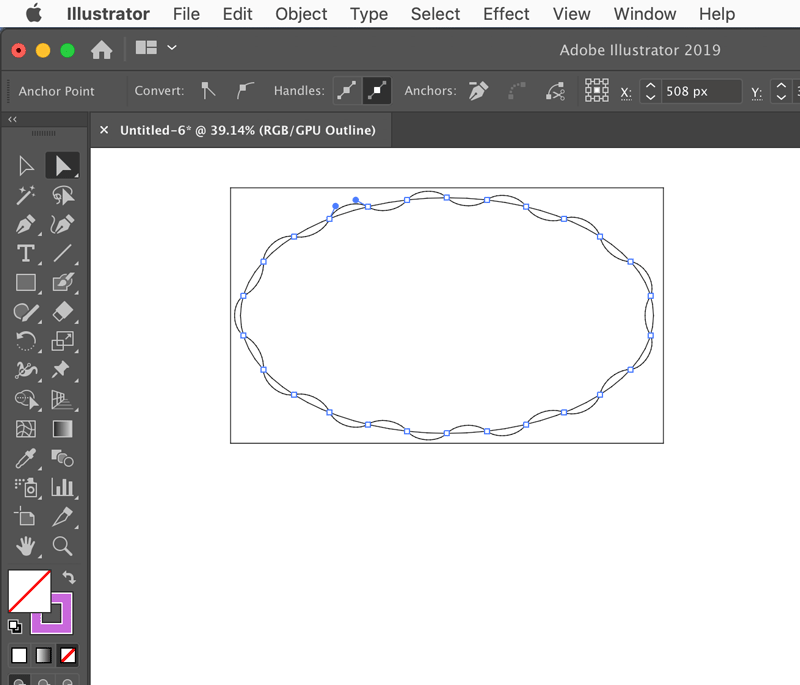
Just click on the wavy object with the Group Selection tool to grab it.

Then you can copy and paste it back into InDesign and apply a fill to and get the desired results.
And if you’re interesting in learning how to make perfect speech bubbles where you can easily reposition the pointer, check out the video below from my InDesign FX series at LinkedIn Learning.
060 Creating speech bubbles from InDesign FX by Mike Rankin
This article was last modified on September 24, 2021
This article was first published on April 22, 2019
Commenting is easier and faster when you're logged in!

Recommended for you

5 Essential Tips for New Illustrator Users
If you’re new to Adobe Illustrator, you may be wondering what the big deal...
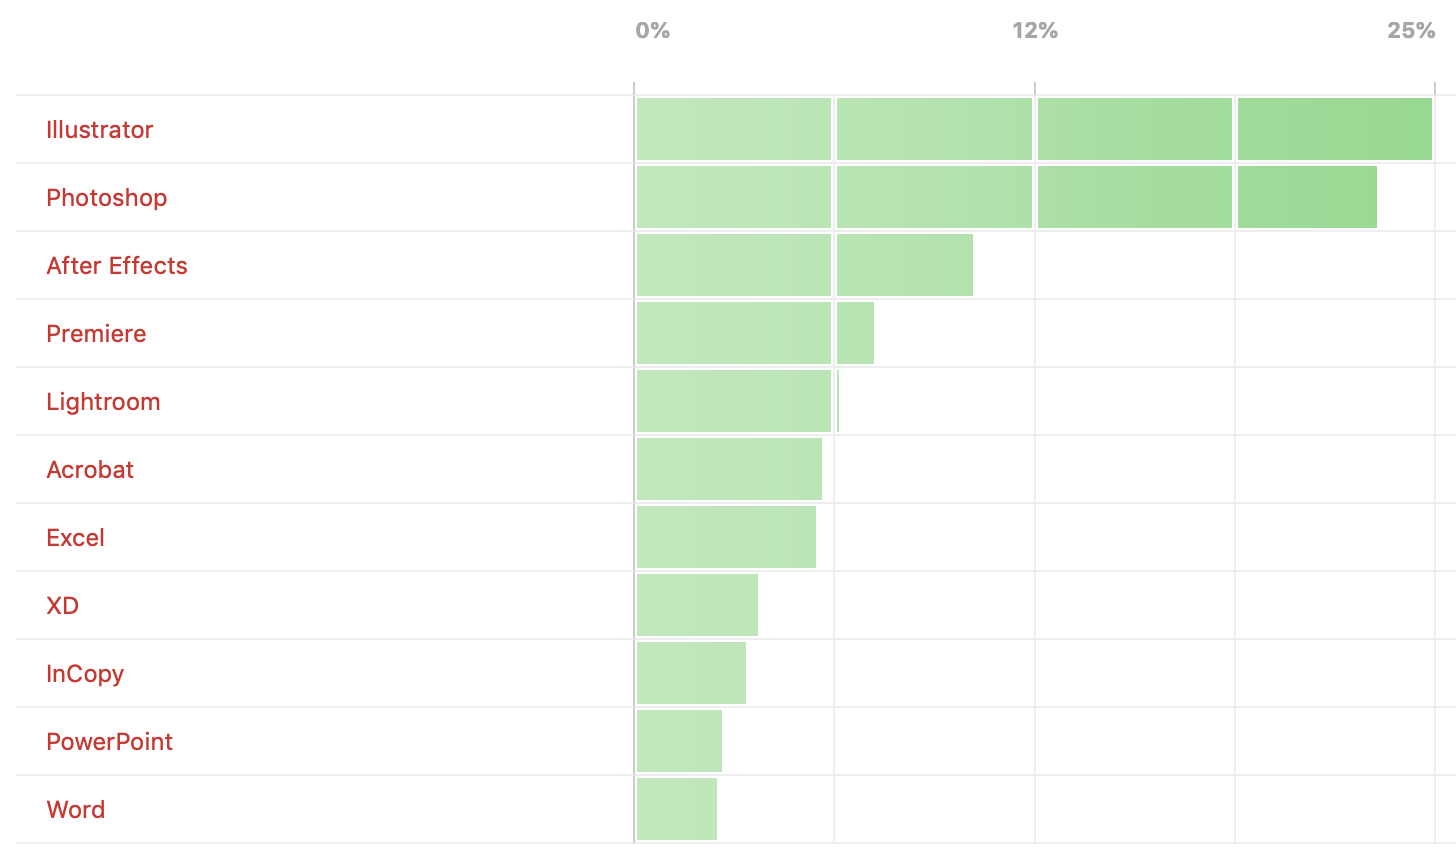
Poll Results: Which programs do you wish you knew better?
The results of our poll asking if you still use Flash (SWF) and a new poll on wh...

Image Tracing in Illustrator
How to use Image Trace in Adobe Illustrator to convert pixel-based images into v...