


Okay, I’m a little late for Pi Day, but here’s a cool geometric drawing tip.
Have you ever created a design element with multiple concentric shapes? One way you can do it in InDesign is by transforming a shape, scaling it up or down, and repeating the transformation. But transformations are percentage based.
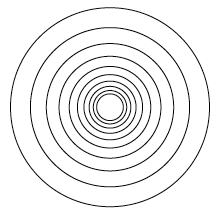
That means that if you repeat transformations, as your shapes get larger or smaller, so will the difference in their sizes. You’ll end up with a series of concentric shapes that get farther and farther apart the larger they get.
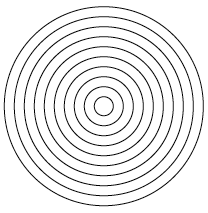
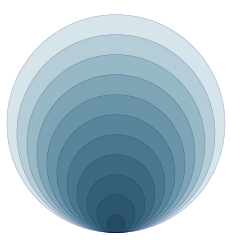
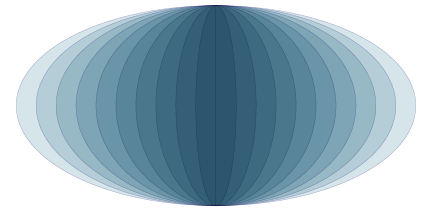
But what if you want equally spaced concentric shapes, like this?
Is there a quick and easy way to do this? Would I be writing this post if there weren’t? ;)
One trick is to use the width and height fields in the Control Panel, along with some keyboard shortcuts.
First, consider your unit of measure. For this trick, an easy unit to work with is centimeters, but anything other than inches works (with some minor adjustments).
You can quickly change the unit of measure for a document by right-clicking on the ruler origin to show the pop-up menu

or click on the cross-hair on the Info panel
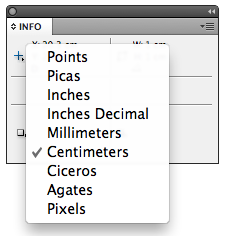
or cycle through units with the keyboard shortcut Command-Shift-Option-u/Ctrl-Shift-Alt-u.
For starters, try a circle. If your unit of measure is centimeters, start with a 1 cm diameter circle. Don’t worry if you need a different size, you can change it later.
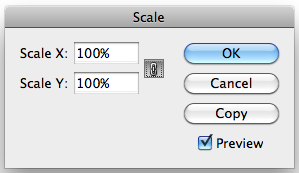
In the Control Panel, set the reference point to the center, and click the button to constrain width and height.
![]()
Click on the W or H to highlight the width or height. Then hold the Option/Alt key and press the up arrow as many times as you like. Each time you press the arrow, you’ll make a copy that is exactly 1 cm larger in diameter. Make as many as you want—InDesign seems to let you go on forever. I got tired of holding down the keys after my largest circle was over 100 feet wide. Yes, that tiny thing in the middle is my pasteboard (click the image for a bigger view).
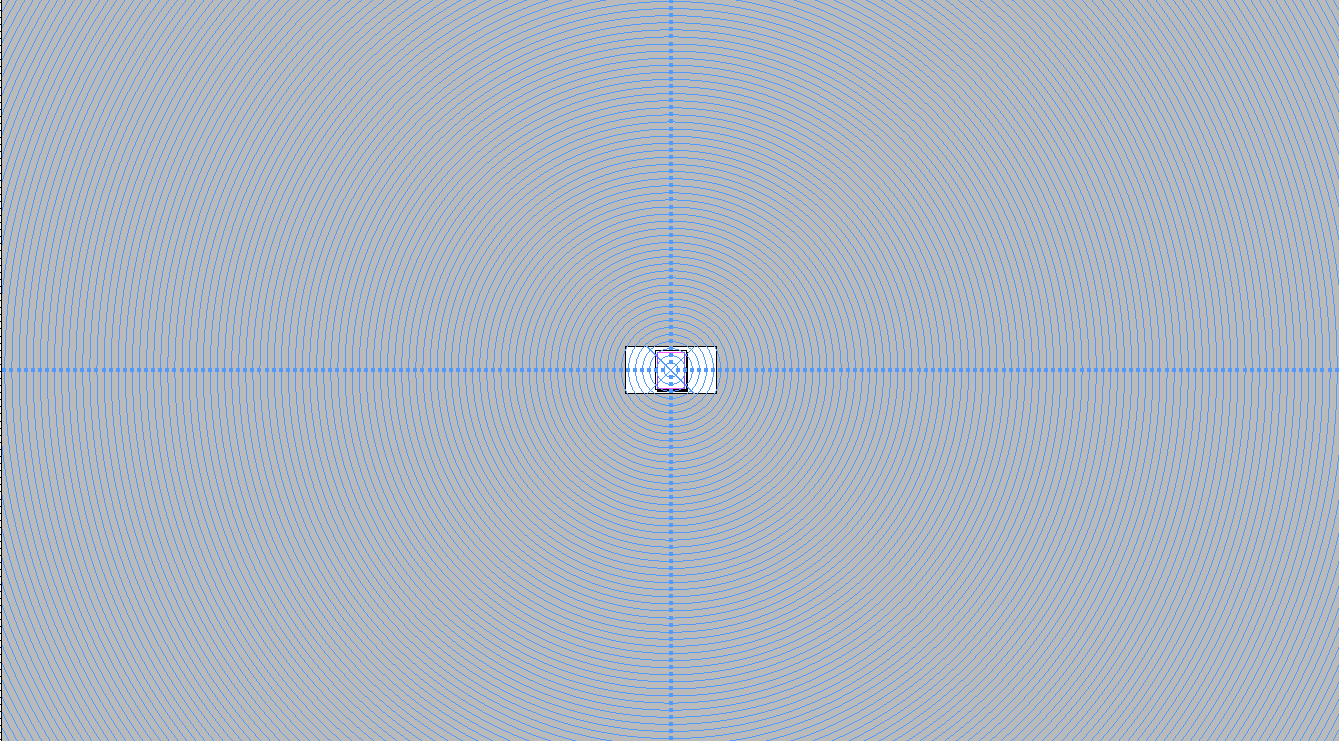
When you have all the circles you want, select them and use the Control Panel to size them as needed.
What if you want to use another unit of measure? You can do the same trick if you’re using picas, but you’ll need to hold down Shift and Option when you press the up arrow in order for each new circle to be one pica larger in diameter than the previous one.
If you’re working in points or pixels, you’ll need to make a little adjustment to the method above, since your initial object would probably be too tiny to work with. Ever try making a 1 pixel polygon? It isn’t much to look at.
So with points or pixels, just make your initial object 10 times as big as your unit of measure. For example, start with a circle 10 pixels in diameter. Then, hold Shift and Option when you press the up arrow. The shift key increases the keyboard increment by a factor of 10 for pixels and points. Again, when you have as many objects as you want, you can size them however you like.
Another thing to consider is the stacking order of the objects. Each new object is stacked on top of the older ones. So if you’re going to give the objects a fill, you’ll need to start with the largest object and make smaller copies. Otherwise the largest object will hide all the others (unless you get tricky with opacity or blending modes, but that’s another story).
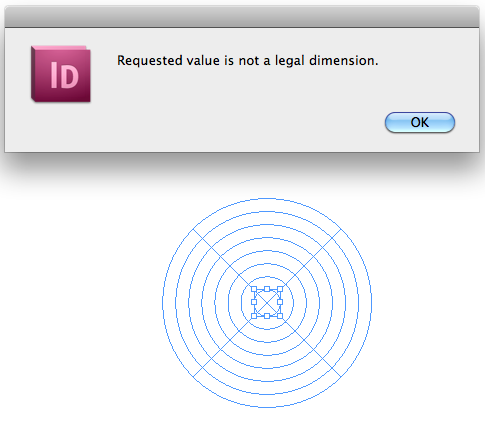
To make a series of increasingly smaller copies, let’s start with centimeters again. Start by deciding how many objects you want. Then make that number the size (in centimeters) of your first object. For example, if you want 8 concentric circles, make your first circle 8 cm in diameter. Then hold Option/Alt and press the down arrow until InDesign tells you it’s time to stop.
If you’re working with picas, pixels, or points, follow the directions above about using the shift key and 10x increments.
Then start playing around. Once you get the hang of working with regular objects, you can experiment with oddly shaped ones.
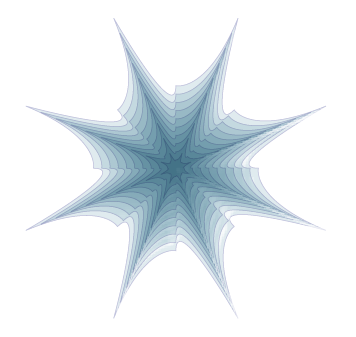
Change the reference point so the shapes are no longer concentric.
Try unequal scaling of width and height.
Rotate and copy the shapes. You can make some intricate shapes very quickly.

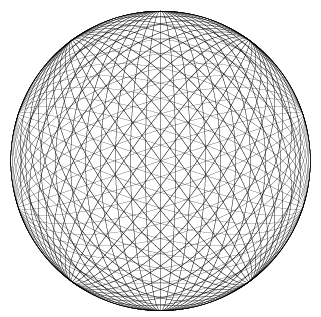
Now you have the tools to finally make that InDisco Ball you’ve always dreamed of.
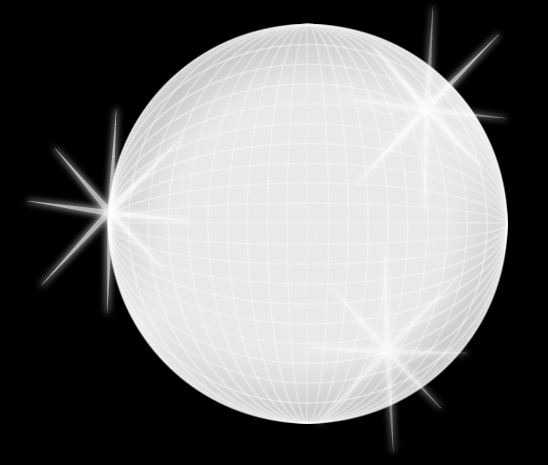
You never dreamed of that? Oh wait, that was me. Nevermind.
This article was last modified on December 14, 2023
This article was first published on March 16, 2011
Commenting is easier and faster when you're logged in!

Recommended for you

Matching Spot Colors Across the Suite
Sometimes InDesign users have trouble matching spot colors between Photoshop and...
18 handy table shortcuts
Learn these 18 table techniques and shortcuts, and take your table skills to the...
Customize InDesign’s “Edit Original”
Ira writes: Is there some way to have the contextual menu item for "edit origina...