

Creating Highlights and Shadows with a Gradient Mesh
The lanyard is distorted beautifully now but it still doesn’t look real. Something’s lacking. It’s missing highlights and shadows to give it depth. Meshes come in real handy for that purpose, too. In fact, we’ll use the same mesh we just separated from the lanyard copy. When a mesh is used to distort or shape something it’s called a “mesh warp” or “envelope mesh;” when a mesh—conceivably the same mesh—is used for coloring, that object becomes known as a “gradient mesh.” That’s what we’re working with now.
1. If you went nuts with the mesh tool, adding rows and columns, undo with CMD-Z/CTRL+Z until you get back to two rows and ten columns. We may add more as we go along, but for now let’s keep things simple.
2. Position your mesh object directly over the distorted lanyard it matches. Be sure it lines up on all points (adjust mesh points with the Direct Selection or Mesh tools if necessary).
3. Duplicate the current layer; then hide the duplicate. For the sake of making the rest of this tutorial more understandable, please rename the duplicate layer to “Cast Shadow.”
4. Select the mesh with the Selection tool, and, on the Transparency panel, set the blending mode to Luminosity—which should make the distorted lanyard beneath visible.
5. Now look at your distorted lanyard. Make two decisions: First, where is the light source in relation to your lanyard? And, with that in mind, where should the lanyard be shaded? Got that?
6. Drag the black swatch from the Swatches panel and drop it into any mesh patch to be shaded. Do it with another mesh patch—try an area that should be highlighted, dropping the white swatch onto it (see Figure 14).

Figure 14: Dropping black and white into mesh patches fills those patches and spreads outward from them, blending smoothly.
7. Now click on a point that touches one of the mesh patches you just filled. With the point selected, choose the opposite color swatch on the Swatches panel—black if the mesh point is white, white if it’s black. See how smoothly they blend (see Figure 15)? This is called a gradient mesh. Each colored path or point will blend smoothly in all directions into the next colored path or point. The most common use for gradient mesh objects is to create smooth coloring in a Normal blending mode; in this case, we just need it to give us highlights and shadows.

Figure 15: Such smooth transitions make gradient meshes ideal for a wide range of coloring tasks. Note: Black and red used for illustration purposes.
8. Set all your highlight and shadow areas by either method—either by dragging swatches and dropping atop mesh patches or points or by selecting points and then coloring them. Use different shades of grey for more realism than simple black and white. Add or remove mesh points as needed (with the Mesh tool, which can also be used to color mesh points). And don’t forget to leave some points and patches unshaded, thus allowing the unaltered tone one of the lanyard to show in places.
9. If you find your highlights too hot and your shadows too deep, either recolor with different tones or adjust the opacity of the entire mesh object with the Transparency panel. In the end, your light-and-shadow mesh shouldn’t look too dissimilar to mine (see Figure 16).

Figure 16: Using black, white, and shades of grey within the gradient mesh creates realistic lighting and shadow for the lanyard.
This article was last modified on January 18, 2023
This article was first published on June 17, 2013
Commenting is easier and faster when you're logged in!

Recommended for you

Placing Items on an Irregular Surface in Photoshop
Placing items on an irregular surface, such as grass or sand, will only look nat...
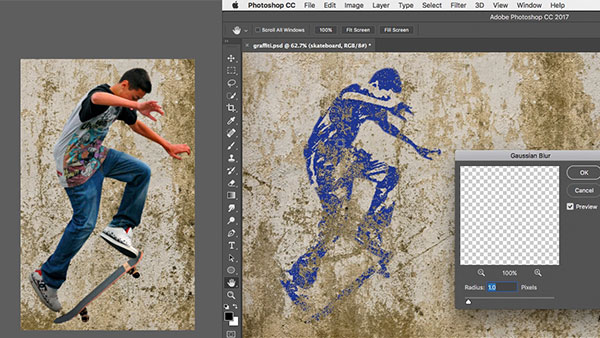
How to Turn a Photo into Graffiti with Photoshop
You can turn any photograph into a piece of graffiti artwork in Photoshop, witho...
Using Adobe Stock in Photoshop
There’s no question that Adobe is putting a lot of resources into Adobe St...