

I think we’ve probably all come across those InDesign documents that have their linked files distributed across different folders and directories on a local hard drive or network drive. We don’t really mind things, until the day we need to select a few graphics from that particular InDesign project and copy them to another project. It happens to be a project that contains hundreds of images…
Even using the File > Package command to quickly collect all graphic links in a single Links folder, means visually browsing for the image.
Or right-clicking the InDesign file in Adobe Bridge and choosing Show Linked Files, which displays all links from everywhere in a single Bridge window would also require visually scanning all the graphic.

All you really want to do is quickly locate the image on your system or on the server somewhere and display it in the Finder or Explorer or in Adobe Bridge and copy it to your new project.
So let’s have a look at InDesign’s “quick find” feature :) and if you read on to the end, we’ll make this feature even faster for future use :)
Revealing graphics
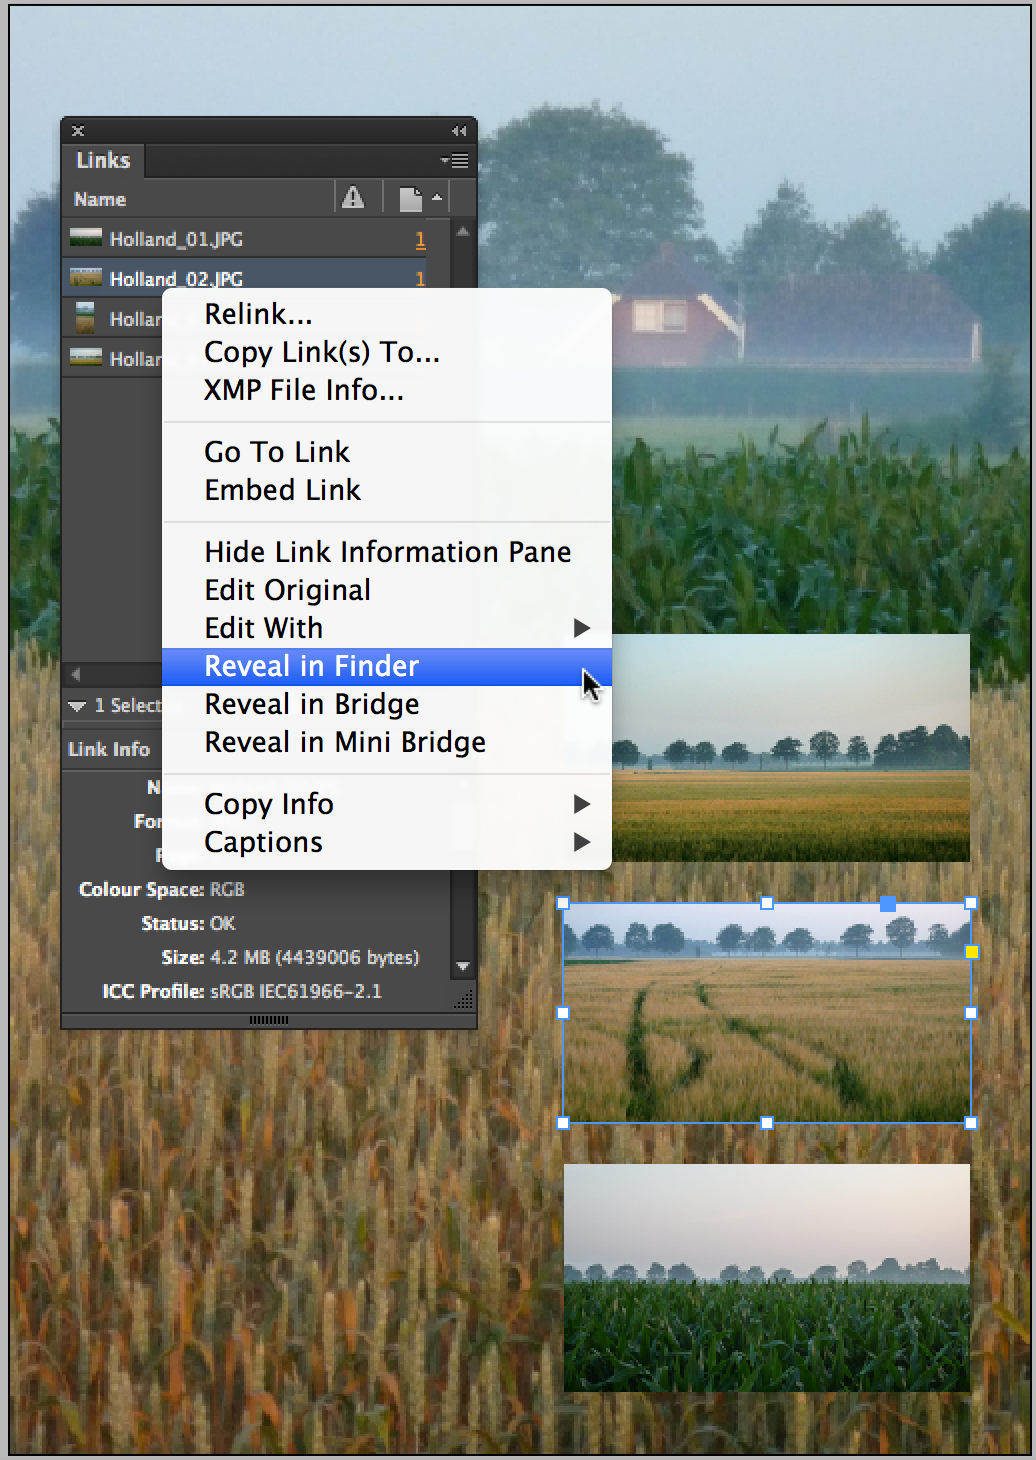
When you select a graphic in an open InDesign document with the Selection tool, the graphic is also selected in the Links panel.
- From the Links panel menu choose Reveal in Finder (or Explorer). Note that you can also choose to reveal the graphic in Bridge or Mini Bridge.
To go a little faster…
- Right-click the active graphic in the Links panel.
- From the contextual menu choose Reveal in Finder (or Explorer).
To go a just a little faster, you can by-pass using the Links panel.
- Select the graphic in InDesign with the Selection tool and right-click.
- It’s a bit of a scroll down the long contextual menu, but at the bottom end choose Graphic and Reveal in Finder (or Explorer).

[insert] As David points out in his comment below, there is another quick way to access the Reveal in Finder (or Explorer) command:
- In the Status Bar at the bottom of the InDesign document window, click the Open button and choose Reveal in Finder or Explorer menu.

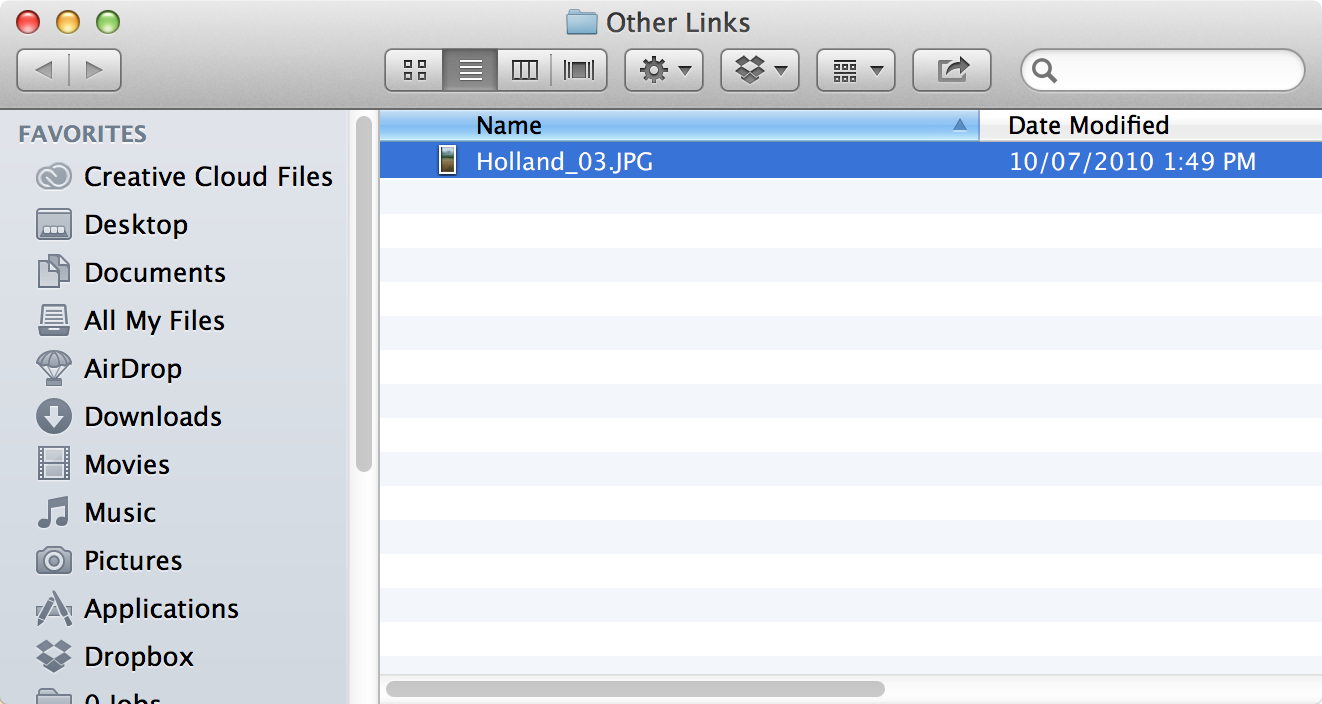
In each of these cases the folder containing the graphic is opened up, and the graphic is selected. This means you can immediately press Cmd+C (Mac) or Ctrl+C (Win) to copy the graphic, than navigate to the new project location and paste the graphic into the new project folder.
Locating the new project folder
Ooooooops!! You closed the new project folder and now need to go and find that as well? Not to worry ;-)
If you do have the new project InDesign file open and want to paste the graphic into the new InDesign project folder:
- You can very quickly navigate to this folder by right-clicking the InDesign document title and choosing Reveal in Finder* from the contextual menu.

[insert 29-Jan-2014] *Note that Jas (in comments below), points out that the ‘Reveal in Explorer’ option is not available on Windows. I’m thinking that might be an oversight from the Adobe engineers, as you ‘can’ assign a shortcut to that feature as a work around. You’ll find the Layout Window States : Reveal in Explorer option under the Panel Menus Product Area (see below how to assign shortcuts).
Can we make things faster?
Right-clicking directly on the graphic in InDesign seems to be the quickest way to access a selected graphic on your system or network. However to make things even faster consider assigning a keyboard shortcut to the Reveal in Finder (or Explorer) command, so all you need to do is select the graphic and press the shortcut keys to navigate to the graphic location.
- From the Edit menu choose Keyboards Shortcuts… if you don’t have a custom keyboard shortcut set selected yet, create a new shortcuts set.
- Click the New Set button and in the New Set dialog box, type the name of the set, click OK to return to the Keyboard Shortcuts dialog box.
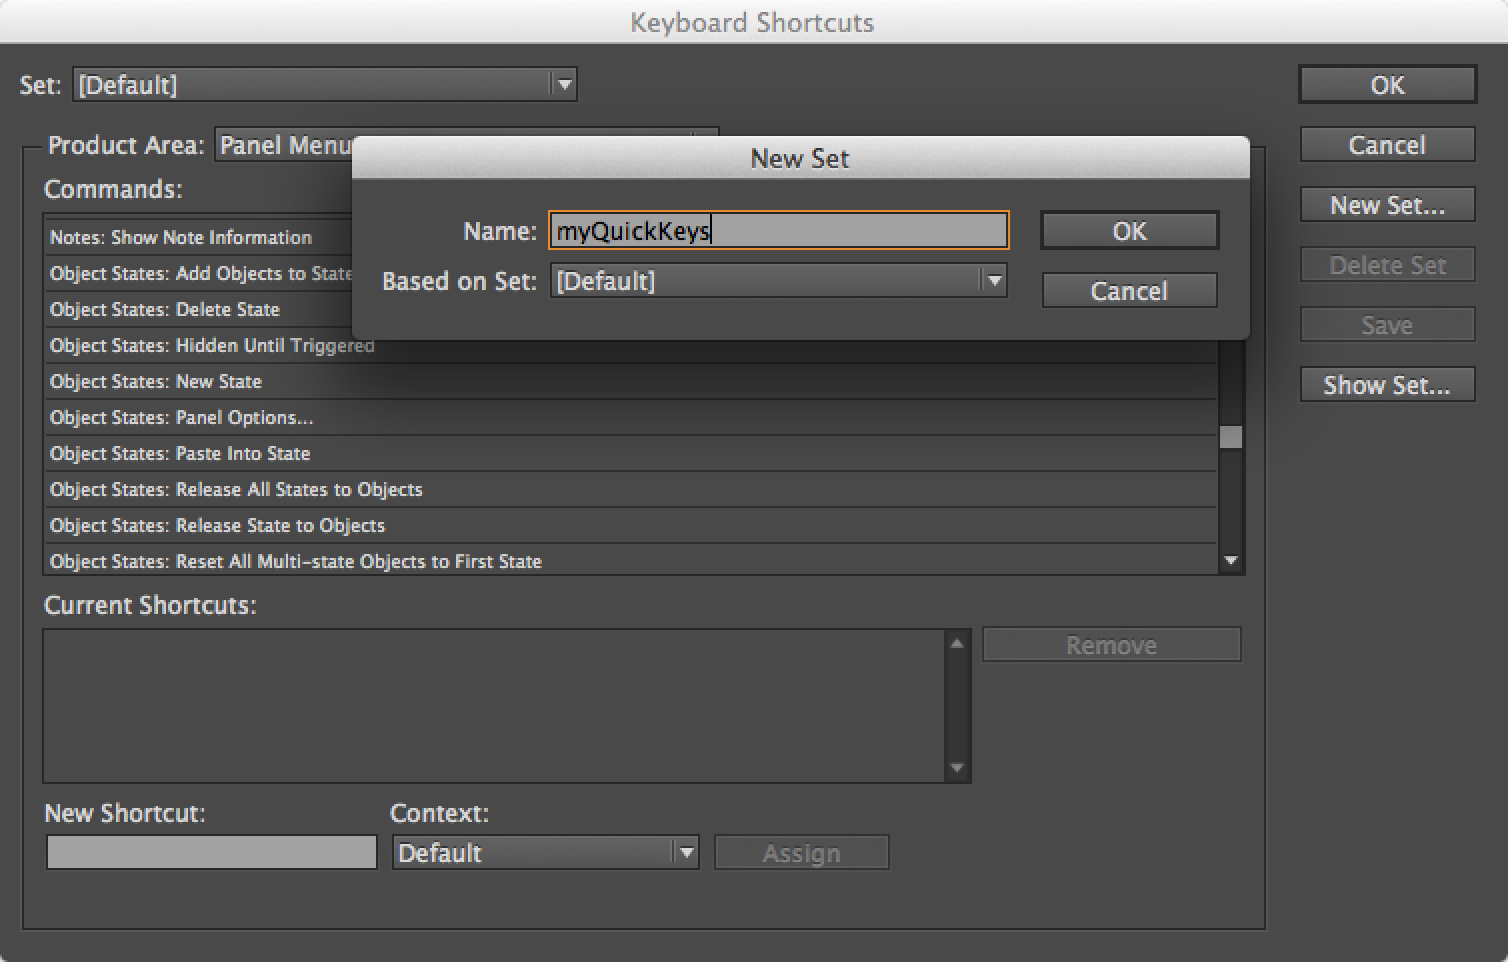
- From the Product Area menu, choose Panel Menus.

- Scroll down the list of commands that appears and click on Links: Reveal in Finder (or Explorer).
- Click in the New Shortcut box and press the keyboard shortcut keys on your keyboard that you’d like to assign. If you select a keyboard shortcut that is already used in InDesign, a message will appear underneath the shortcut box telling you where this shortcut is assigned. Try pressing another shortcut combination if this is the case, as retaining a shortcut that’s already used elsewhere in InDesign will disable the original shortcut. An unused shortcut displays [unassigned].
- Then click Assign and click OK to close the Keyboard Shortcuts dialog box.

You can now use the keyboard shortcut, when you have a graphic selected, no more right-clicking required… and you’ve got your quick find my graphic shortcut available for future use.
This article was last modified on December 30, 2021
This article was first published on January 17, 2014
Commenting is easier and faster when you're logged in!

Recommended for you
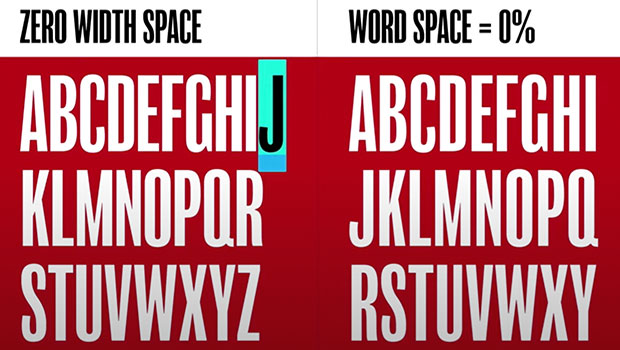
InDesign How-To: Use a Zero Width Space
Learn how to use a zero width space, which can break like a regular space and he...

Put Bullets Before and After a Heading in InDesign
How to use paragraph rules in InDesign to create bullets before and after a head...
Recosoft Corporation Releases PDF2Office v2.1 Professional Edition
Recosoft Corporation the developer of cross platform Macintosh and Windows file...