You probably think of color images being RGB or CMYK (or maybe even Lab or HSB), but there is another option that most InDesign users don’t usually consider: indexed.
Indexed color comes from the early world of screen graphics—for example, GIF files are always saved in indexed color (no matter how you pronounce “gif”). In an RGB image, each pixel is given a specific RGB (red, green, and blue) value. But in an indexed color image, each pixel is given a number from zero to 255. For example, a pixel might be given the number 47. And, embedded in the image is a color lookup table (CLUT) that matches the number to a color value. So #47 might be some blue color.
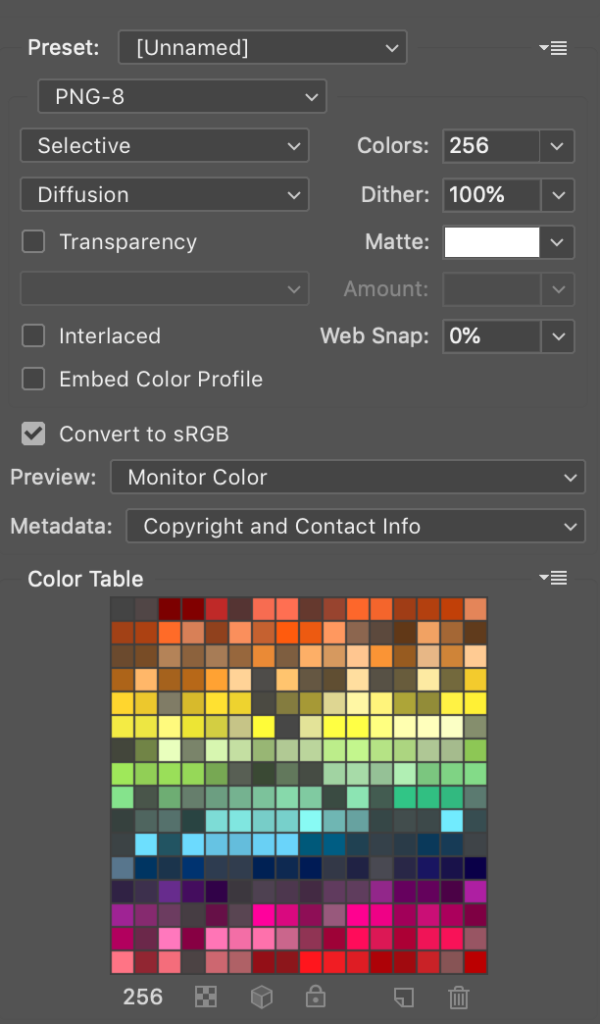
Similarly, if you use Photoshop’s Save for Web feature and choose PNG-8, you’re using indexed color. It’s a very compact way to store color data, so images can be smaller.
InDesign can import indexed color images without complaint, but in general you want to avoid them if your document is destined for print.
For example, I recently created a PDF from InDesign and uploaded it to Amazon’s KDP service for a print-on-demand (POD) book. But when I reviewed the PDF proof they supplied, some of the images were horribly messed up. It was only after several exchanges with customer support that they gave me the clue I needed: some of the images in the PDF were in indexed color mode.
How, then, to find which of my images are in indexed color? Unfortunately, InDesign’s Preflight feature won’t look for indexed color images. So I thought I would be stuck opening each image in Photoshop and looking in the Image > Mode menu:

But then, as I was talking with Erica Gamet about the problem, she suggested something: “Doesn’t InDesign’s Links panel show you?”
The answer is: Yes, if you know where to look!
First, you can look at Color Space in the Link Info section of the Links panel:

But that’s also a hassle if you have a lot of images… you’d have to click on each, one at a time. Fortunately, there’s a faster way: Choose Panel Options from the Links panel menu and turn on the Color Space checkbox in the first column:

When you do that, the Links panel will show you a Color Space column, which makes which images are in indexed color really obvious:

You can even click on that column header to sort by color space, grouping all the indexed color images together.
(By the way… for those of you who want to geek out on this: in Acrobat, you can also use the Object Inspector (inside the Output Preview panel) to see if an image is saved in indexed color.)

If you’re outputting for on-screen display (or even a PDF that may be printed on a desktop printer), indexed color is generally no big deal. But if you’re headed for commercial print, you probably want to convert these images to RGB or CMYK.
This article was last modified on August 3, 2021
This article was first published on September 8, 2020
Commenting is easier and faster when you're logged in!

Recommended for you

Multi-Level Automatic Numbering in InDesign
Making multiple levels (like 1A, 1B, and so on) in a list seems confusing at fir...