

Recently Adobe updated Illustrator to version 25, adding more tools and functions than ever. With so many options, finding your way around the application can be daunting. Fortunately, you can make Illustrator a lot easier (and more fun) to use by customizing your workspace and arranging tools and panels to meet your needs. Here’s how to do it.
The Starting Point
When you first launch Illustrator and open or create a document, a subset of tools and panels is displayed in the application workspace. There are many more hidden features; You can start exploring what’s available by choosing Window > Workspace and selecting from the available options. You can also click the Switch Workspace control on the right side of the application window’s title bar. Choose the Essentials workspace to start out.
Changing User Interface Colors and Scaling
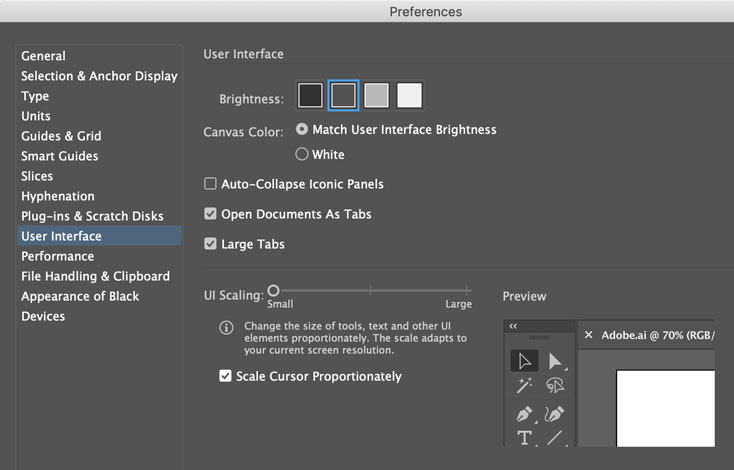
Before arranging your workspace, you can change the appearance of the entire application by choosing Illustrator > Preferences > User Interface… on Mac or Edit > Preferences > User Interface… on Windows. Select brightness, scaling, and other settings to suit your taste.
Moving and Arranging Panels
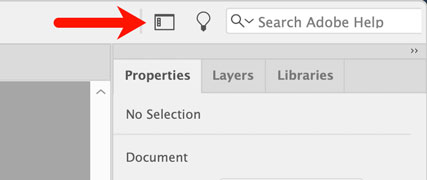
On the right side of your screen, you’ll see three panels grouped as tabs: Properties, Layers, and Libraries.

Drag a panel’s tab to rearrange it within this docked region. Drag a tab away from where it’s docked, and it becomes a floating panel. You can resize panels from the sides or bottom and move them by dragging their title bar or tab.
The double chevron in the right corner of a panel (») minimizes or expands it back to the size you last set. The double-arrow button to the left of the panel’s name hides or shows additional panel features.

The flyout menu in the upper-right corner offers contextual options.
As you drag a panel alongside another, they can snap together so they’re perfectly adjacent. Drag panel tabs alongside each other to group them in a single panel. Drag the title bar of a panel onto the bottom of another to connect them vertically.

You can drag panels to the right or left edge of the application window to dock them. Discover many additional panels under the Window menu.
Showing the Control Bar
Choose Window > Control to display the Control Bar across the top of the application window. This helpful bar is context sensitive, displaying options and controls based on the current tool.
Arranging the Toolbar
When you select the Essentials workspace, a Basic toolbar is shown in a single column alongside the left edge of the application window. Choose Windows > Toolbars > Advanced to reveal more tools in two columns. A toolbar can be undocked and moved by dragging the marked region directly under its title bar. The chevron (») toggles between single and double column layouts.
Customizing the Toolbar
Click the three dots at the bottom of the toolbar to display the All Tools Drawer.
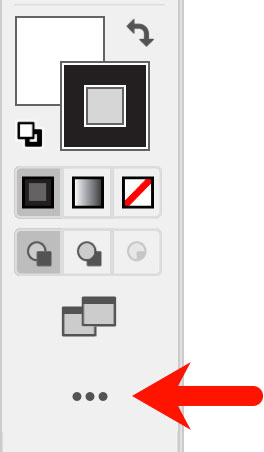
Tools already in the current toolbar are grayed out. Drag tools to or from the toolbar into the drawer to add or remove them. Press Shift and click multiple tools to add them as a group. Drag tools around the toolbar to arrange them while the drawer is open. Use the flyout menu in the upper right corner of the drawer to save your preferred arrangement as a new toolbar.
Saving Your Workspace Changes
Now that the panels and tools are arranged to your liking, it’s time to save your workspace. Choose Window > Workspace > New Workspace… and enter a name. Tools and panels are saved as they now appear in the workspace. You can switch among workspaces anytime.
As you rearrange tools and panels while you work, Illustrator remembers the changes and saves them to the active workspace. Reset a workspace to its previously saved state by choosing Window > Workspace > Reset (workspace name).
This article was last modified on August 9, 2021
This article was first published on December 28, 2020
Commenting is easier and faster when you're logged in!

Recommended for you

Creating Blends in Illustrator
Learn how to morph objects, colors, and paths with the blend tool
From Paper to PDF: Vectorizing Hand-Drawn Artwork with Photoshop and Illustrator
I have a close friend, Mike Manoogian, who is a brilliant lettering and logo des...

How to Create 3D Objects Quickly in Illustrator
See how easy it is to create great looking 3D objects in Illustrator quickly. Us...