
Affinity Photo is a worthy alternative to Photoshop, with much of its popularity arising from the fact that it’s available as a one-time purchase, rather than a monthly subscription. Here, we’ll look at how to create a CD box insert using a default template, and export the resulting file in a press-ready format.
Step 1: Create your document
Choose New from the File menu, and scroll down the list of presets till you find the size you want (although you can, of course, create a document at any size you like). I’ve chosen CD Booklet Cover. Note that Photo allows you to include margins in the document: I’ve set margins of a quarter inch all round, so the text doesn’t go too close to the edge.

Step 2: Add your images
You can add images to Photo via copy and paste, or using File > Place. Click and drag to place the image at the size you want.

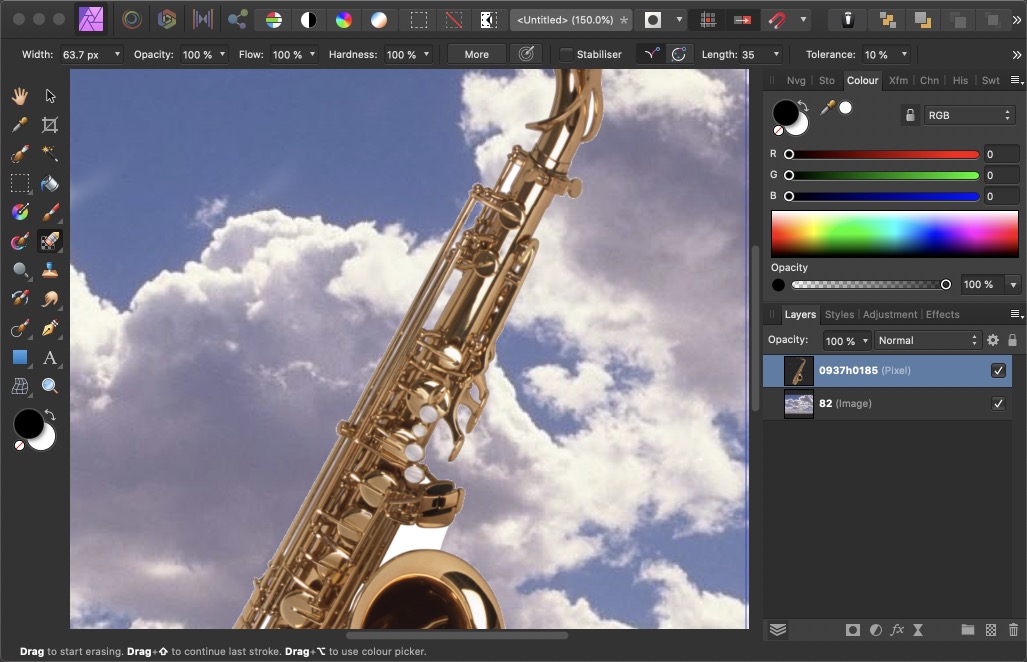
Step 3: Performing a cutout
Once a background image has been added, it’s clear that the white background from the saxophone needs to be deleted. Although this is a photo library object with a clipping path, there’s no way to access it within Affinity Photo. Instead, you have to use the Background Eraser Brush, found nested behind the regular Eraser brush.

Step 4: The Background Eraser
It’s best to use a hard-edged brush to delete the white from this layer. The Background Eraser Brush does a good job of removing just the white, while leaving the rest of the sax intact.

Step 5: Erasing bounded areas
Unlike Photoshop’s Background Eraser tool, the Photo equivalent has no way of setting its mode to Discontiguous. To erase bounded white areas you need to click and drag inside them. To make the job easier, though, Photo gives a preview of what will be erased when you hover over the relevant area, so you can delete the white without risking removing part of the sax.
Step 6: Adding text
Photo offers a significant advantage over Photoshop when it comes to adding text. After selecting the Text tool, you drag it to set the size of the text, and a letter A shows the scale and font.
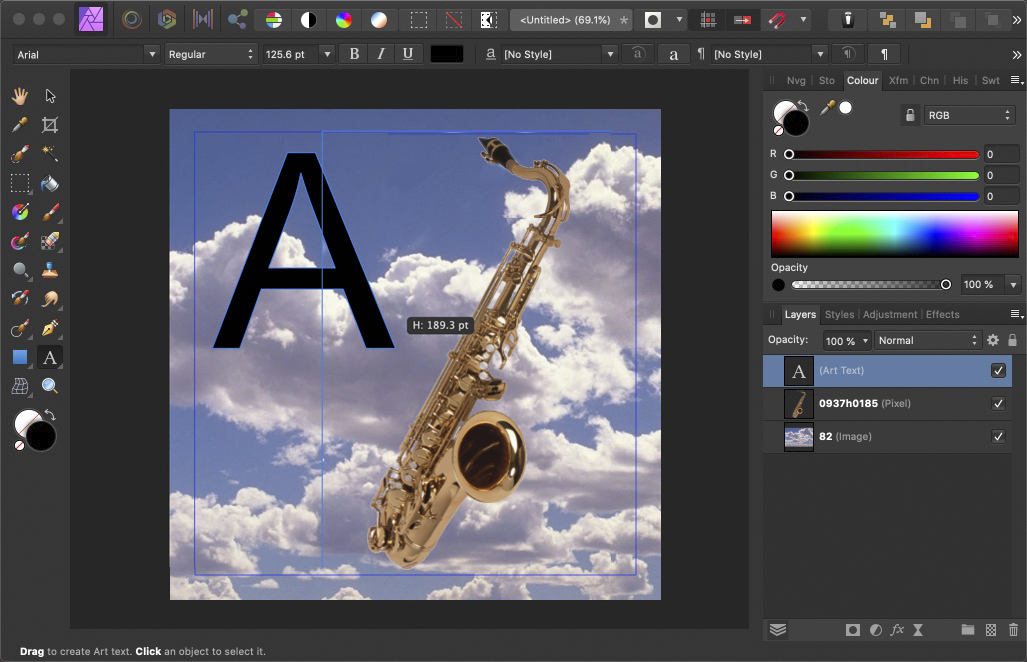
Step 7: Type your text
Type the text as normal. When you’ve finished, don’t hit the Enter key as you would in Photoshop, as this will add a paragraph break; instead, hit the Esc key to finish editing the text.
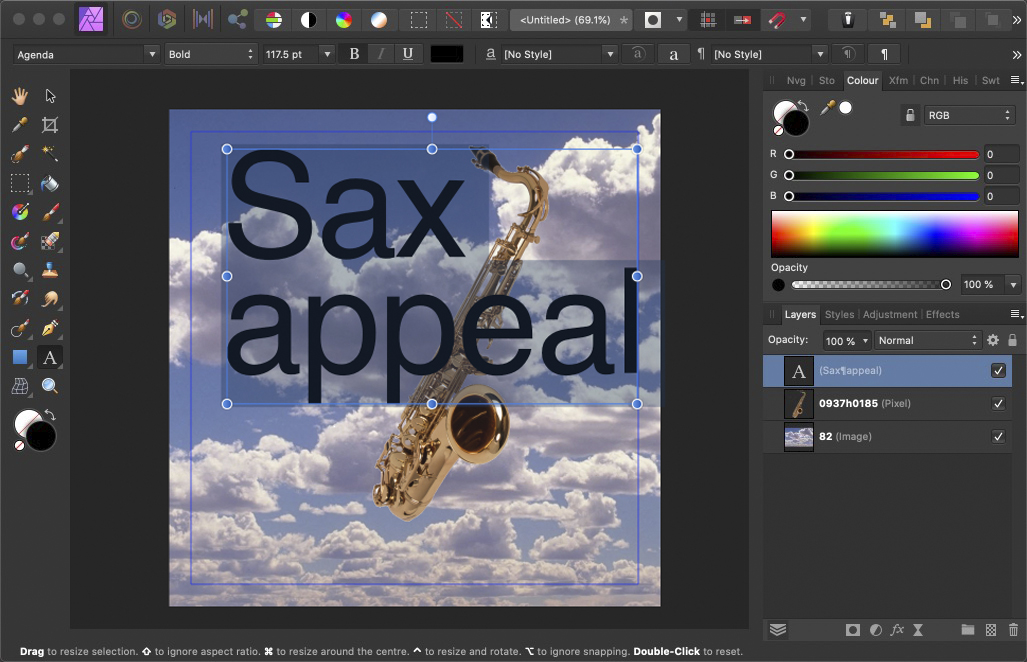
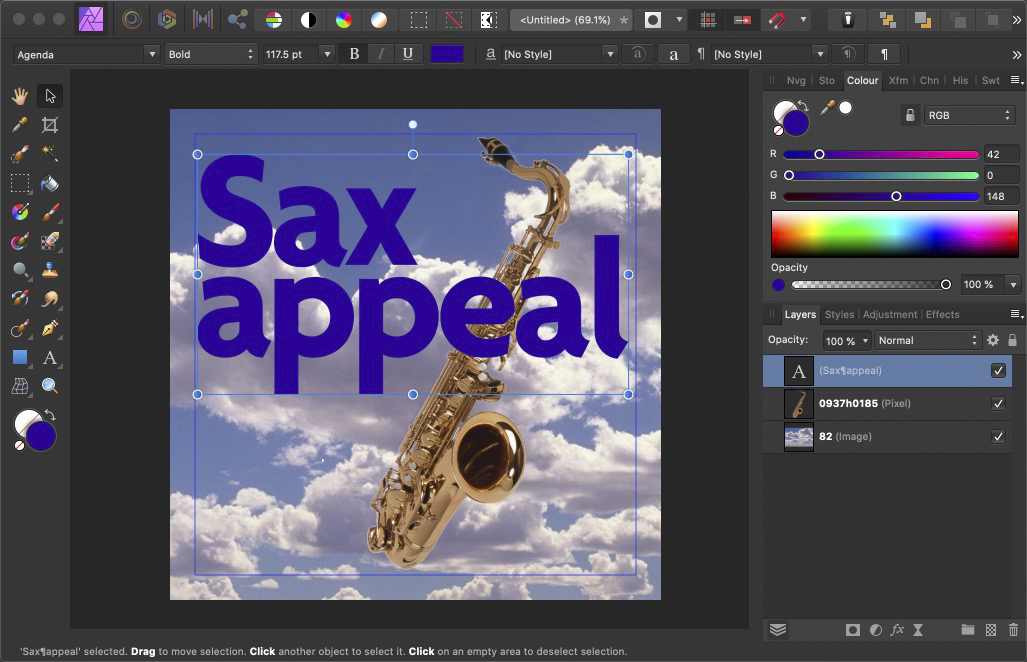
Step 8: Customizing text
You can choose your font from the Font field top left, and as you move the cursor over each font in the list it will change in the document. You can adjust leading and tracking using the same keyboard shortcuts as in Photoshop: Option/Alt and the left/right cursor keys to change the tracking, and the up/down cursor keys to adjust the leading.
Step 9: Exporting the file
Use File > Export to begin the export process. The default is JPEG, and there’s a handy addition here in the Area pop-up menu (not found in Photoshop) that allows you to export just the selected area, with or without a background.
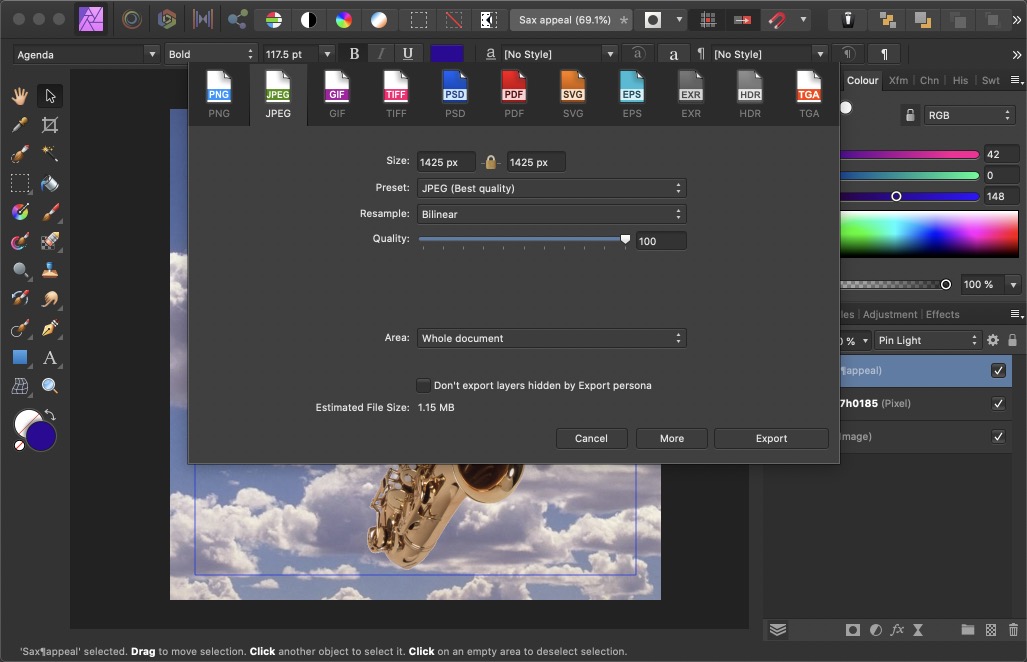
Step 10: PDF export
If you’re saving a press-ready file, you’ll want to export it as a PDF file so that the text remains crisp. Choose PDF from the list of export formats at the top of the dialog; you’ll probably want to leave the DPI setting to 300, which is standard for professional printing.

Step 11: Extra features
If you click the More button at the bottom of the PDF export pane, you’ll see a range of additional options including the ability to add bleed, crop marks, and other printing marks. Which sounds great; but while Photo will add crop marks, it won’t extend the background past those crop marks, which makes the exercise somewhat pointless. There’s no need for crop marks without bleed that extends beyond them.

Step 12: The bleed workaround
Make a new document, at the same size, and export this as a PDF with whatever crop and other printer’s marks you want. When you open this PDF in Photo, you’ll be surprised by two things: first, that it appears empty; and secondly, that it seems to contain dozens of layers. To fix the first issue, use the Crop tool to enlarge the work area so that it includes the crop marks. Then, because Photo bizarrely sets each shape and letter as a separate layer, select them all in the Layers panel and choose Merge Selected from the Layer Menu.

Step 13: Modifying the original image
In the blank image you just created, Select All and then Copy. Then go back to the original image and Paste. Click without dragging to place the layer at its original size. You’ll see just the crop marks in the top left corner, because the pasted layer is larger than the original document. So use the Crop tool to make the document wider and deeper—a process made harder by the fact that Photo doesn’t show you the area outside the current crop until you apply the new crop.

Step 14: The finished image
Here’s the result of adding the crop marks and extending the canvas area. To save time, you could start with the blank CD PDF as your starting document when creating future projects.

This article was last modified on February 7, 2022
This article was first published on March 29, 2020
Commenting is easier and faster when you're logged in!

Recommended for you
How to Move Photos Between Lightroom and Photoshop
When it comes to working with photos, Adobe gives you two powerhouse pro tools,...
How to Make a Rubber Stamp Effect in Photoshop
You can turn just about any artwork, logo, or text into a rubber stamp by follow...

Surreal Photoshop Effects: Swimming on Land
People swim in swimming pools. Or in the sea. But why limit ourselves to the obv...