

The Spanish architect Antoni Gaudi was known for his exuberant, surreal constructions. (Google him if you don’t know his work; or better still, go to Barcelona and see his buildings for real.) But how do you encompass an entire lifetime’s body of work in a single image? The answer is that you don’t: but you can attempt to give your readers a sense of the flavor of his creations.
1: Choose the right image
There’s only one decent photograph of Gaudi, and while the head and shoulders shot shows what he looks like, it doesn’t give much sense of him as a man. This statue is better, and Photoshop’s Select Subject command does a good job of isolating him from the background. 
2: Add a background
Parc Guell in Barcelona gives us a good starting point. But there’s far more to Gaudi than just this scene, even though it delivers a sense of his verve and creativity. 
3: Add more buildings
When we bring more of his iconic buildings into the scene, we get a better impression of the diversity of his output. He needs to be standing on something, though, and one of the few things he didn’t design was sidewalks. 
4: Add a ground
This view up another of Gaudi’s buildings can stand in for the ground plane. It’s not a real ground surface, but it neatly forms the base of the montage. 
5: Add some color
To emphasize Gaudi’s exuberance, we can add a rainbow of colors. Here, I’ve created each shape in Photoshop with the Pen tool, set to Shape mode. This allows
me to edit the shapes easily afterwards. 
6: Group and change the mode
Selecting all the Shape layers and making a new Layer Group from them allows us to treat the whole group as if it were a single layer. When we change the mode of this Group from Normal to Overlay, we can see through it to the multiple layers beneath. The colors have the unlikely effect of unifying the buildings into a coherent whole, while emphasizing Gaudi’s varied and colorful output. 
7. Add a shadow
To make the ground plane more obvious, add a shadow. Load the statue as a selection by holding Command (Mac) /Ctrl (Windows) and clicking on its thumbnail in the Layers Panel, then make a new layer and fill the selection with black. Lower the opacity of this layer, move it behind the Gaudi layer, and use Free Transform to distort it so it appears to lie on the ground. I’ve also make a Clipping Mask of this shadow layer with the ground layer, so it’s only visible where it overlaps it. 
Commenting is easier and faster when you're logged in!

Recommended for you
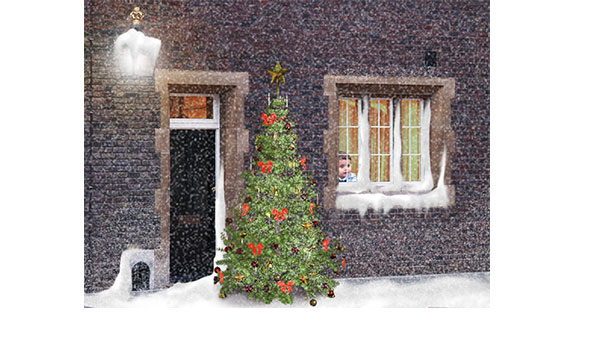
How to Create a Snow Scene in Photoshop
Too late to get your Christmas cards printed? You can still make an email card a...

Review: Photoshop Fix
Photoshop Fix is Adobe’s latest venture into mobile image manipulation. Av...
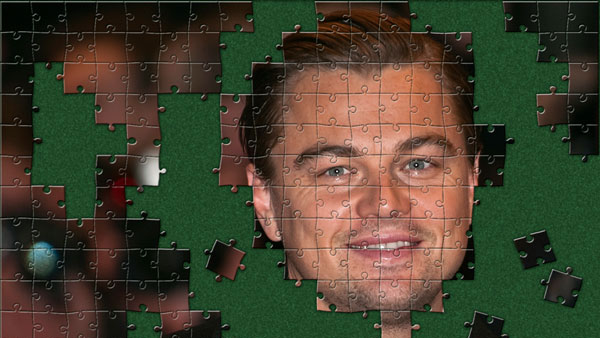
Photoshop Jigsaw Puzzle Effects
Turning a photograph into a jigsaw needn’t be a puzzling operation. The ha...