

It’s great that you can create rounded corners in InDesign so easily, just by selecting an object and using the Control panel to choose the rounded corner style and a corner radius.
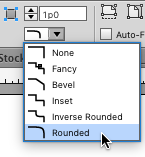
But did you know that corner radius value does not take into account any stroke that you add to the object? So depending on where you align the stroke, the actual corner radius of the object as a whole could be quite different from what you set.
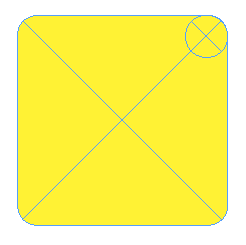
For example, Here’s a simple 10-pica square with a fill and no stroke.

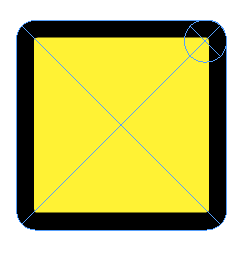
If I add rounded corners with a 1-pica corner radius, I get exactly what I’d expect. And I can confirm this by aligning a circle with a 1-pica radius with the corner (which it matches perfectly).
So far so good. But what if later I’m told to add a stroke to this object? Then I have two corner radii, on the inner and outer boundary of the stroke. By default the stroke is center-aligned on the path. So the outer radius will always be bigger than the value I specified.
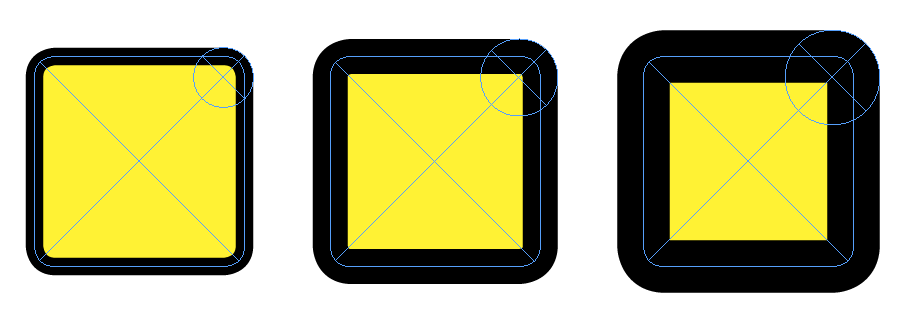
The inner radius will always be smaller than the value I specified, until I make the stroke so big that the inside gets squared off.

If I use the Stroke panel to align the stroke to the outside of the path, then the inner radius will always be the value I set in the Control panel, and the outer radius will grow with the stroke width.
If I align the stroke to the inside of the object, then the outer radius will be the value I set.
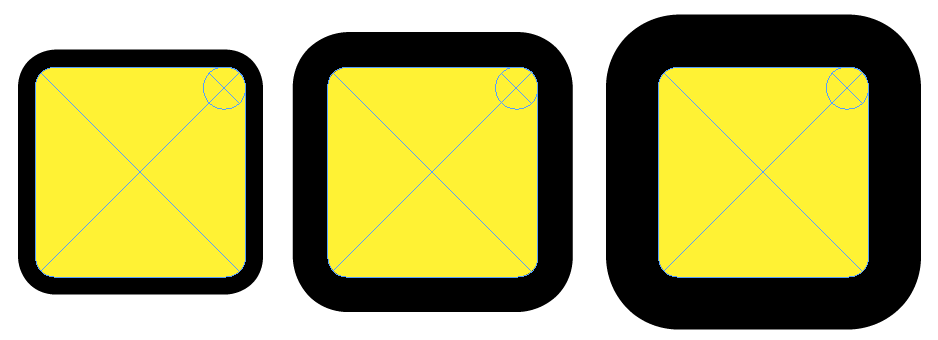
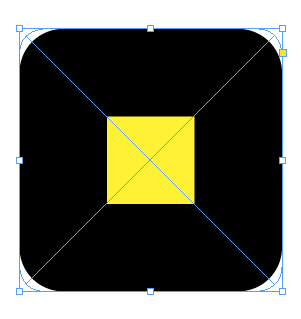
So aligning the stroke to the inside can help if you want to try different stroke widths and maintain a specific corner radius for the object as a whole. However, you can run into problems setting the stroke to the inside if you have a relatively thick stroke applied to rounded corners. At a certain point, the stroke breaks up, or gets deformed. Eventually, if you keep increasing the stroke width, the rounding disappears altogether.

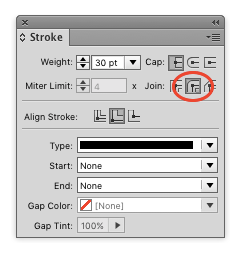
To fix this, go to the Stroke panel and set the Join style to Rounded.
Ahh, that’s better.

Note that with a really thick stroke, even aligning to the inside of the path won’t maintain the precise radius you set in the Control panel.
So now you know when to trust those corner radius values you see in the Control panel, why they might not always reflect the radius you see on the page, and why rounded corners sometimes get mangled (and how to fix them).
Yes folks, when it comes to InDesign minutiae we’ve got the market…cornered.
This article was last modified on July 25, 2019
This article was first published on January 11, 2016
Commenting is easier and faster when you're logged in!

Recommended for you

A Script for Better Rounded Corners in Illustrator
Free script makes it easy to improve the look of rounded corners in Adobe Illust...

Putting Headings in Rounded Rectangle Background “Frames”
You want a heading in a rounded-corner rectangle, but you don't want them in a s...

Using Paragraph Shading to Create Corners in a Table
You can use this clever combination of paragraph styles and cell styles to creat...