

Scan and Print the Target
MonacoEZcolor and Praxisoft WiziWYG are very similar to use. Both are standalone applications sporting wizardlike interfaces that step you through the process of building a scanner and printer profile in a single operation. MatchLock Profiler II is a different kind of animal: It operates as a Photoshop plug-in (with a copy-protection scheme that attaches to the serial number of your copy of Photoshop).
Both EZcolor and WiziWYG include a photographic IT8 target for profiling the scanner. The target has two components, the actual physical paper target you scan and a target description file (.tdf) that contains the actual measured color values the physical target contains. To profile the scanner, you scan the target and feed the scanned image into the profiling package. The profiling package then compares the RGB values produced by the scanner with the measurements in the target description file and uses this information to figure out how the scanner sees color. Once the scanner is profiled, the software can estimate quite accurately what color the scanner is seeing, which is what allows the package to build printer profiles by using the scanner to make the measurements. Although both products allow you to profile a scanner separately from a printer, they also let you create both the scanner and printer profiles in one fell swoop, which is quite convenient. (See Figure 1) The process is a little involved (although much less so than measuring 1,000-some patches with a handheld spectrophotometer), but each package does an excellent job of stepping you through it.

Figure 1a

Figure 1b
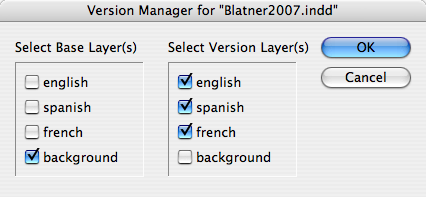
Figure 1: Monaco EZcolor (a) and Praxisoft WiziWYG (b) let you create multiple profiles at once.
The first step is to print the printer target. (See Figure 2) If you have a printer with an OS-level driver, you can print the target directly from within the profiling package. For those printers that are driven by a specialized application or a Photoshop plug-in, you can print the target to disk and then print the file from your printing application. EZColor warns you ahead of time to turn off all color management or autocorrections in the print driver, which WiziWYG does not.

Figure 2a
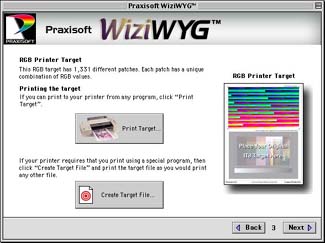
Figure 2b
Figure 2: Both products step you through the process of printing a target, although EZcolor (a) offers more detail than does WiziWYG (b).
Once you’ve printed the target from your printer, you tape the photographic IT8 target to the printer target you’ve just printed — the print includes marks that show you where to place it — and then scan the two in a single image. (See Figure 3) This is the most critical part of the process, because you must make sure the scanner behaves in a repeatable way. That means turning off any automatic features that do different things to different images, such as autoexposure or auto white and black point setting.

Figure 3a

Figure 3b

Figure 3c
Figure 3: The next step is to attach the IT8 target to the printed target. Both EZcolor (a) and WiziWYG (b) show you where to position it (c).
Needless to say, ensuring repeatability is easier with some scanners than others. We found that with those scanners that allow us to do so, we got the best results by scanning a raw 48-bit RGB image. EZcolor can process 48-bit scans directly, but WiziWYG cannot — you must downsample the scan to 24 bits in Photoshop, without making any other adjustments. For scanners that don’t allow raw high-bit output, it’s worth spending some time experimenting with settings that give the best results on a range of images before you scan the target, and then use these settings henceforth for all images.
This article was last modified on January 18, 2023
This article was first published on May 10, 2000
Commenting is easier and faster when you're logged in!

Recommended for you
Scanning Around With Gene: The Photographic Moment of Truth
If you were lucky you got your negatives and prints back in decent shape and the...

Buying a Color Printer
There’s something compelling about seeing your work in print. That holds true ev...

TypeTalk: An Interview with Ray Nichols of Lead Graffiti Letterpress
Ray Nichols is a man who follows his passion. Ray, along with his wife and partn...