


Refining the mask. Once the image is inverted, I usually paint areas that I don’t want to change with the brush tool and black color. In this case I paint-out a little bit of the background that shows up in the mask image. I follow that step in some cases with a very small amount of Gaussian Blur, usually between 0.25 and 1.5 pixels (see figure 10). This will soften the edges of the mask, preventing its effect from being too obvious in the final image (you don’t have to be terribly careful here as this process is very forgiving).
 Figure 10
The final mask channel exhibits all of the characteristics needed for a selective tonal adjustment of the original image.
Adjusting the image with the mask channel. Once my Mask is complete, I return to the RGB view of the image by clicking on the RGB title in the Channels window. Everything is as it was originally. I then go to the Select menu, and pull down to Load Selection. A window pops-up, usually with Mask already selected. I choose my Mask channel and click OK, and my image assumes the selection area (with marching ants) based on my special channel. Since the marching ants are unpleasant to watch, I hide them with Command/Control-H.
To control the quality of the shadows in my selection, I usually use Curves, but Levels will also work. A change of 15-20 percent in the midtones has a much subtler effect than the same change in an unmasked image. I always work in graphic arts terms in Curves (black in the upper-right, with percentage units) as opposed to the RGB terms. However, the same effect can be achieved in either mode.
I lighten the image with Curves, until it looks much better, then click OK. If you go too far, the image will have areas of posterization.
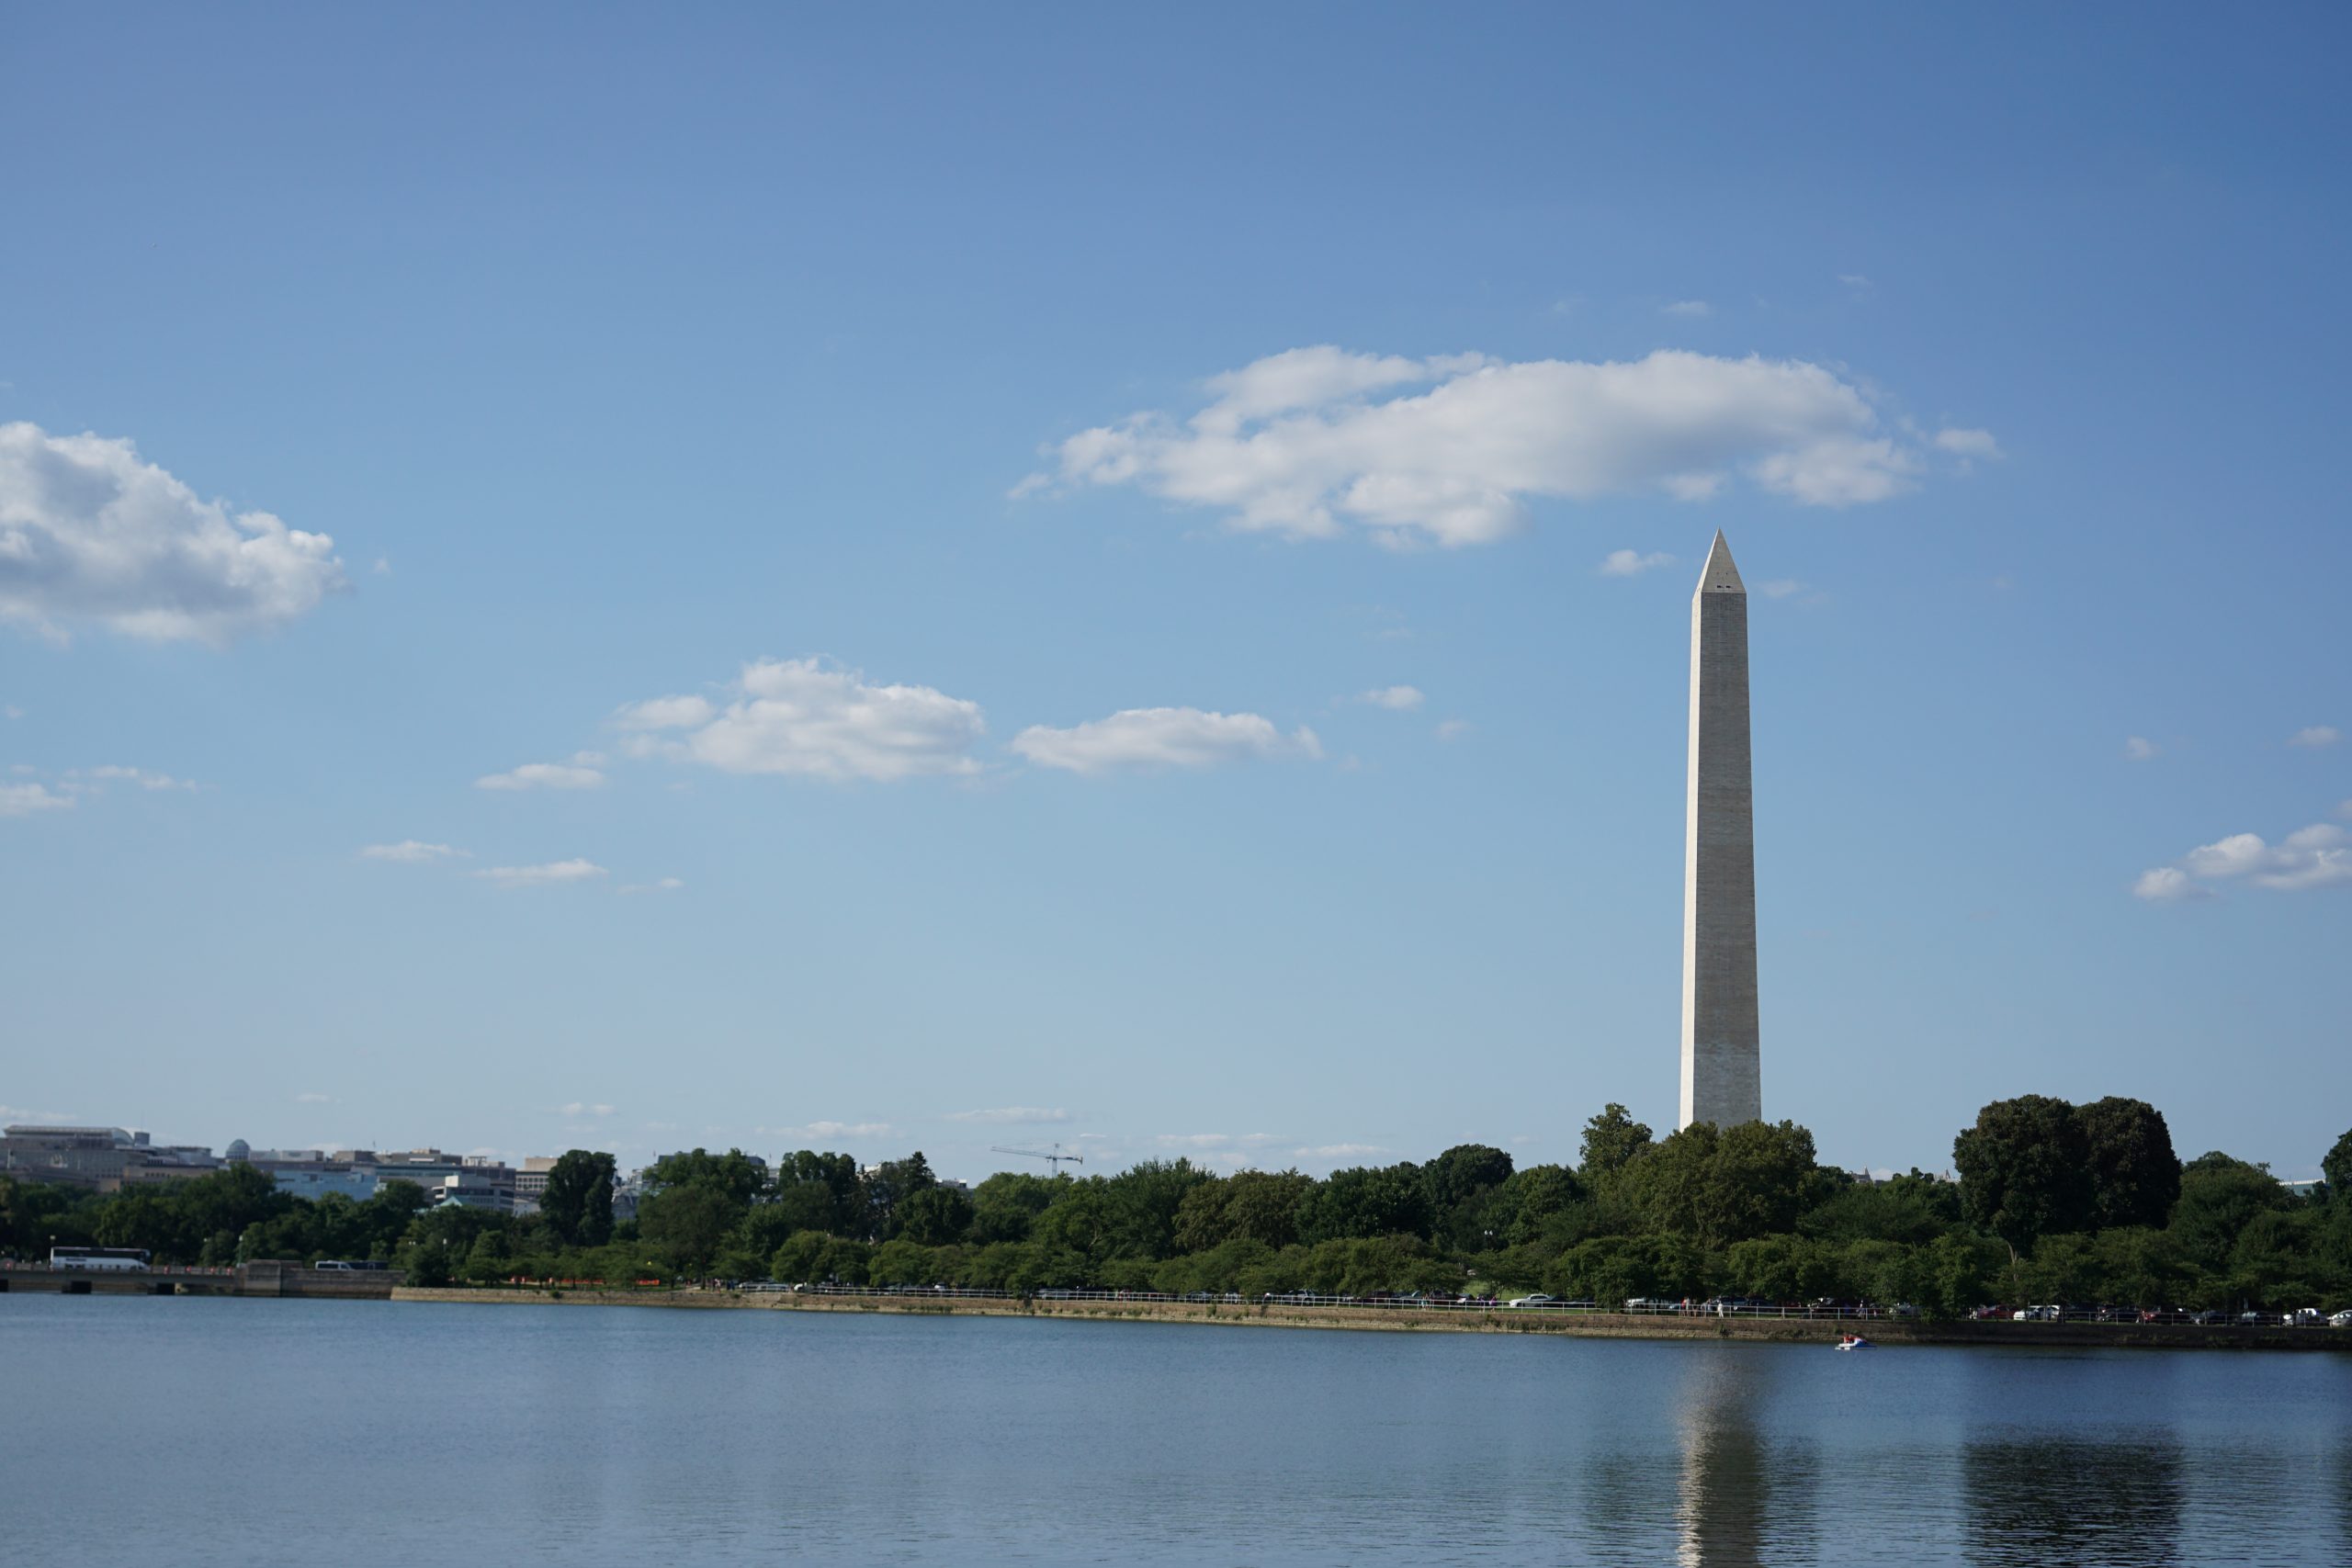
The resulting image has significantly improved tonality, allowing the subject to be seen better (see figure 11). If an overall tonal adjustment is needed, I can do that by deselecting the mask (Command/Control-D) and using Curves to further modify the entire image.
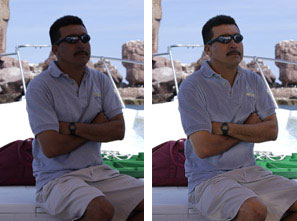 Figure 11
I have become so confident in this process that I usually throw my mask channels away after I have completed the change, but if you are concerned about the success of your work, you can save the image as either TIFF or Photoshop with the extra channel intact.
This article was last modified on December 13, 2022
This article was first published on January 7, 2003
Commenting is easier and faster when you're logged in!

Recommended for you

Creating "Hobbit" Type in Photoshop and Illustrator
Unless you’ve been living under a rock the size of a cave troll, you...
Thoughts on the Sony A6000 Mirrorless Camera
Mirrorless cameras have been both a hot topic and a subject of some debate. Duri...

Photoshop How-To: Making Warhol-style Images
This story is taken from “Adobe Photoshop CS Creative Studio.” The b...