

Since the very first time I launched Adobe Photoshop, I’ve had project after project where I’ve wanted to add more than one stroke to text in a design. To be fair, it’s always been possible, but the methods used to achieve the result haven’t always been ideal. Keep in mind, there was a time when Photoshop didn’t have layers!
With the advent of Smart Objects in Photoshop we gained a powerful tool to achieve the effect of having multiple strokes on text. Not only could we get the desired look, but the text also remained live. This was a powerful feature as it allowed us to edit the text if needed while still maintaining the overall stroke effect that we wanted. Smart Objects are amazing, don’t get me wrong, but this technique had its limitations. Each stroke had to be applied to a separate Smart Object which meant that if you did want to edit the text, you would often need to open multiple Smart Objects to drill down to the actual text object to make an edit, after which you’d perform multiple save/close operations to complete the edit. It was effective, but a bit tedious.
Photoshop CC 2015 changed all of that by allowing us to stack Layer Styles on a single object making it much easier to create the multiple stroke effect. Now I know that Photoshop CC 2015 is a few years old, but I’m amazed at the number of people I talk to who still don’t realize that this is possible. Adobe snuck this feature in but for some reason it wasn’t accompanied by much fanfare. So without further ado, let’s take a look at how this feature works!
Step 1: Start with Type
Begin by adding some text to a new (or existing) Photoshop document with the Type tool.

Step 2: Add a Stroke to the Text Layer
In the Layers panel make sure that the text layer is selected, then click on the fx icon and choose Stroke from the menu.

In the Layer Style dialog box, you’ll see the stroke option enabled to the left and the options for the stroke displayed at the right. Click on the color box to display the color picker and choose a color that you’d like to apply to the stroke.

Adjust the size of the stroke by dragging the stroke slider or entering a value in the width field. You can also control how the stroke is aligned to the object by choosing an option from the Position drop-down menu. Note that if you have the Preview checkbox enabled, you’ll see a preview on the right side of the dialog box as well as on the Type in your document.
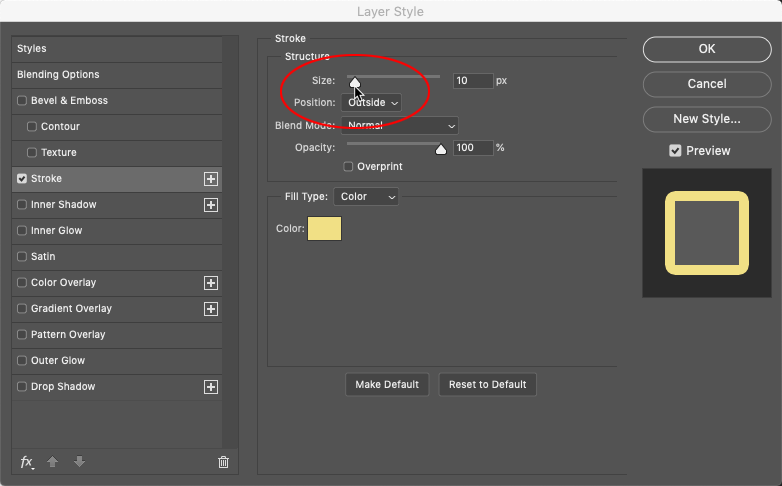
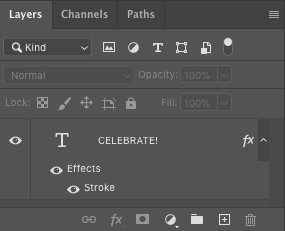
Click OK to apply the stroke to the Type layer. Notice that an fx icon now appears to the right of the Type layer indicating that an effect has been applied to the layer. The exact effect (Layer Style) is also displayed indented below the Type layer.
Step 3: Add Another Stroke
Now this is where things get interesting as typically this would be the step where you convert the text layer to a smart object. That step however is no longer necessary. Instead, simply make sure that the text layer is active and click on the fx icon again and choose Stroke from the drop-down menu. This doesn’t actually do anything yet aside from display the Layer Styles dialog box showing you the original stroke you applied. If you look closely however, you’ll notice a + sign to the right of the Stroke option on the left side of the dialog box. Click on that + sign to add an additional stroke to the Type layer.

At first, you probably won’t see anything change visually because the new stroke is the exact same color and size as the old one. But even as you make changes to the stroke (i.e. color/size/position) you may not see exactly what you’re expecting. What you need to remember is that each new stroke you add is stacked on top of the previous one. So adding a new stroke on top and increasing its size may end up covering up the one underneath. For this reason it’s helpful to think in reverse. You often will want the bottom-most stroke to be the largest so that it extends beyond the other strokes so they all remain visible.
After adding a stroke and adjusting the properties, your design may look something like this.
Step 4: Add More Strokes
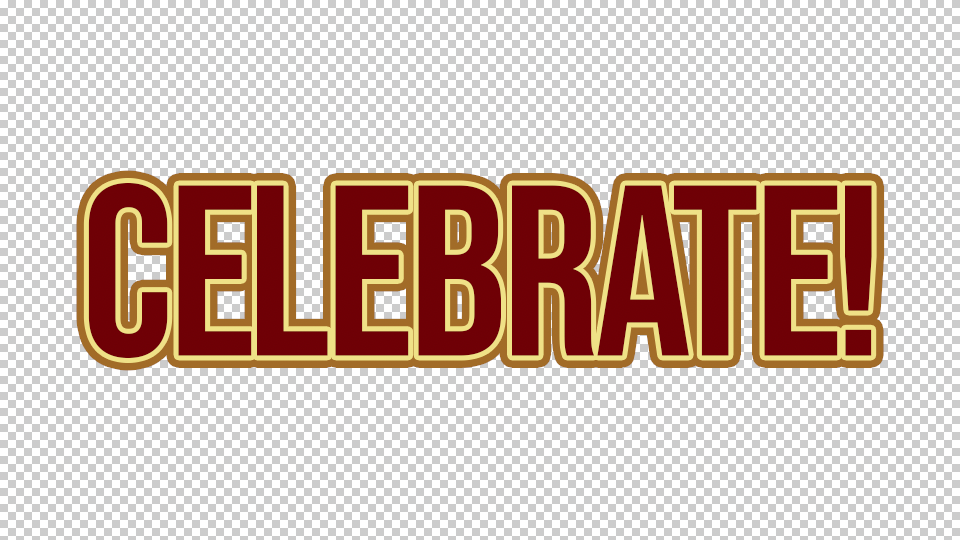
The sky’s the limit here (well almost). Photoshop limits you to a total of 10 of each stacked Layer Style. That’s a pretty large number of strokes! But I suppose if you needed more, you could combine this new technique with the old one and after applying 10 strokes, convert the layer to a Smart Object and add another 10! You can see how my design looked after adding several more strokes to the design below.

Step 5: Edit the Text
The huge benefit of this technique is that we’ve been applying these effects to an editable Type Layer this entire time. And these effects will update if that Type Layer ever changes. Double-click on the thumbnail for the Type Layer and change the text to something different. Notice that as you make the edit, the Layer Styles update dynamically and apply to the new text.

Explore
I think it’s important to point out that this technique works for other layer styles as well, so don’t just think of it as a way of adding strokes. Color Overlay, Gradient Overlay, and Drop Shadow Layer Styles can also be stacked to achieve any number of designs. This updated capability in Photoshop allows you to create an appearance that is frequently needed without having to use workarounds. Stacked Layer Styles is a great feature that you can leverage in a variety of situations.
This article was last modified on June 29, 2021
This article was first published on January 11, 2021
Commenting is easier and faster when you're logged in!

Recommended for you
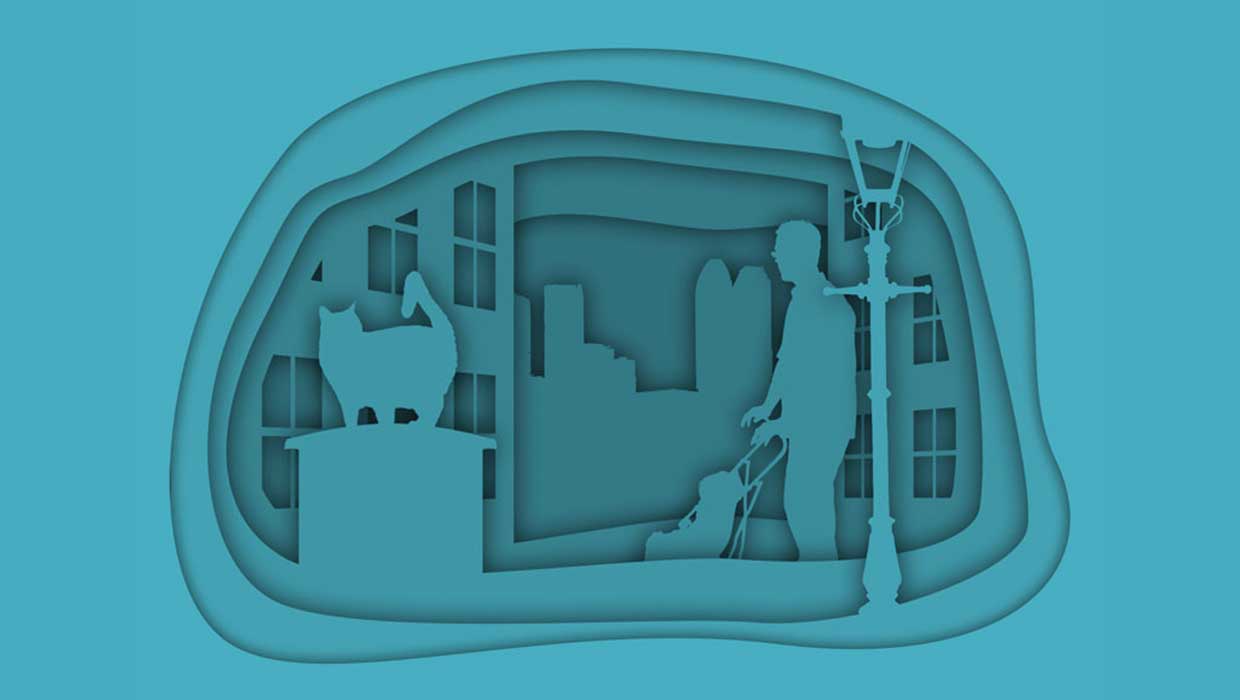
Creating Cutout Image Effects with Photoshop
Simulate layers of cutout paper and shadows with a graphic style
Creating Inset Stroke Effects with Custom Stroke Styles
InDesign allows us to design our own stroke styles for dashes, stripes and dots....
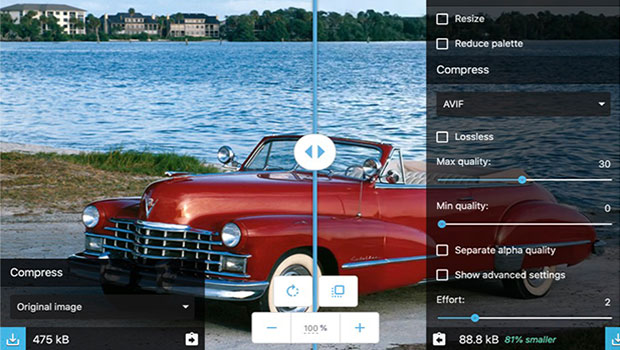
WebP and AVIF: Image File Formats You Need to Know About
There are new image file formats on the way that promise the same image quality...