


 Download the plug-in onto your computer and if necessary, decompress it (unstuff or unzip it). You should end up with a plug-in file, which usually has a file name extension of .pln or .framework. (Sometimes plug-ins on the Mac don’t have a file name extension.)
To install the plug-in, locate the Adobe InDesign program on your computer and drag and drop the script file into the Adobe InDesign CS2 > Plug-ins folder. You can also put the plug-in inside a folder inside the plug-ins folder if you like (for example, David has a folder called “Third-Party Plugins” that he uses as an aid to organization.
Note that you may need to have an admin account on your computer in order to add plug-ins and scripts to InDesign – but once they’re in there, they’ll work for all user accounts.
Plug-ins only get activated upon launch, so if InDesign is currently running you should quit and relaunch it. Most plug-ins come with ReadMe files explaining how they work.
This article was last modified on December 18, 2021
This article was first published on May 13, 2006
Commenting is easier and faster when you're logged in!

Recommended for you

InDesign Magazine Issue 110: Illustrator and InDesign
Issue 110 of InDesign Magazine include articles on Illustrator, designing with g...
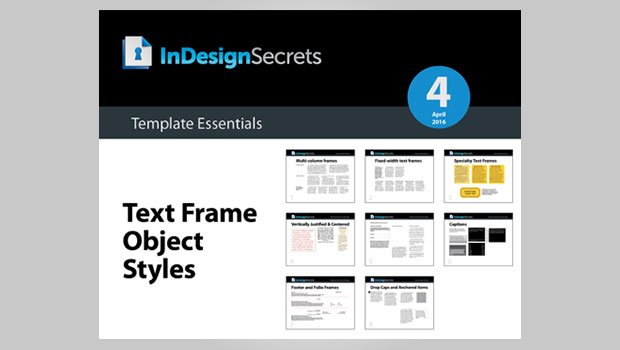
InDesign Template Essentials: Text Frame Object Styles
This is a text frames with object styles applied to them. Using these items can...

Free Workflow Consultation for Content Publishers
Press relase XChange UK and ThePowerXChange.com, the sources for extended techno...