
Layer Masks are one of Photoshop’s most powerful features. If you’ve been using the Eraser Tool to delete parts of a layer, stop now: Layer Masks give you the ability to hide and reveal parts of a layer at will, and to edit them at any time.
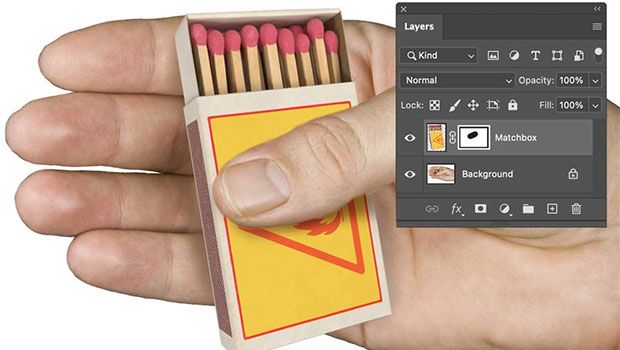
The starting image
This image consists of two layers: the matchbox, and the hand on the background layer. The task is to make the matchbox look as if it’s being held by the hand. 
Make a Layer Mask
Choose Layer > Layer Mask > Reveal All to make the mask. It will appear on the Layers panel next to the thumbnail of the layer. 
Hiding the layer
Painting on the Mask in black hides that part of the layer. You can use a hard or soft brush, as you like. Here, we’ve clearly hidden too much. 
Revealing the layer
Painting in white reveals the layer again. This makes it easy to hide exactly the area you want. Use X to switch between black and white. 
Finishing touches
For added realism, don’t forget to add shadows both on and below the matchbox. 
This article was last modified on May 13, 2024
This article was first published on May 13, 2024
Commenting is easier and faster when you're logged in!

Recommended for you
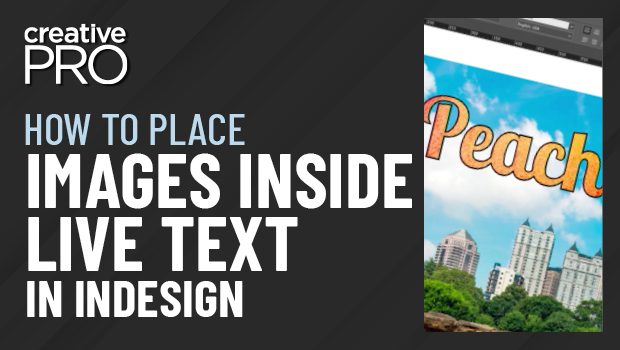
How to Place Images Inside Live Text in InDesign
Learn how to fill text in InDesign with an image or pattern and to have that tex...
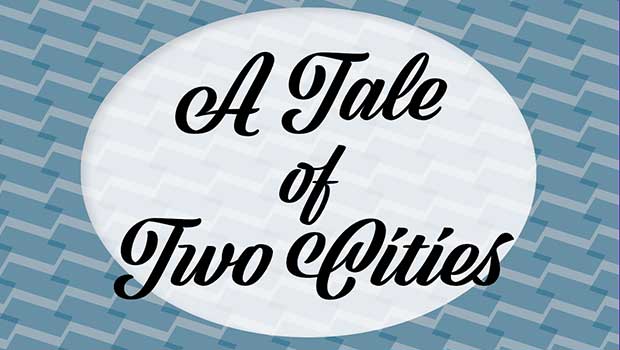
Easy Patterns in InDesign
With this simple technique you can create an endless variety of patterns wi...

Remove the Background From a Video in Premiere
Use the new Object Masking tool to remove a video background in Premiere.