How To Animate Hand-drawn Text in PowerPoint
Learn how to make an animation follow the path of a line with the Ink Replay feature in PowerPoint.

Everyone at some point has created or inserted a hand-drawn graphic effect in PowerPoint and tried to animate it as though it was being drawn in real-time. And everyone has probably found themselves frustrated trying to use wipe animations to achieve the effect only to realize that there is no way to have an animation follow the actual path of a line—even if that path was created using PowerPoint’s own shape tools. Usually we you get something like this…

Animating an imported graphic with the wipe animation.
The bad news is that there is no easy way to animate existing line art in PowerPoint, but the good news is that as long as you can draw something yourself, or even trace over another graphic, then you absolutely can achieve that magical live drawing effect. The secret is called Ink Replay, and it starts by heading over to the Draw tab.
Step 1
In the Draw tab, you’ll see a variety of pen and marker styles. You can also create new styles under Add pen. Select a pen that you like, but don’t worry too much about color or line thickness as these things can always be changed later.
Using your mouse, drawing tablet, or touch screen (if you’re on a PC), simply create your desired line drawing freehand. If you’re a Mac person, now might also be a good time to make use of PowerPoint for iOS or even PowerPoint for the web on your iPad. A drawing item created on any device or platform can be edited and animated in PowerPoint elsewhere.
Here’s my attempt at remembering my grade school cursive lessons…

Note that if you pick your pen or mouse up and then resume drawing elsewhere on the slide, PowerPoint will create just a single drawing object. If you want finer control over animating your drawings, make sure to disengage the pen tool after each segment by hitting Escape or deselecting the Draw button.
Step 2
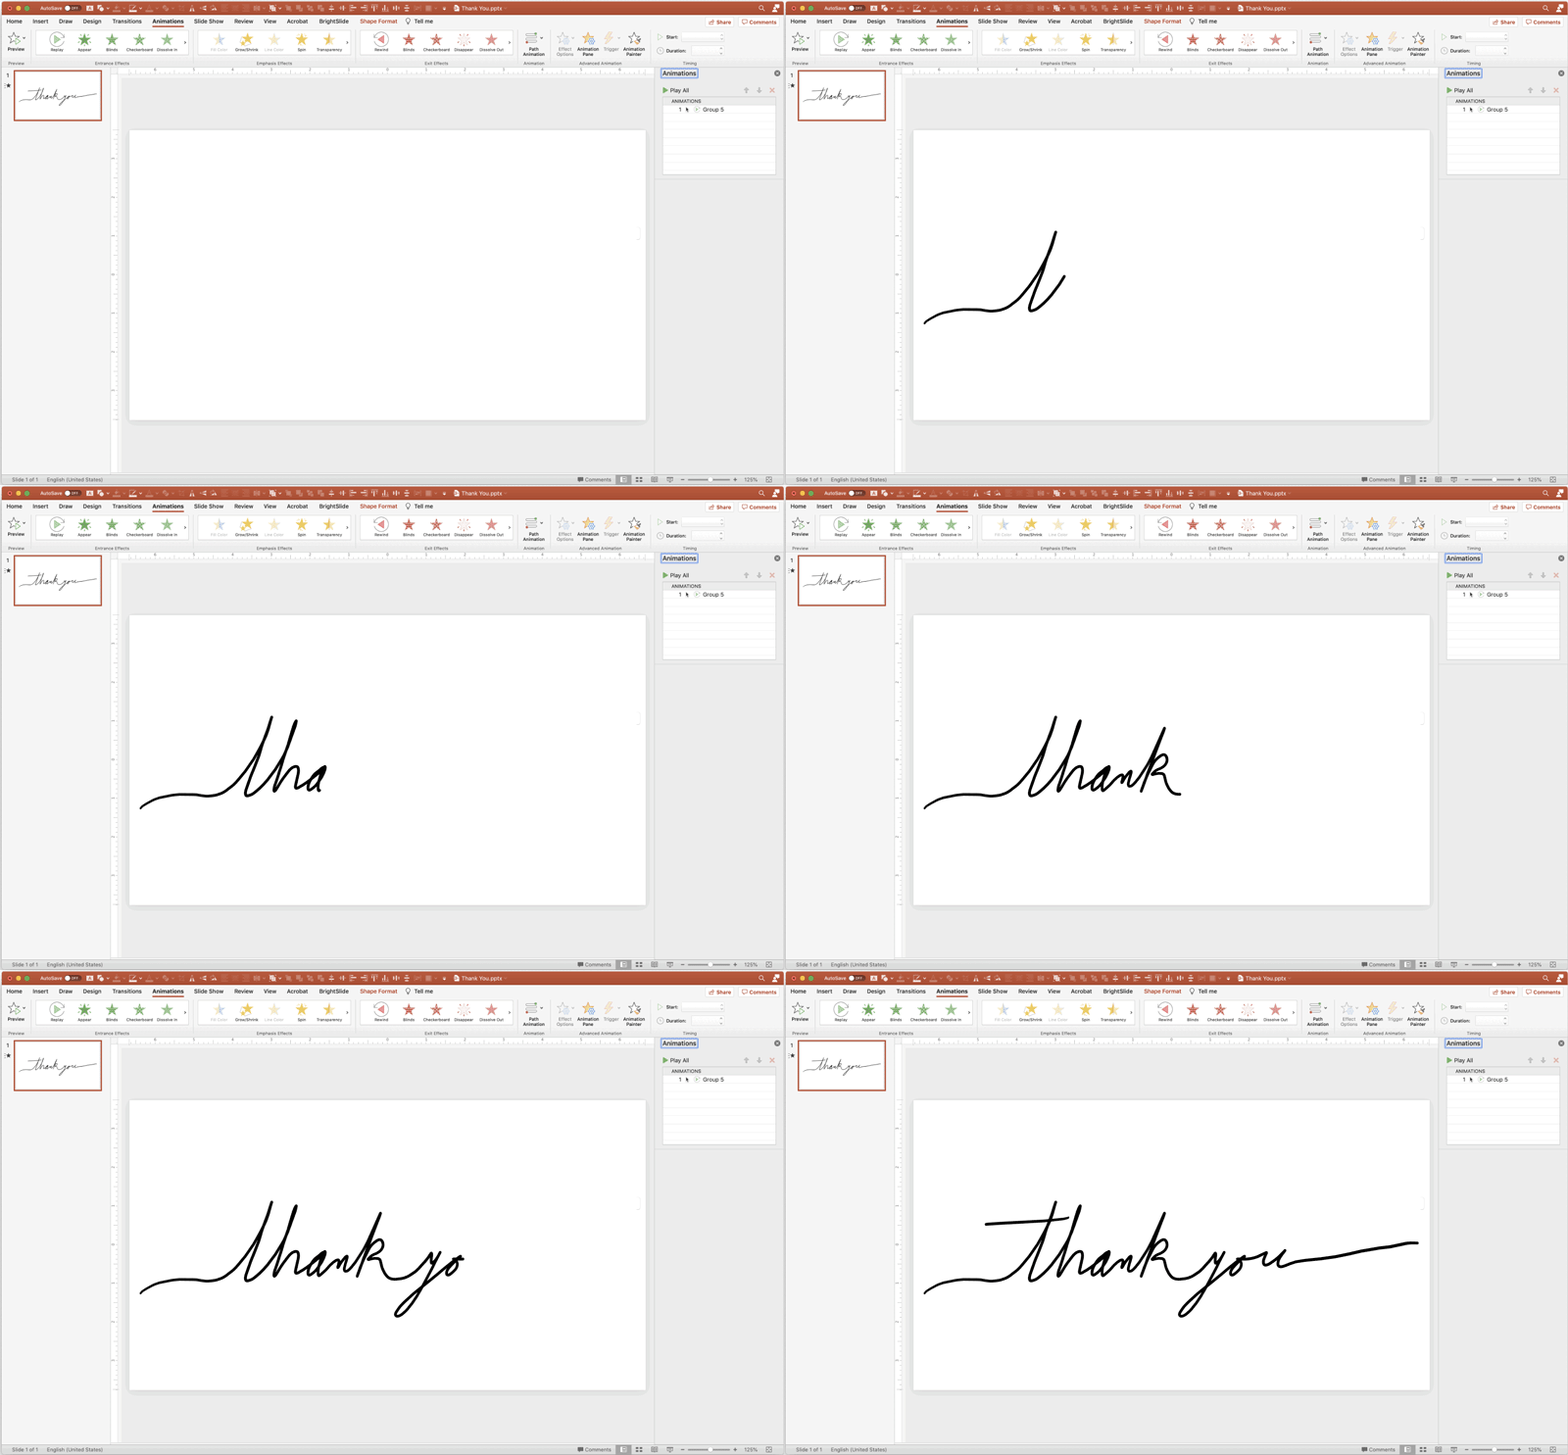
Now that you have your drawing object or what PowerPoint calls “Ink,” select it and head over to the Animation tab where you’ll now see a new option under Entrance Effects called, “Replay.” And selecting “Replay” (or “Rewind” under Exit Effects”) is all you need to do to animate your drawing.

Animating hand-drawn PowerPoint “Ink”
You can adjust timing as you would any animation as well as continue to format your drawing under Format Ink.
While you can line up different Ink items to each other to get a continuous effect, unfortunately you cannot edit the points of your Ink the way you can a PowerPoint vector line.
And don’t forget that if you want to make use of an animation like this outside of PowerPoint, you can always save out a movie or an animated GIF!
This article was last modified on December 13, 2021
This article was first published on May 25, 2021
Commenting is easier and faster when you're logged in!
Recommended for you

Understanding the Merge Shapes Tool in PowerPoint
There is a large selection of predefined shapes and icons that you can use in Po...

Five Super Slide Makeover Techniques
Team up with the “Fantastic Five” to become a presentation design superhero.

Excel Charts in PowerPoint: Embedding vs. Linking
See how to avoid a common problems that can occur when you combine Excel chart d...


