


How this for a worst case scenario: you work for a publisher and need a PDF of a backlist title. The original files have gone corrupt or missing. Nobody’s got time to redo a whole book. Luckily, with a scanner, a razor blade, and some tricks in Adobe Bridge, Photoshop and InDesign you can have the PDF made in no time. In this article, we’ll go through the steps of making a PDF for an online reading platform. You can adapt the settings for your scans and final PDF output to suit your requirements.
A Small Sacrifice: Cut and Scan Pages
The first step is to carefully take apart a copy of your book and scan both sides of each page. First, measure and note the book’s trim size. The first page of the inside of a paperback is pasted to the inside of the cover and you’ll have to cut off about ¼” of the bind edge. Similarly, the back page is glued to the back cover. Trim as carefully as possible. We’ll fix these paste-down edges later.
Clean the scanner glass if necessary. It should be completely free of dust and smudges.
Lay the pages as straight as possible on the glass, and scan them with size, resolution, and color space settings to suit your requirements. For this project, I used 100% size, 275 ppi, and CMYK. Save all the scans in one folder. To avoid confusion, make sure to scan the pages in order since your scanner will probably name your scans sequentially.
Open your folder of page scans in Adobe Bridge. All the images should be in the order of the pages of your book. If not, you can sort them by name, relying on your scanner’s default file naming system, or choose to display them by selecting “Sort” from the View menu, and choosing “By Date Created” from the flyout list of options.

Straighten and Crop Images in Photoshop
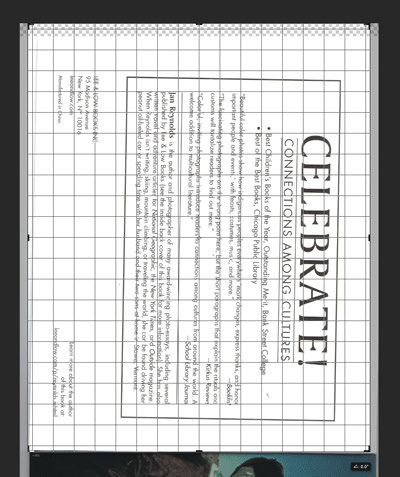
Open the images in Photoshop and select the Crop tool. Put the document dimensions in the Options dialog box. (In this case, 8” x 10” is the same as 4” x 5”, as they are the same ratio).

As you click and drag on the document, a handy grid shows up to help you straighten the image.
Since my scans came in sideways, I needed to turn them by selecting Image Rotation from the Image menu. You could select 90° CW (clockwise) or CCW (counter-clockwise) as necessary.
The paste-down pages can be cropped short to neaten the cut edge.
Make the Marketing Cover
When the cover scan is open and cropped, save it a tiff, with book ISBN as the filename, 1200px on the longest side (or whatever size and specifications you require). Our supplier specifically needs no compression and the byte order to be “IBM PC.”
Restore the Paste-Down Edge
If the paste down page has a solid color background:
Open the scanned page in Photoshop and crop it to the cut edge of the page, not the book size. Straighten and the scan rotate as above.
Using the eyedropper tool, option+click on the page background to select that color as Photoshop’s background color.
Under the Image menu, select Canvas Size. Indicate the book size in the dialog box. Choose an anchor in the tiny grid below. For instance, if you would like the file extended to your right and centered top to bottom, click in the center left box so the dot is there, and the arrows point up, down and to the right:
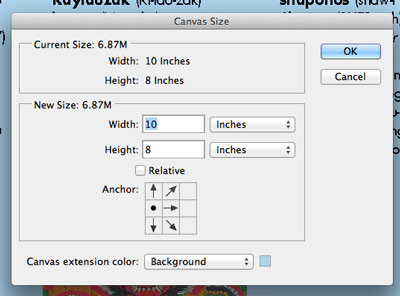
Select background as your extension color. Save.
If the background is a photo:
Crop the scan to the neaten edge of your trim. We’ll fix this in InDesign.
This article was last modified on June 30, 2023
This article was first published on September 23, 2013
Commenting is easier and faster when you're logged in!

Recommended for you

CreativePro Conversations: Powerful Online Proofing with PageProof
See how PageProof makes online proofing effortless and learn how easy it is to m...

Tip of the Week: Viewing Color-blind Previews of Your Pages
How to view an InDesign layout as it would appear to someone with color blindnes...

Remove the Numbers at the Beginning of a List with a Simple GREP
You've copied a bunch of numbered paragraphs from a web page and now you want to...