

Creating a Pop Out Effect with Photoshop and InDesign

At the 2016 InDesign Conference in Washington, D.C., Nigel French reminded me of a classic layout effect where an image pops out of its frame to interact with other page elements. It’s simple, effective, and can be used in all kinds of situations to add some “pop” to a page.
Begin in Photoshop, by creating a new layer for the part of the image you want to pop out of the frame.
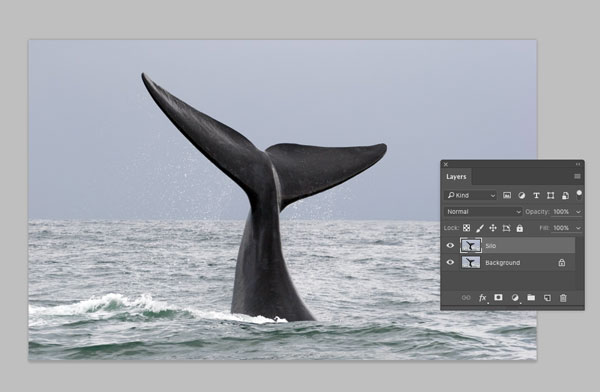
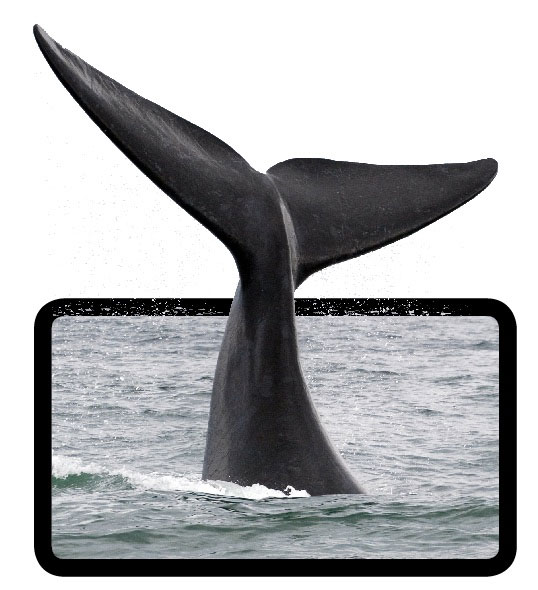
Silhouette that part of the image using whatever technique you like. In some cases, you don’t have to be very fussy since the rest of the image will be cropped using the frame in InDesign. In this example, the surface of the water will never show in the silhouetted version of the image, so I don’t care that’s not masked correctly. But I did want to preserve the drops of water coming off the whale’s tail.

Save the layered Photoshop image with just the silhouetted layer visible, and place the image into InDesign.
Copy the image and paste it in place, so you have two stacked copies.
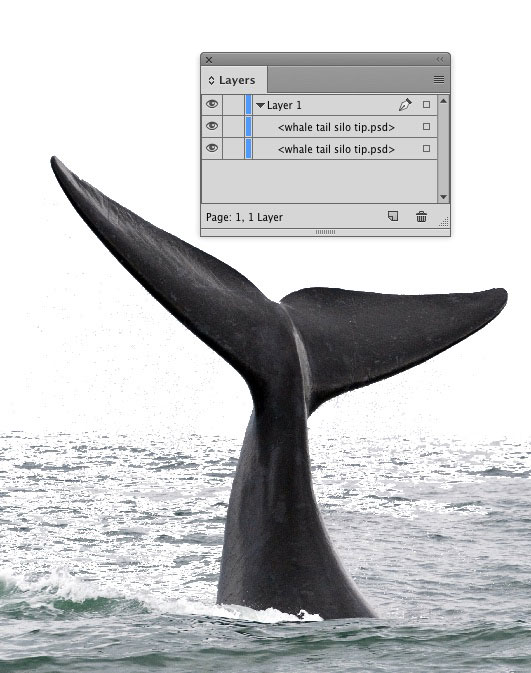
Select the top copy and choose Object > Object Layer Options. In the dialog box, turn on the visibility of the background layer.

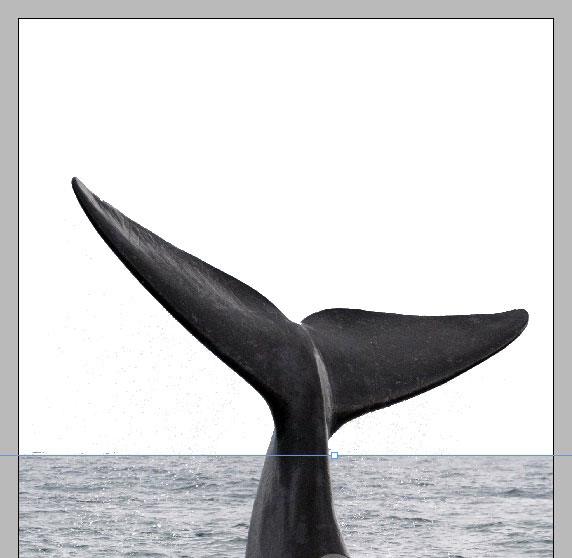
With the Selection tool, resize the frame containing the full image to show just the un-silhouetted portion.
Add text and other elements to blend the silhouetted part of the image into the layout.
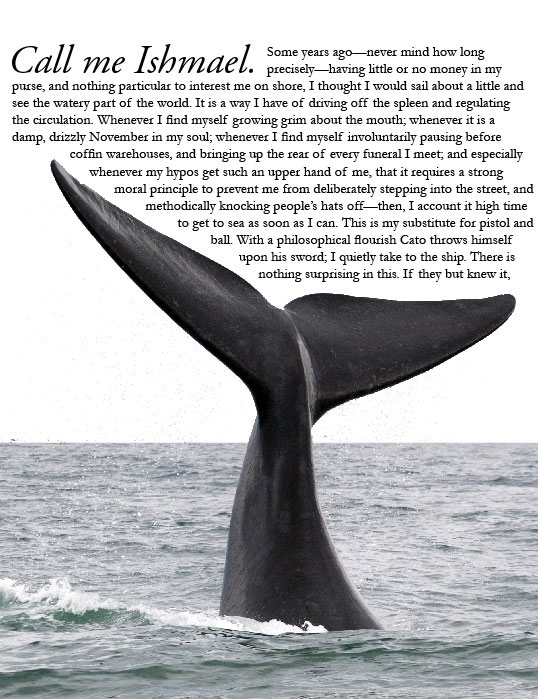
Another fun option is to put the silhouetted copy of the image on top, and add a stroke around the un-silhouetted copy. This is where small details (like the water drops in this image) can really add to the popping effect.
GOOD IDEA…. THANKS FOR THAT