
Anyone who uses InDesign for more than two minutes a day knows that there are a lot of numbers to be entered in panels and dialog boxes throughout the entire layout process. The little boxes we put amounts in are called value boxes. From document size, to drop shadow amount, to X/Y co-ordinates, to point size, it’s a seemingly non-stop activity. I’ve compiled a quick list of InDesign tips and tricks to remember when working with value boxes.
Showing Options
Many InDesign panels are collapsed by default, making many of the value boxes hidden. Make sure you can see and access those boxes by choosing Show Options from the panel’s menu. Also, some dialog boxes have extra options hiding in a collapsed menu (such as in the New Document dialog box). Click the disclosure triangle to view those options.
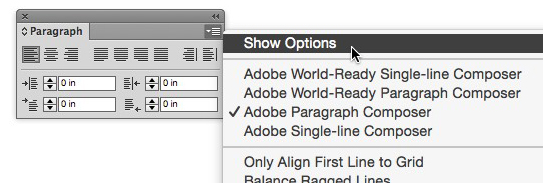
Choose “Show Options” from a panel’s menu to view all input values.
Highlighting Values
The value boxes in InDesign can get quite small, and oftentimes selecting the currently entered value can be tricky, tedious, or just plain frustrating. To save yourself the hassle, just click the icon or name to the left of the value box to highlight the entire field.
Choosing Units
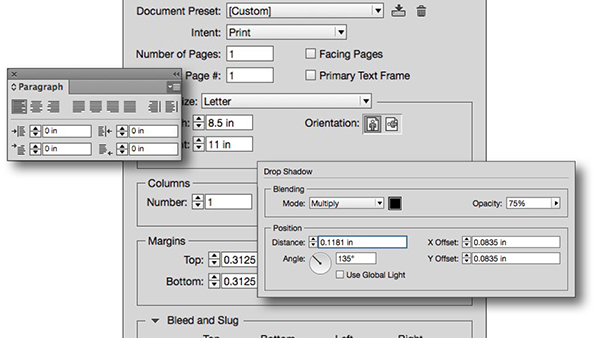
InDesign’s preferences let you set your preferred unit of measurement—inches, points, centimeters—but sometimes you need to switch those units to another standard. Maybe you want to define the amount of a drop shadow in millimeters, even though your units are set to inches. In the value box for the shadow’s distance, you could enter 3 mm and InDesign will convert that amount to inches. This is handy when working with foreign files that were set up using a different set of units or when a much smaller unit makes more sense.

Value entered in millimeters (left) is converted to inches by InDesign.
Let InDesign Do the Math
Entering values is great, but sometimes we don’t know the value we need—or when working with inches, the decimal equivalent. And because we’re designers and not mathematicians, InDesign helpfully does the math for us. Let’s say you’ve measured a printed document and need to set up a similar object, with a width of 5-11/16 inches but don’t know the decimal equivalent. In the width value box, enter the mathematic equation “5 + 11/16” (without the quotes) and InDesign will convert that to 5.6875 inches. If you need to move an item that is 2.4537 cm from the left edge to the right by 3.5 cm, just add “+ 3.5” to the end of the original X-axis value.

Make InDesign do the math!
InDesign will even mix and match the math and the units. That same item sitting at 2.437 cm from the left edge needs to move. You’re working in inches and know it should move by 3-5/16 inches. You don’t know the equivalent in centimeters and you also don’t know the decimal equivalent for 5/16 in inches. InDesign can handle all that. In the X-axis value box, put your cursor after the 2.437 cm measurement, then enter “+ 3 in + 5/16 in” and InDesign will position the item at 10.8675 cm. NOTE: You can leave out the spaces between the plus signs, numbers, and abbreviations.

InDesign adds values together, even with different units of measurement.
This article was last modified on September 22, 2015
This article was first published on September 22, 2015
Commenting is easier and faster when you're logged in!
