


If you use Photoshop, Illustrator, or InDesign, you ought to be familiar with both stacking order and layers. Generally speaking, layers let you segregate groups of content, while the stacking order refers to the order in which items are placed on a particular layer.
Illustrator has a few additional options for working with the layering of objects on the page. In addition to the Normal drawing mode, two others—Draw Behind and Draw Inside—can save you time in creating objects in your preferred order. Since Normal is the default mode we’ve all worked in, let’s look at the other two.
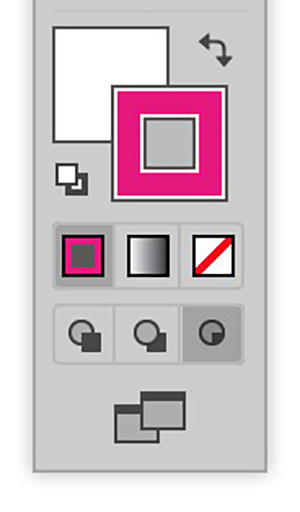
The drawing mode buttons at the bottom of the Tools panel (Draw Inside active)
Draw Behind
The Draw Behind mode puts any items you draw to the very back of the stacking order on the current layer. This method will save you from having to draw an item—any item, from a brush stroke to a shape created with one of the shape tools—then immediately use the Arrange menu to send it to the back.
Select the middle mode button at the bottom of the Tools panel, then either create an object or place an object using the Place command. If you are creating an object, it appears at the top of the stacking order so you can see it clearly as you create it. When you’re finished, the object automatically moves to the back of the stacking order. Other objects on the current layer and objects on other layers aren’t affected.

Draw Behind while drawing

Draw Behind after creating the new brush stroke
Draw Inside
The Draw Inside mode gives you the quickest way to create an object within another object, without the need for a clipping mask. Without a Paste Into command, this is Illustrator’s way of placing an incoming object inside an existing object.

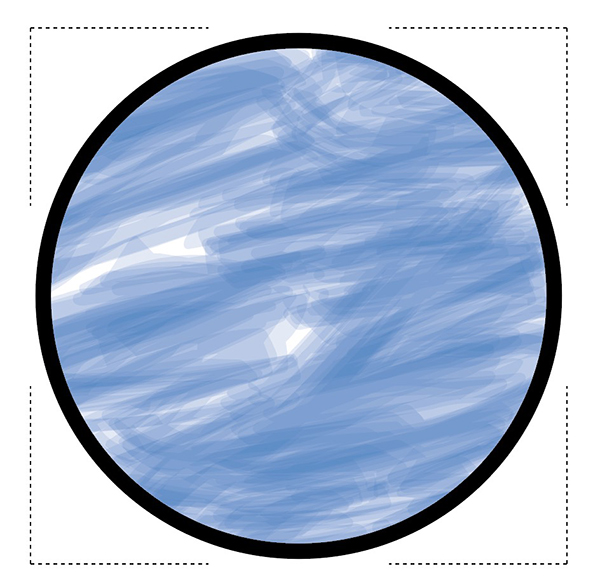
Dashed lines indicate the draw inside mode has been activated.
Access the Draw Inside mode by first selecting the object that will act as the container. With the object selected, chose the Draw Inside mode button on the far right bottom of the Tools panel. You will see a partial dashed line around the object. De-select the object if you need to set up attributes for the new item you’re creating—for instance, a brushstroke’s color—the draw inside mode is still active for the object.

Draw inside mode while drawing
Draw inside mode after creating with the Paintbrush tool
Start creating the new object, which will appear in front as you create it. When you’re finished, it will insert itself inside the chosen object. You can also choose Place from the File menu, click to place the new item, and it will insert itself inside the original object. The coolest part? You can continue to add items to this object, putting multiple objects inside the original one. Double-click anywhere to exit the Draw Inside mode before working with other objects.
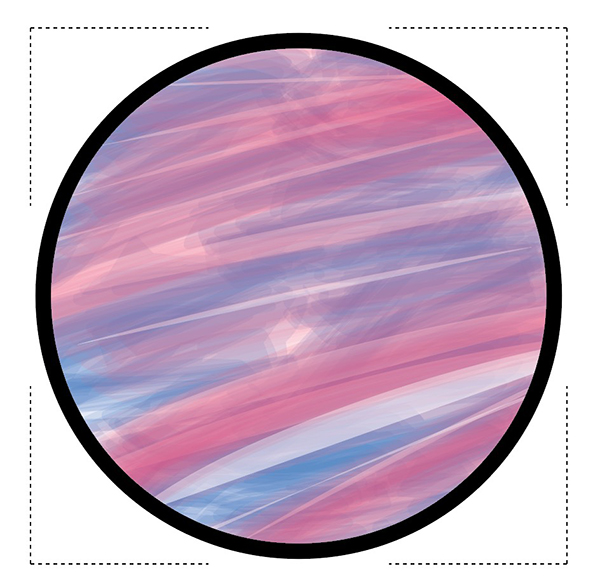
Multiple edits can be made while in the draw inside mode.
This article was last modified on January 25, 2017
This article was first published on January 25, 2017
Commenting is easier and faster when you're logged in!

Recommended for you
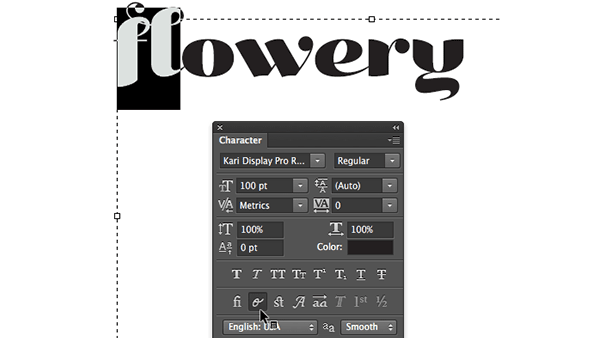
Photoshop Quick Tip: Applying OpenType Alternates
As Ilene Strizver wrote in a recent TypeTalk, you can use alternate characters i...

Adjust Photoshop FX quickly and easily with tomaxxiFXcolor
If you like working with Photoshop FX, check out a free extension available on A...

Create Parallax Video Effects in Photoshop with Qlilipn
We’re well used to seeing parallax effects on modern websites, where images scro...