

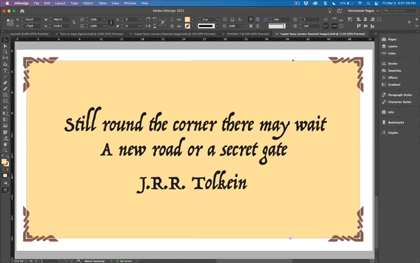
Creating Cool Corner Effects in InDesign with Anchored Objects

The other day I was reading the posts in the InDesignSecrets Facebook group and came across an interesting screenshot someone had posted where they had placed antique ornamental corners around a text frame. Of course, this immediately got me thinking a) what a neat idea this was, and b) about how I would approach it. So here are a few ideas for creating your own custom corner effects.
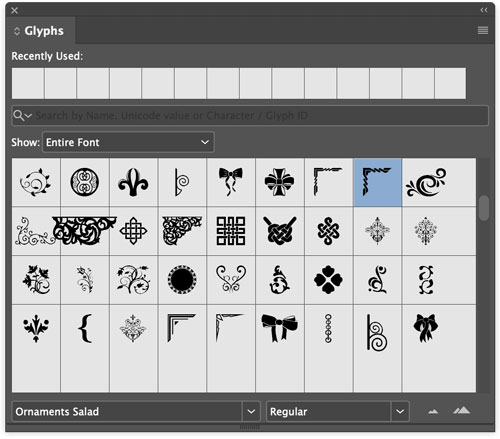
First, find some cool corner graphics. Ornamental and dingbat fonts have lots of cool glyphs to use for this sort of thing. My first thought was to use something from the Adobe Wood Type Ornaments fonts, but when I went to sync them on Adobe fonts, they were nowhere to be found. Bummer.
My next stop was Font Squirrel where I found several useful ornament fonts in the Dingbat category, including Davys, IM Fell Flowers 2, and Nymphette.
I also liked some of the corners in Ornaments Salad, which I found at DaFont.com.

Once you have your font loaded, use the Glyphs panel to get the desired glyphs into a text frame.
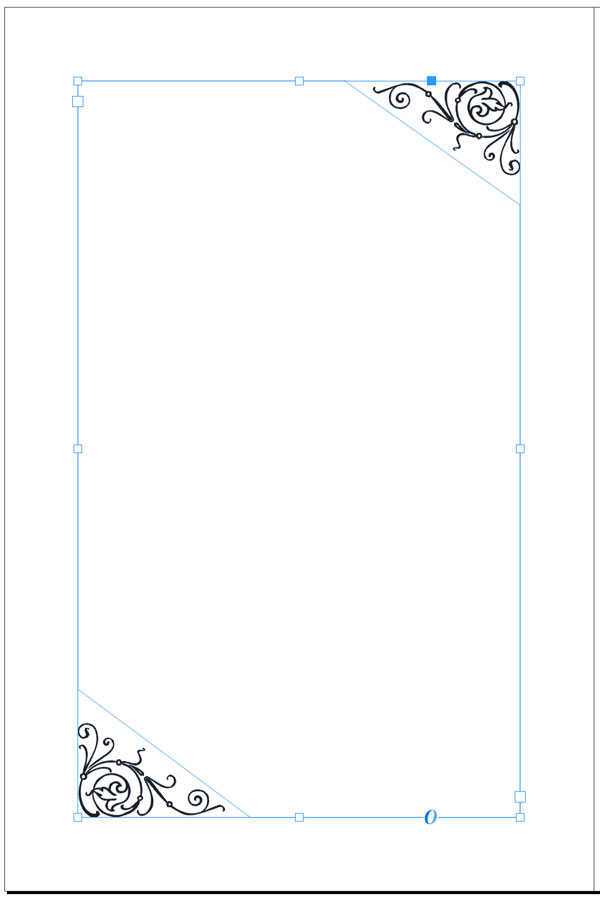
Then convert them to outlines (Command+Shift+O/Ctrl+Shift+O).
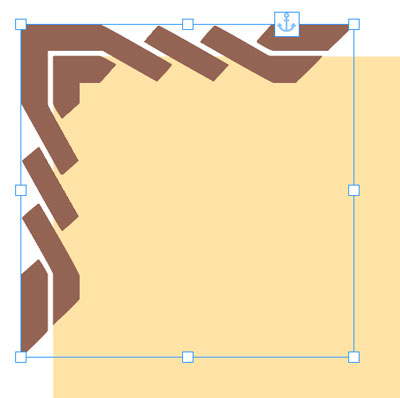
Position, rotate, scale, and color as desired.

Place them on a master page if you want them as a repeating element.


Or save to a CC library for future use or collaboration.
That’s all well and good for static corner ornaments. But what if you want cool corners that are attached to text frames?
For that, you need to make them into anchored objects.
It’s easy enough to do. Just click and drag the Anchored Object Control for each ornament into the text frame you want to attach them to.

Then hold Option/Alt and click that Anchored Object Control to open the dialog box where you can set the positions of each corner precisely.

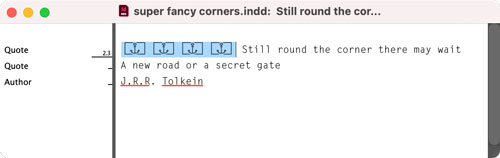
The only tricky thing is that your corners are now essentially hidden characters in the text frame, so don’t delete them by accident when you’re editing text.
Their presence is indicated by the Yen marker if you show hidden characters.

You can also see them as little anchor boxes if you look at the frame in the Story Editor (Command/Ctrl+Y).
If you’re going to reuse these in more than one place you should save and apply separate object styles for each of the 4 corners, with the specific Anchored Object Options for each one.


That way, if you ever need to reposition them in relation to the frame, you can tweak the object style once and have the change instantly applied throughout your document.
In the meantime, enjoy the ability to have cool custom corners that go wherever your text frame does.
Oooh, this is cool Mike! This would be fun to automate with a script! I’ve put it on my list of scripts-to-write-someday-when-i-have-time.
Nice! And thanks, Keith.
how can I install it?? is it possible in case I am using a crack version of Indesign??
Thanks for the gift tip! I needed it badly in a current project, just it is a graphic, and not the text frame I need to use the design around. But I will explore it tomorrow.