

How to Apply a Matrix Number Grid Effect to Images in Photoshop

We’ve all seen those sci-fi movies like The Matrix, in which images are built up from grids of numbers. Here’s how you can create your own grid, which you can apply to any image—and which you can keep on reusing for as many images as you like.

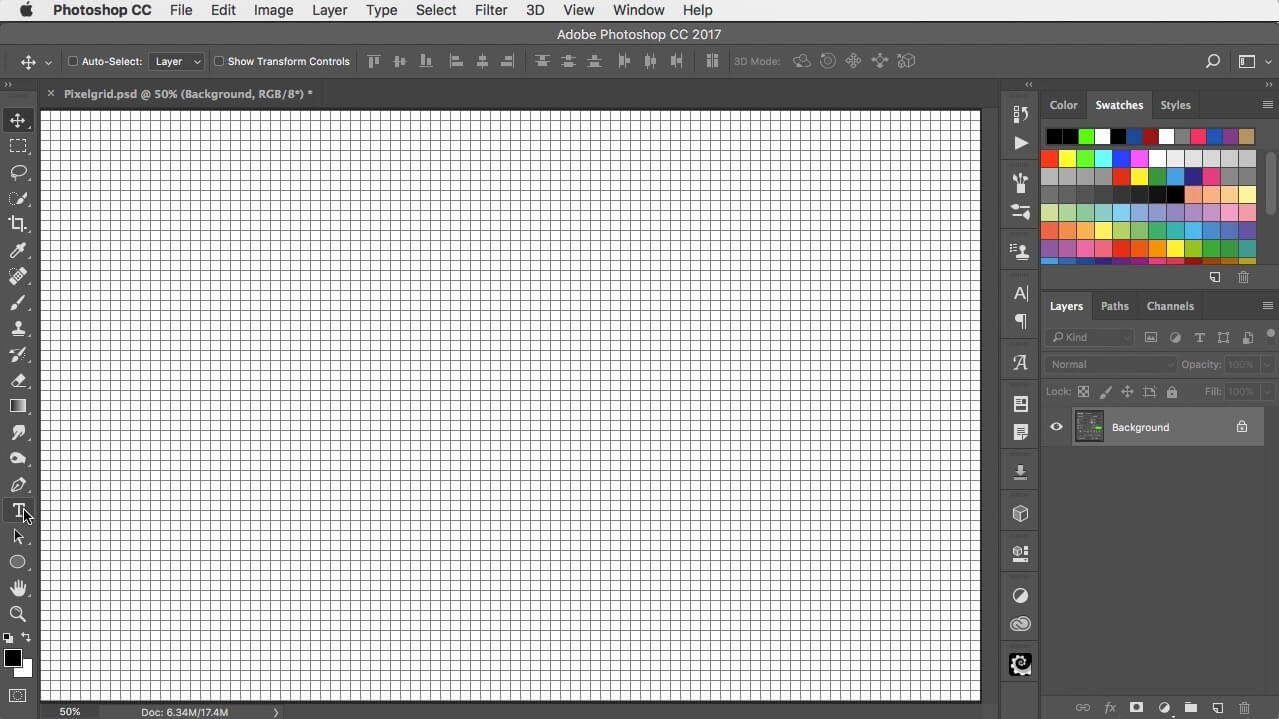
Set up the grid
Open Photoshop’s Preferences dialog using Command K (Mac) or Ctrl K (Win). In the Guides, Grids and Slices section, set the Gridline to be every 20 pixels. You don’t want any subdivisions within that grid, so set the Subdivision value to 1.

View the grid
Use the menu item View > Show Grid to view the grid. The effect will be much better if your image exactly matches the grid, so make sure you set the Canvas Size to a number of pixels that’s divisible by 20.
Type some numbers
Use the Type tool to drag out a text box the same size as your canvas. Type a random string of 1s and 0s. You don’t need to type to fill the whole canvas; it’s much quicker to type a couple of dozen numbers and then Select All, Copy and Paste repeatedly to fill the space.
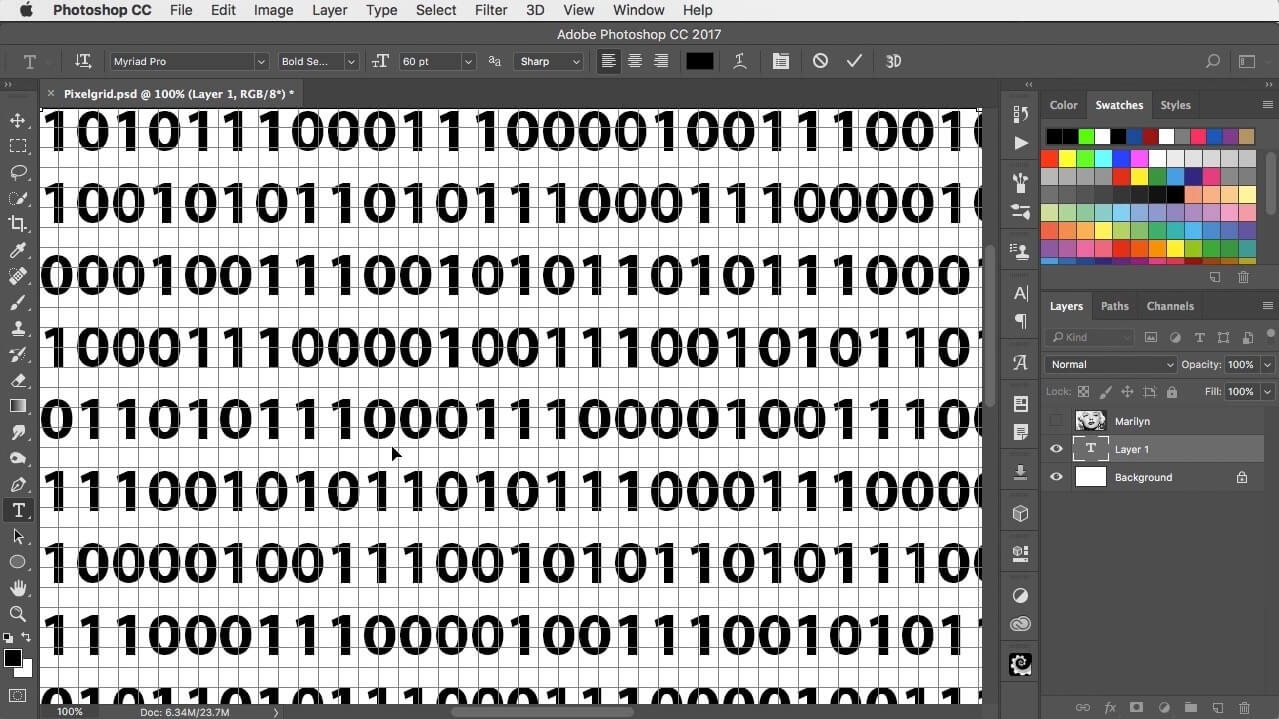
Set the text size
With the text box active, Select All to select all the type and then open the Character panel. Set the leading to exactly 20pt to match the grid, and the font size to around 22pt (depending on the font you choose). The character spacing, known as ‘tracking’, needs to be set so that each number exactly fits a grid square. This also depends on your font: with Myriad Bold SemiCondensed, which I’ve used here, a value of 310 works well, but you’ll need to experiment to get the exact figure. It helps if you zoom into 100% to do this.

Color the numbers
Choose a color for your numbers – I’ve chosen a dark green. With the number grid selected (but not clicked in), use Option or Alt and Backspace to fill the numbers with the foreground color. Then press D to choose the default colors of black and white, select the background layer, and use the same keyboard combination to fill the background with black.

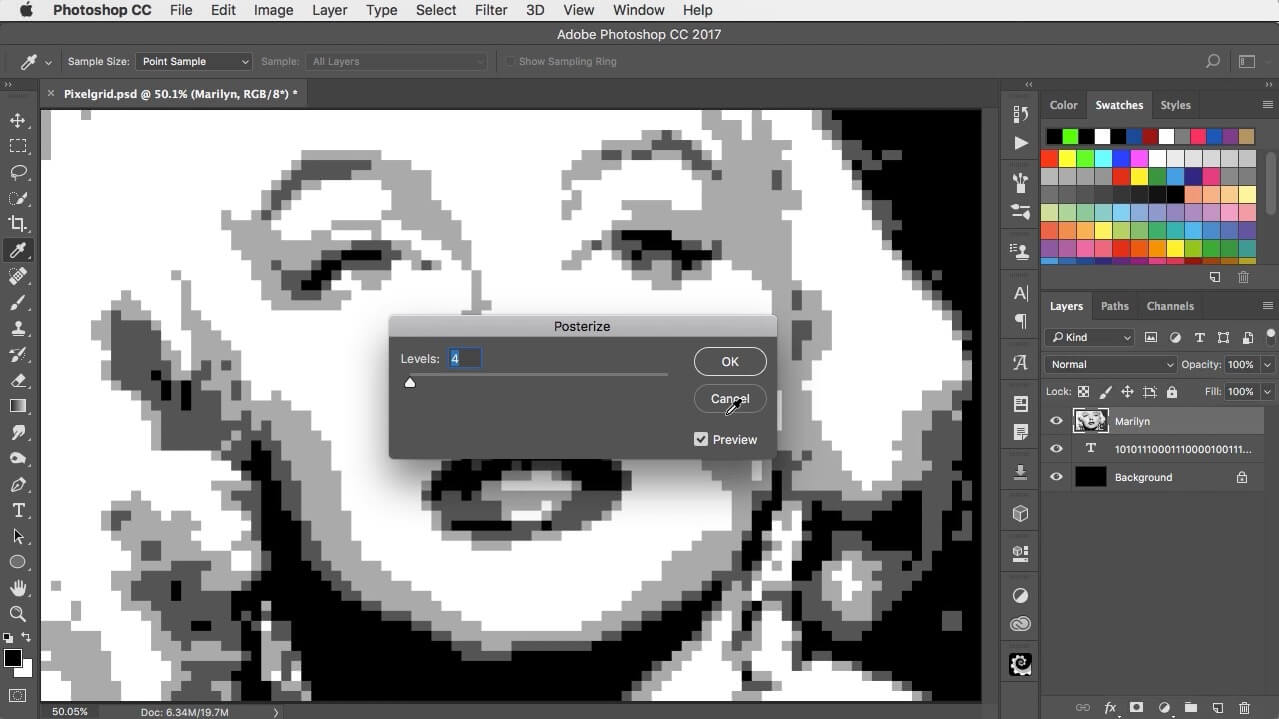
Add a photo
Hide the grid, and choose your image (a black and white picture will work best). I’ve selected this image of Marilyn Monroe. Open Filter > Pixellate > Mosaic, and choose a Cell Size of 20. This will exactly match the background grid.

Posterize the photo
Use Image > Adjustments > Posterize to reduce the number of shades of gray in the image. A value of 4 levels works well.
Change the layer mode
Finally, change the mode of the photo layer from Normal to Multiply. Now all you’ll see will be the numbers, tinted to exactly match the shades of gray in your photograph.

Matrix Number Grid Effect Tutorial and Artwork
Check out the video version of this tutorial below, and get a link to download the original artwork at https://www.2minutephotoshop.com/matrix-style-number-grid/
What if we want to create the black and white with a number? I mean green looks ok but, Minimal style numbers on face will make it more awesome.
[…] You can view this tutorial on CreativePro here. […]