

Getting a Handle on Illustrator’s Width Tool

I love creative tools that help make me look like I have talent I might not actually possess. One of my secret weapons in Illustrator is the Width tool. This clever little tool gives you the power to vary line widths along any stroke. This means that you can draw a simple shape—with the Pen or Pencil tools—then add variety to the stroke by adjusting the widths along points of your choosing.
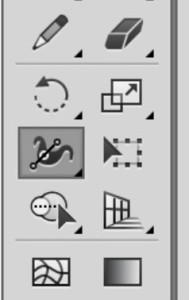
Illustrator’s Width tool
First, create a line using your preferred drawing tool, making sure that there is a stroke assigned to the line. Without a stroke, the Width tool has nothing to manipulate. Select the Width tool and start to add width points along the stroke. To do this, hover over the spot you want your width point to be, then click and drag inward or outward from the stroke. By default there are already width points at the end nodes of a stroke, as well as at any corner points. Illustrator creates a smooth transition between all of the varying widths you create. Continue to add additional points by clicking and dragging along the path.
Creating width points and manipulating the width of the stroke only changes the appearance of the stroke, and not the stroke itself. Choosing View > Outline will let you see the construction of the line itself, in all its simplicity. Regardless of viewing mode, you can also select the line with the Direct Selection tool to make it clear that no extra anchor nodes were added to your path when using the Width tool.

The same line, before and after using the Width tool to adjust stroke widths
You can continually adjust widths by re-selecting a width point and dragging the width handles. But, you aren’t limited to changing the appearance along a stroke to both sides of the stroke. You can grow or shrink the path on only one side of a stroke by clicking and dragging while holding down the Option/Alt key.
If you created the original width point uniformly, you can use this technique to adjust just one side of the stroke. Move a width point’s location along a stroke by selecting it and dragging it along the path. Holding down the Shift key will move all the points along the path.

The object on the bottom right has had its end points and corner points adjusted with the Width tool.
View the stroke width measurement at any point along your stroke by hovering over the line. If you’ve turned off Measurement Labels in your Smart Guides preferences, you’ll need to turn it back on first. Also, the width will be displayed in whatever units of measurement you have set as your general unit of measurement in Preferences. Since I generally work in inches, my stroke width would also be shown in inches, which is not very helpful. So I set my units to points temporarily if I have a lot of line work to do. You can also see this same information in the Width Point Edit dialog box by double-clicking with the Width tool on a width point.
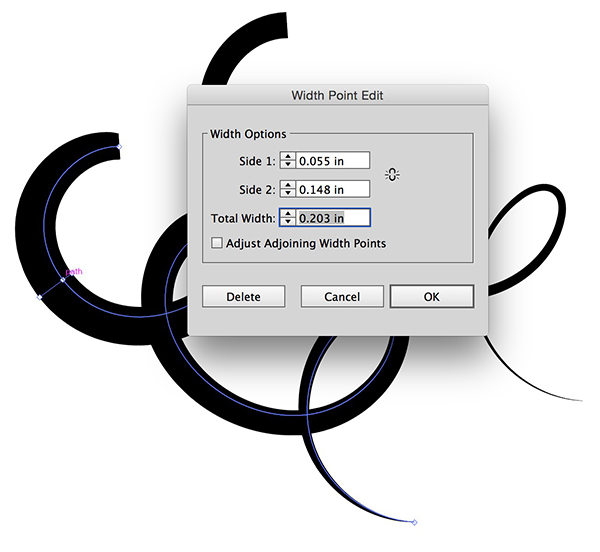
The Width Point Edit dialog box lets you set different widths for each side of a stroke.
Whether you’re editing an existing width point, or creating a new one by double-clicking along a stroke, using the Width Point Edit dialog box is a great way to numerically control the variable widths on your stroke. Enter values for the two sides of the strokes—either uniformly or individually, change the total stroke width, or delete the width point entirely.
Select Adjust Adjoining Width Points to increase or decrease the width at all points on the stroke. You can also achieve this overall re-sizing when adjusting a width sizing handle and holding down the Shift key. When you’re done creating the perfect stroke, you can save it if you want as a line profile for future use.
Tools like the Width tool make it easy to add variation and flair to simple shapes. For people like me who can’t draw, having these secret weapons in our tool belt is key. If you’d like to read more ways to create and manipulate shapes in Illustrator, check out an earlier article on avoiding the Pen tool.
Thank you very much for sharing this helpful illustrator tool. It’s nice indeed.
Wow Erica, 30 years in the graphics industry! You must have some decent experience in design :)