

8 Tips for DSLR Video Beginners to Shoot Great Video
Video is more accessible today than it has ever been. DSLR cameras with interchangeable lenses are now very affordable and great for photo and video enthusiasts. But most people still struggle with these cameras when it comes to video, even if they have experience with photography. So I’ve put together a short video that can help with that transition.
Once you have the basics, there are a few more things you need to consider if you want to shoot great video and impress friends, family, or clients.
Learn to shoot in manual mode to control the look of your footage
In previous articles, I’ve discussed things like Aperture, Shutter Speed, and ISO as they apply to photography. When it comes to shooting video, some of these rules change slightly.
- Shutter Speed has to be double the frame rate when shooting the video. Which means if you have a frame rate of 24 FPS (frames per second) you need a shutter speed of 1/50. If you have a shutter speed of 30 FPS then 1/60. For 60 FPS (such as shooting sports or action) 1/125. Not following this rule will give you choppy video.
- Aperture is your primary tool for controlling the look of your footage. You can use it to control the depth of field and sharpness of your video overall.
- ISO is going to be the primary tool for controlling exposure. You’ll want the lowest ISO possible, particularly when shooting in a bright The lower the ISO, the less noise and grain there is. This can be very distracting video, more than in photography. In low light situations you will need a higher overall ISO but try to limit this as much as possible.
Different lenses have different purposes, invest in your glass for the best quality footage

Your choice of lenses should depend on the situation you are shooting in, different lenses have different advantages. We’ve covered lens choices previously, but generally, lenses that have a consistent aperture, either prime lenses with no zoom or professional zoom lenses (which are more expensive) are your best options when trying to shoot high-quality video. This will typically have the most impact on overall video quality. Glass goes a long way.
Stabilization is more important in video than photography, so use different stabilization gear

When shooting video, stabilization is more important than it would be for photography. Since video is a moving picture, being able to keep the camera steady is going to be a priority; whereas with photography you only need to keep it steady at the moment you click the shutter, not to mention you have the option in photography of compensating with higher shutter speeds.
Shoulder rigs are often used by video producers and are very affordable even for enthusiast, with some as low as $50. These allow you to comfortably shoot stabilized video for long periods of time. Tripods are the most common form of video stabilization, and will work in most situations. When you need to be more mobile, a monopod or a Gorilla Pod can be a handy alternative and are very inexpensive.
Shooting in low light situations
When in low light situations you will need to use the widest aperture possible to get usable footage. Typically this means shooting with either a prime lens with no zoom, which usually provides a wide aperture of up to f/1.8 or f/1.2 (see aperture explained here). Alternatively, you can use a professional zoom lens with an aperture as wide as f/2.8 if you have one available.
Shooting at a higher ISO can also help provide more exposure but too high of, and ISO will introduce unwanted noise and grain. Full Frame cameras, also considered as Professional DSLR cameras, have more flexibility and higher quality when shooting at a higher ISO range.
Avoid overexposed videos by using a variable ND filter
One of the issues with not being able to control exposure by adjusting the shutter speed is that more light comes through the lens, especially when shooting in daylight. To compensate for this, you can use an ND filter. I recommend a variable ND filter since this will allow you to adjust how much or how little light is coming in through the lens without changing your camera settings.
Shoot flat to let you do color grading and cinema style videos
Photographers often like to get their shots perfect in camera and avoid post-process editing. Taking the same approach to video is not recommended. Color grading is part of the video editing process and it enables you to communicate mood and tone, as well as make the video look more professional. However, if you use a preset or standard color profile, you have less to work with. Shooting a flat profile where the camera is doing little to no processing on its own, gives you a cleaner overall image to work within your video editing and will keep details intact. I recommend my tutorial on Color Grading using Adobe Premiere Pro to understand this better.
Use Manual Auto Focus When Working with DSLR Video
When shooting DSLR Video, many beginners are tempted to rely on auto focus. This can cause several problems, including the camera “hunting” for the appropriate focus point if continuous autofocus is on. Shooting in manual focus is the approach used by most filmmakers, and it gives the shooter full control to decide what should be in focus instead of the camera making those decisions on its own. This produces the desired result more often than not.
Avoid Using the Built-in Audio on Your Cameras
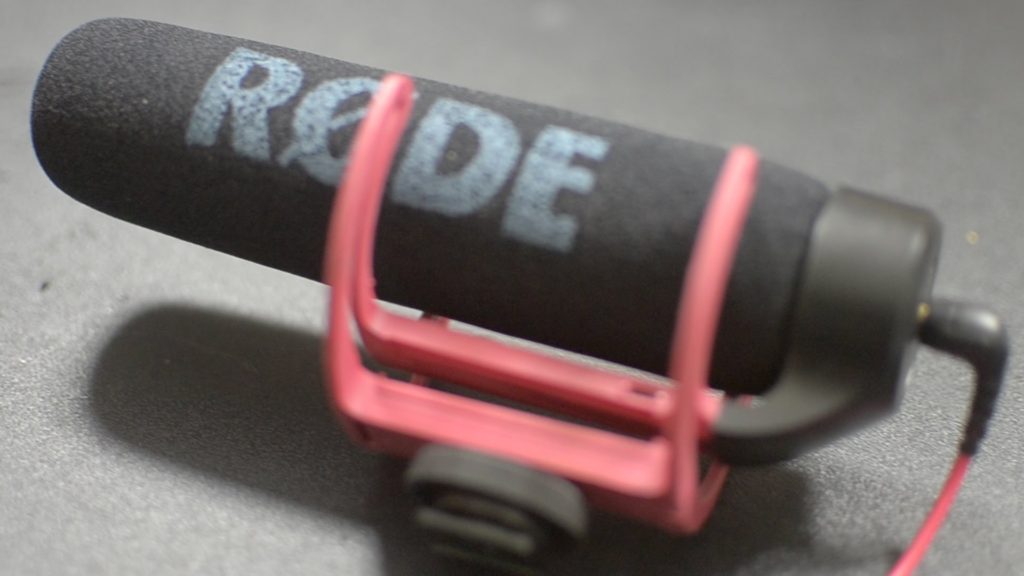
The audio built into most DSLR Cameras is not fantastic. In fact, it is usually horrible. You need to use a dedicated audio source when recording video. Use shotgun microphones, wired or wireless Lavalier microphones instead. These dedicated audio sources will produce a clean audio signal, and if they are plugged to directly into your camera, you can avoid the trouble of syncing audio in post production.
Are you ready to shoot video yet?
Video production may still feel a bit intimidating to you, but the best thing you can do is just get out there and shoot footage until it becomes more natural to you. If there is something you’re still struggling with, or is still holding you back from jumping into video, let us know in the comments section!